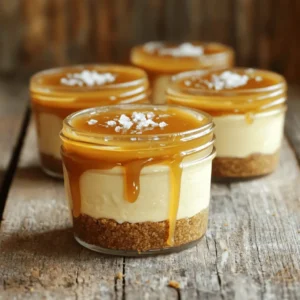
No-Bake Salted Caramel Cheesecake Jars
Indulge in delicious No-Bake Salted Caramel Cheesecake Jars that are perfect for any occasion! This easy recipe combines creamy cheesecake, buttery graham cracker crust, and rich caramel for a stunning dessert that requires no baking. Discover how to make these delightful jars step by step and impress your guests. Ready to satisfy your sweet tooth? Click to explore the full recipe now and treat yourself to this decadent dessert!