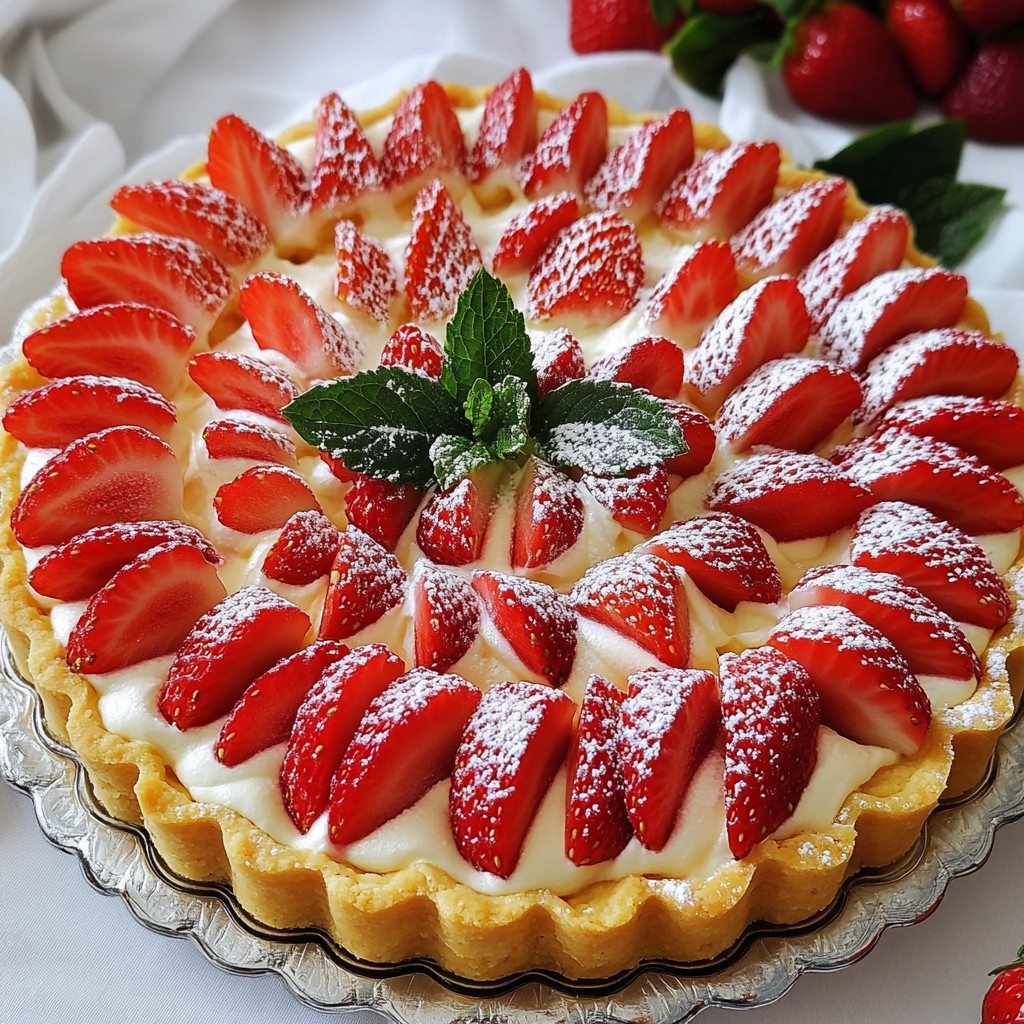
Imagine biting into a creamy strawberry tart with a buttery shortbread crust. This dessert offers a perfect blend of textures and flavors that will impress everyone. In this article, I'll show you how to create this silky dessert from scratch. You’ll find simple steps, helpful tips, and variations to make it your own. Grab your apron, and let’s dive into making this delightful strawberry cream tart!
Why I Love This Recipe
- Deliciously Smooth: This tart features a creamy filling that melts in your mouth, making every bite a heavenly experience.
- Fresh Ingredients: The use of fresh strawberries gives this dessert a burst of flavor and a beautiful presentation.
- Perfect for Any Occasion: Whether it's a family gathering or a fancy dinner party, this tart is sure to impress your guests.
- Easy to Customize: You can easily switch up the fruits or add flavors to the cream filling to match your preferences.
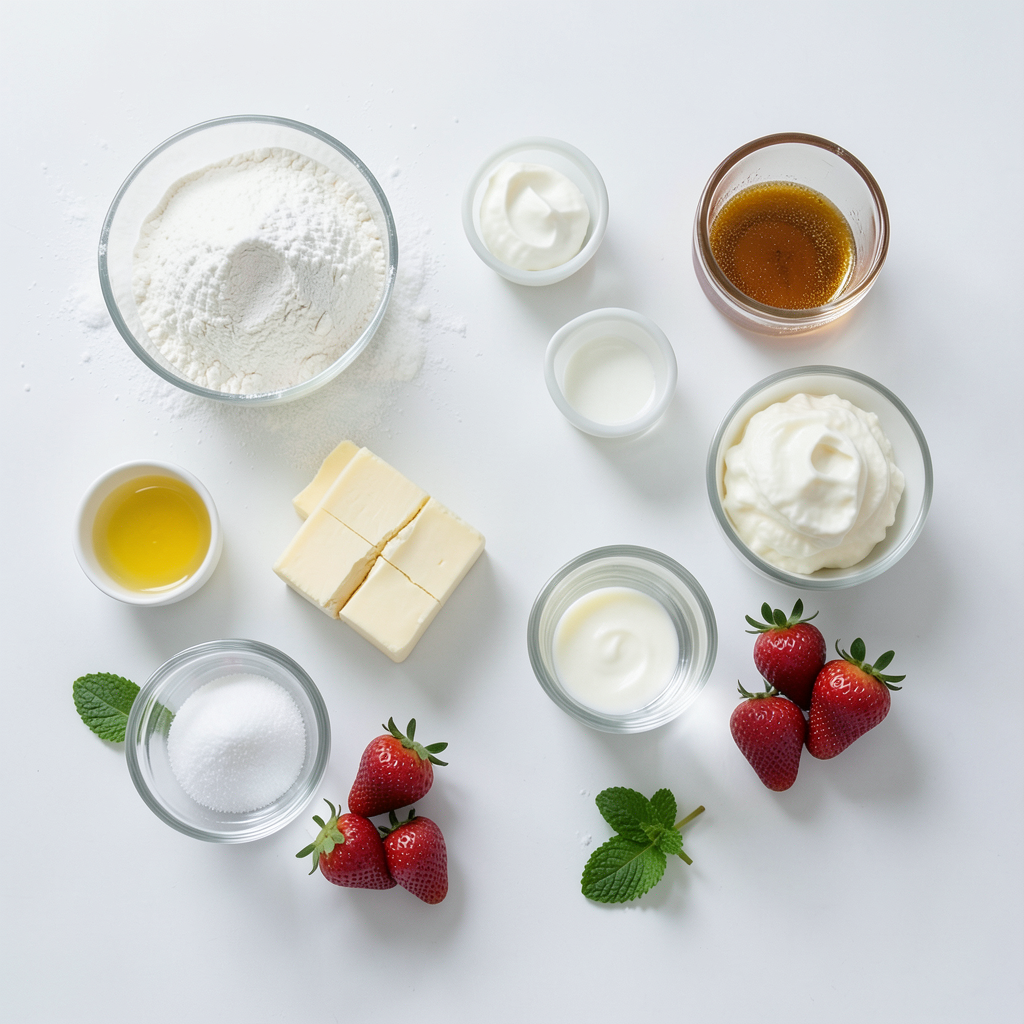
Ingredients
Essential Ingredients for the Shortbread Crust
- 1 ½ cups all-purpose flour
- ½ cup powdered sugar
- ½ cup unsalted butter, softened
- 1 large egg yolk
- 1 teaspoon vanilla extract
For the shortbread crust, we need a few simple items. The flour gives the crust its body, while powdered sugar adds sweetness. Softened butter makes it rich and creamy. The egg yolk helps bind everything together, and vanilla adds a lovely flavor.
Key Ingredients for the Cream Filling
- 1 cup heavy cream
- 2 tablespoons granulated sugar
- 8 oz cream cheese, softened
- 1 teaspoon lemon juice
- 1 tablespoon gelatin powder
- 3 tablespoons cold water
Next, for the cream filling, we focus on the heavy cream. It whips up fluffy and light. Granulated sugar sweetens the filling just right. Softened cream cheese gives it a nice texture, while lemon juice brightens the flavor. Gelatin helps the filling set well, making it easy to slice.
Optional Garnishes
- Fresh strawberries, hulled and sliced
- Mint leaves for garnish (optional)
Finally, we can add fresh strawberries on top for color and taste. Mint leaves are a nice touch if you want to impress. They add a pop of green and a hint of freshness.
Step-by-Step Instructions
How to Make the Shortbread Crust
1. Start by mixing the flour and powdered sugar in a bowl.
2. Add in the softened butter, egg yolk, and vanilla.
3. Mix until the dough holds together nicely.
4. Preheat your oven to 350°F (175°C).
5. Press the dough evenly into a 9-inch tart pan.
6. Prick the bottom with a fork to stop bubbling.
7. Bake for 15-20 minutes until golden brown.
8. Let the crust cool completely on a wire rack.
Preparing the Cream Filling
1. In a small bowl, sprinkle gelatin over cold water.
2. Let it sit for about 5 minutes to bloom.
3. In another bowl, whip the heavy cream with sugar until stiff peaks form.
4. Beat softened cream cheese in a separate bowl until smooth.
5. Mix in lemon juice into the cream cheese.
6. Melt the bloomed gelatin over a double boiler or in the microwave.
7. Combine the melted gelatin with the cream cheese mix.
8. Gently fold the whipped cream into the mixture until smooth.
Assembling and Chilling the Tart
1. Pour the cream filling into the cooled shortbread crust.
2. Smooth the top with a spatula for an even finish.
3. Chill the tart in the refrigerator for at least 4 hours.
4. Once set, arrange sliced strawberries on top in a pattern.
5. Optionally, garnish with fresh mint leaves.
6. Serve the tart cold for the best taste.
Tips & Tricks
Perfecting Your Shortbread Crust
To make a great shortbread crust, start with cold butter. It helps keep the crust firm. Mix flour and powdered sugar well before adding butter. This ensures an even texture. Press the dough firmly into the tart pan. Use your fingers to push it into the corners. Don't forget to prick the bottom with a fork. This prevents bubbles from forming while baking. Bake until golden brown, but watch it closely. Overbaking will make it hard.
Achieving the Best Cream Filling Texture
For a smooth cream filling, use softened cream cheese. Beat it well until it’s creamy. Bloom the gelatin properly by letting it sit in cold water. This step is crucial for a nice set. Melt the gelatin carefully, making sure it does not boil. Fold in the whipped cream gently. This keeps the filling airy and light. If you mix too hard, it will lose its fluffiness. Chill the tart for at least four hours. This helps the filling set perfectly.
Serving Suggestions for Dessert Presentation
Presentation makes a big difference. Dust the top with powdered sugar right before serving. This adds a lovely touch. Arrange the sliced strawberries in a pretty pattern. You can make a fan shape or a circle. Garnish with fresh mint leaves for color. Serve slices on elegant plates. This adds to the overall charm of your dessert. Enjoy the smiles when you present this beautiful tart!
Pro Tips
- Chill Your Ingredients: For a creamier filling, ensure your heavy cream and cream cheese are well-chilled before whipping and mixing.
- Use Fresh Strawberries: Select ripe, fresh strawberries for the best flavor and texture, as they enhance the tart's overall taste.
- Gelatin Tips: To ensure your gelatin is fully dissolved, stir it well after blooming and before incorporating it into the cream mixture.
- Presentation Matters: Dust the tart with powdered sugar just before serving for an elegant finish, and consider using a sharp knife for clean slices.
Variations
Different Fruit Toppings
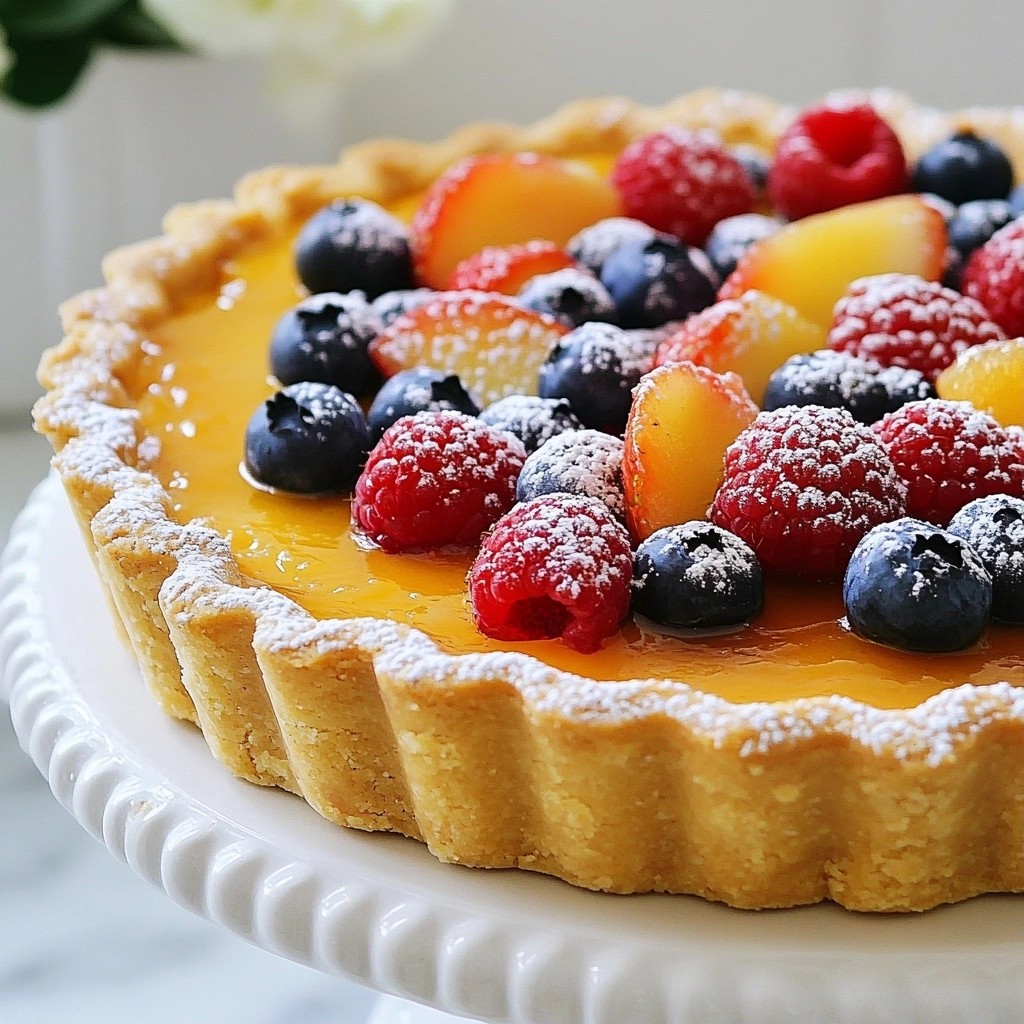
You can use many fruits for your tart. Fresh berries work best. Blueberries, raspberries, or blackberries all add a nice touch. You can also try peaches or kiwi for a fun twist. Each fruit gives a unique flavor and color to the tart. Arrange them in a pattern for a pretty look. Mix and match your favorite fruits for a delightful surprise.
Gluten-Free Shortbread Crust Option
If you need a gluten-free crust, use almond flour instead of regular flour. Almond flour makes a tasty crust that is easy to work with. Combine it with powdered sugar and butter just like the regular recipe. You could also try a store-bought gluten-free mix. Just follow the package instructions for best results. This way, everyone can enjoy the tart!
Flavor Twists for the Cream Filling
You can change the cream filling to make it your own. Add a splash of almond extract for a nutty flavor. Or mix in a bit of cocoa powder for a chocolate twist. For a citrus kick, try orange zest or lime juice. These small changes can make a big difference in taste. Get creative and discover what you like best!
Storage Info
How to Store Leftover Tart
To store your leftover tart, cover it tightly with plastic wrap. Place it in the fridge. This keeps the tart fresh for a few days. Make sure to eat it within three days for the best taste.
Best Practices for Freshness
For maximum freshness, always chill the tart right after serving. Avoid leaving it out at room temperature. If you notice any moisture build-up under the wrap, gently wipe it away. This helps keep the crust crisp and the cream filling smooth.
Freezing Instructions for Longer Storage
You can freeze the tart if you want to keep it longer. First, slice it into pieces. Wrap each slice in plastic wrap. Then, place the wrapped slices in an airtight container or freezer bag. Freeze for up to one month. When ready to enjoy, thaw the slices in the fridge overnight. This way, your tart stays delicious!
FAQs
Can I use frozen strawberries instead of fresh?
Yes, you can use frozen strawberries. Just make sure to thaw and drain them first. This helps avoid excess water in your tart. Frozen strawberries can be a great option when fresh ones are not in season. They still provide that lovely strawberry flavor, making your dessert tasty.
How do I know when the tart is set?
You will know the tart is set when the cream filling feels firm to the touch. It should hold its shape when you slice it. Chill the tart in the fridge for at least four hours. Leaving it longer can help ensure the best texture. Check by gently pressing the top; it should not be jiggly.
Can I make this dessert ahead of time?
Absolutely! This tart is perfect for making ahead. You can prepare it one day before you plan to serve it. Just keep it covered in the fridge. The flavors meld beautifully overnight. Plus, this gives you more time to enjoy your event without stress.
You learned about making a delicious tart from scratch. We covered key ingredients for the crust and filling. The step-by-step guide makes it easy to follow along. With tips for perfecting each element, you can impress anyone. Add your own twists with toppings and flavors. Store leftovers properly to keep them fresh. Enjoy making this dessert your own! I hope you feel ready to try it today.