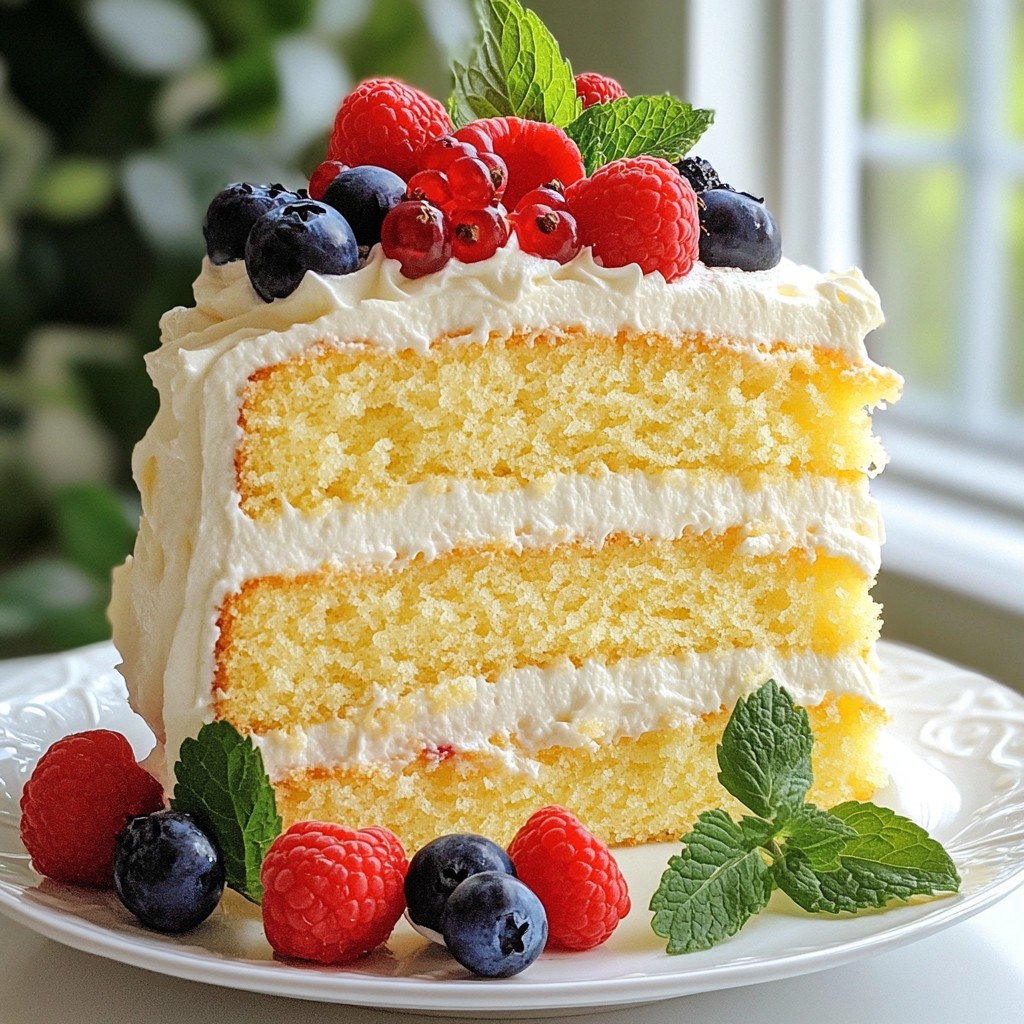
If you’re dreaming of a cake that's soft, light, and flavorful, you’re in the right place! My Fluffy Vanilla Bean Layer Cake with Creamy Frosting is sure to impress at any gathering. This cake combines rich vanilla flavor with a smooth, dreamy frosting, making it a perfect dessert for celebrations or quiet nights at home. Let’s dive into the sweet details and create a dessert masterpiece together!
Why I Love This Recipe
- Deliciously Fluffy: This cake has a light and airy texture that melts in your mouth, making every bite a delightful experience.
- Classic Flavor: The combination of vanilla bean and whipped cream makes this cake a timeless favorite for any celebration.
- Perfect for Any Occasion: Whether it's a birthday, wedding, or just a casual get-together, this cake fits perfectly into any event.
- Customizable: You can easily adapt this recipe with different fillings, frostings, or garnishes to suit your taste!
Ingredients
List of Ingredients
- 2 ½ cups all-purpose flour
- 2 ½ tsp baking powder
- ½ tsp salt
- 1 cup unsalted butter, softened
- 2 cups granulated sugar
- 5 large eggs, room temperature
- 1 tablespoon pure vanilla extract
- 1 vanilla bean, seeds scraped
- 1 cup whole milk, room temperature
- 2 cups heavy whipping cream
- 1 cup powdered sugar
- 1 tsp vanilla extract (for frosting)
- Fresh berries and mint leaves for garnish
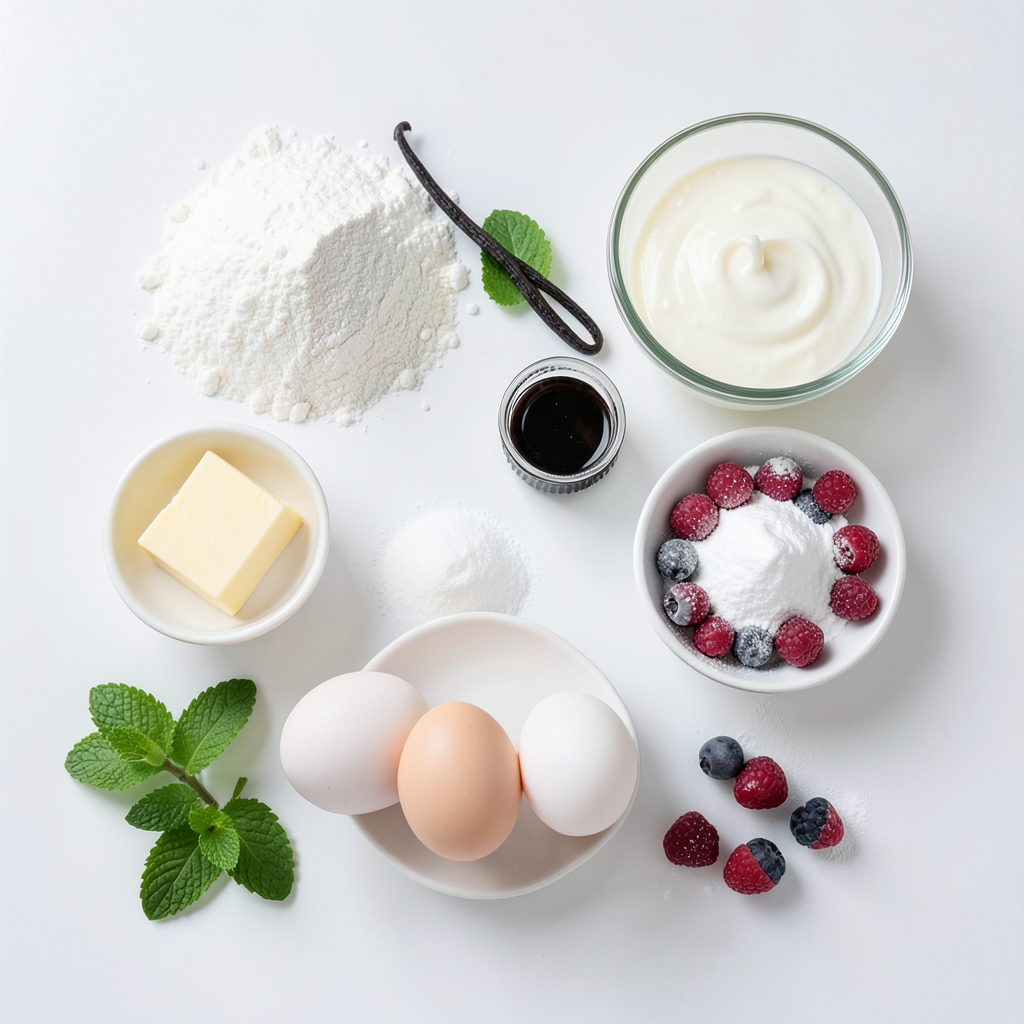
When baking a Fluffy Vanilla Bean Layer Cake, use these fresh ingredients. The flour gives structure. Baking powder helps the cake rise. Salt enhances flavors. Unsalted butter adds creaminess. Granulated sugar sweetens and gives texture. Eggs provide moisture and richness.
Vanilla extract and vanilla bean add a lovely flavor. The whole milk keeps the cake moist. For the frosting, use heavy whipping cream. This gives a light and airy texture. Powdered sugar sweetens the frosting without grittiness.
Fresh berries and mint leaves make the cake look pretty. They add a burst of color and flavor. With these ingredients, you can create a delicious and stunning cake.
Step-by-Step Instructions
Preparing the Cake Batter
1. Preheat your oven to 350°F (175°C). Grease and flour three 8-inch round cake pans. This helps the cakes come out easily.
2. In a bowl, whisk together 2 ½ cups of all-purpose flour, 2 ½ teaspoons of baking powder, and ½ teaspoon of salt. Set this aside.
3. In a large mixing bowl, cream 1 cup of softened unsalted butter with 2 cups of granulated sugar. Mix until it looks light and fluffy, about 4-5 minutes.
4. Add 5 large eggs, one at a time. Mix well after each addition. Then, add 1 tablespoon of pure vanilla extract and the seeds from 1 vanilla bean. Mix until just combined.
Baking the Cake Layers
1. Gradually add the dry flour mixture to the creamed mixture. Alternate with 1 cup of room temperature whole milk. Start and end with the flour mixture. Mix until just combined.
2. Divide the batter evenly among the prepared pans. Smooth the tops with a spatula. Bake for 25-30 minutes. Check if a toothpick comes out clean.
3. Let the cakes cool in the pans for 10 minutes. Then, transfer them to wire racks to cool completely.
Making the Creamy Frosting
1. While the cakes cool, whip 2 cups of heavy whipping cream in a bowl. Add 1 cup of powdered sugar and 1 teaspoon of vanilla extract. Whip until soft peaks form.
2. Once the cakes are completely cool, place one layer on a cake stand. Spread a layer of whipped cream on top. Add the second layer and repeat the process.
3. Place the final layer on top. Spread the remaining whipped cream evenly over the top and sides. Smooth it out with a spatula.
4. Decorate with fresh berries and mint leaves for a lovely finish.
Tips & Tricks
Achieving the Fluffiest Cake
To make a fluffy cake, start with room temperature ingredients. Cold eggs and butter can lead to a dense texture. Let your eggs and butter sit out for about 30 minutes before you begin. This small step makes a big difference.
Mixing properly is key. Cream the butter and sugar until it's light and fluffy. This process should take about 4-5 minutes. Scrape down the bowl often to ensure everything blends well. When adding dry and wet ingredients, do it in batches. This method helps keep the batter light.
Frosting Tips
For the frosting, whip the heavy cream until soft peaks form. This means the cream should hold its shape but still be smooth and creamy. Be careful not to overwhip, as this can turn the cream grainy.
When frosting the cake, start with a thin layer to cover the sides and top. This is called a crumb coat. Once you have this layer on, let it chill in the fridge for about 15 minutes. This helps seal in crumbs, making your final coat smooth and clean.
Decorating Ideas
Fresh berries and mint leaves make lovely decorations. Place them on top of the cake for a touch of color. They also add a fresh flavor that pairs well with the creamy frosting.
If you want to switch it up, consider using chocolate shavings or edible flowers. These options give your cake a unique look. You can also try different fruits, like sliced peaches or strawberries, for a fun twist.
Pro Tips
- Room Temperature Ingredients: Ensure your butter, eggs, and milk are at room temperature before mixing; this helps create a smoother batter and results in a fluffier cake.
- Measure Flour Correctly: Spoon flour into your measuring cup and level it off with a knife to avoid packing it down, which can lead to a dense cake.
- Cool Cakes Completely: Allow the cakes to cool completely on a wire rack before frosting; this prevents the whipped cream from melting and sliding off.
- Decorating Tips: Use a mix of different berries and mint leaves to add color and freshness to your cake; this not only enhances the presentation but also complements the vanilla flavor.
Variations
Flavor Variations
You can make this cake even more fun by adding flavors. Citrus zest gives a bright twist. Try adding the zest from lemons or oranges to the batter. You can also use different extracts. Almond extract gives a nutty flavor, while lemon extract adds a fresh taste. Each choice can change the cake's feel.
Dietary Adjustments
If you need a gluten-free option, you can swap regular flour for almond or coconut flour. Just remember, the texture will be different. For a dairy-free frosting, use coconut cream instead of heavy cream. Whip it just like you would the dairy version. You can also use powdered sugar for sweetness.
Layering Options
Make the cake unique by adding fruit or jam. Spread layers of raspberry or strawberry jam between the cakes. This adds a sweet surprise. For decoration, use chocolate shavings on top. They give a nice crunch and look great. You can use dark, milk, or white chocolate, depending on your taste.
Storage Info
Best Practices for Storing Cake
To keep your Fluffy Vanilla Bean Layer Cake fresh, you have two options. If you plan to eat it soon, you can store it at room temperature. Just cover it with plastic wrap or a cake dome. This will keep it from drying out. For longer storage, put it in the fridge. Make sure to wrap it well to avoid any fridge odors. The cold will help keep the frosting firm and the cake moist.
Freezing Instructions
If you want to save some cake for later, freezing is a great choice. First, let the cake layers cool completely. Then, wrap each layer tightly in plastic wrap. Place them in a freezer bag or airtight container. This keeps the cake fresh for up to three months. When you're ready to enjoy, take the layers out and let them thaw in the fridge overnight. This method helps maintain the cake's texture and flavor.
Shelf Life
In the fridge, your cake will stay fresh for about five days. Make sure to check for any signs of spoilage. If you freeze the cake, it can last up to three months. Just remember to wrap it properly. This way, you can savor your vanilla bean cake even after a while!
FAQs
How long does it take to make a Fluffy Vanilla Bean Layer Cake?
Making this cake takes about two hours. You spend around 30 minutes prepping. The baking time is 25 to 30 minutes. Let the cakes cool for about 10 minutes in the pan. After that, cool them fully on a wire rack.
Can I make this cake in advance?
Yes, you can make this cake ahead of time. Bake the layers a day before serving. Store the cooled layers in an airtight container at room temperature. You can also freeze the layers. Wrap them well in plastic wrap. Thaw them in the fridge before frosting.
What can I use instead of a vanilla bean?
If you don’t have a vanilla bean, use pure vanilla extract. You can replace one bean with about 1 tablespoon of extract. Another option is to use vanilla paste. Vanilla paste gives a similar flavor with the specks of vanilla.
This article covered how to make a Fluffy Vanilla Bean Layer Cake from start to finish. We discussed the best ingredients, step-by-step instructions, and tips for achieving the perfect bake. Remember, using room temperature ingredients is key for fluffiness. Feel free to explore variations, like adding citrus or using gluten-free options. Proper storage keeps your cake fresh and delicious. Enjoy creating this delightful dessert, and don’t forget to share it with friends! Your baking journey can be fun and rewarding, so dive in and have a great time!