Are you ready to whip up a delightful treat that never fails to impress? This Classic Sweet Lemon Meringue Pie Recipe combines tangy lemon filling and fluffy meringue to create a dessert that dazzles. Whether you're a baking novice or a pro, I’ll guide you through each step to make your pie perfect. Let’s dive in and turn fresh ingredients into a sweet masterpiece that your family will love!
Why I Love This Recipe
- Bright and Zesty Flavor: This pie balances the tartness of fresh lemons with the sweetness of meringue, creating a refreshing dessert that's perfect for any occasion.
- Elegant Presentation: The beautiful peaks of meringue on top of the lemon filling make this pie not only delicious but also a stunning centerpiece for your table.
- Easy to Make: With a pre-made pie crust and simple ingredients, this recipe is approachable for bakers of all skill levels, making it a great choice for last-minute gatherings.
- Perfect for Any Season: Whether it's a summer barbecue or a holiday dinner, this lemon meringue pie is a crowd-pleaser that brings a touch of brightness to any meal.
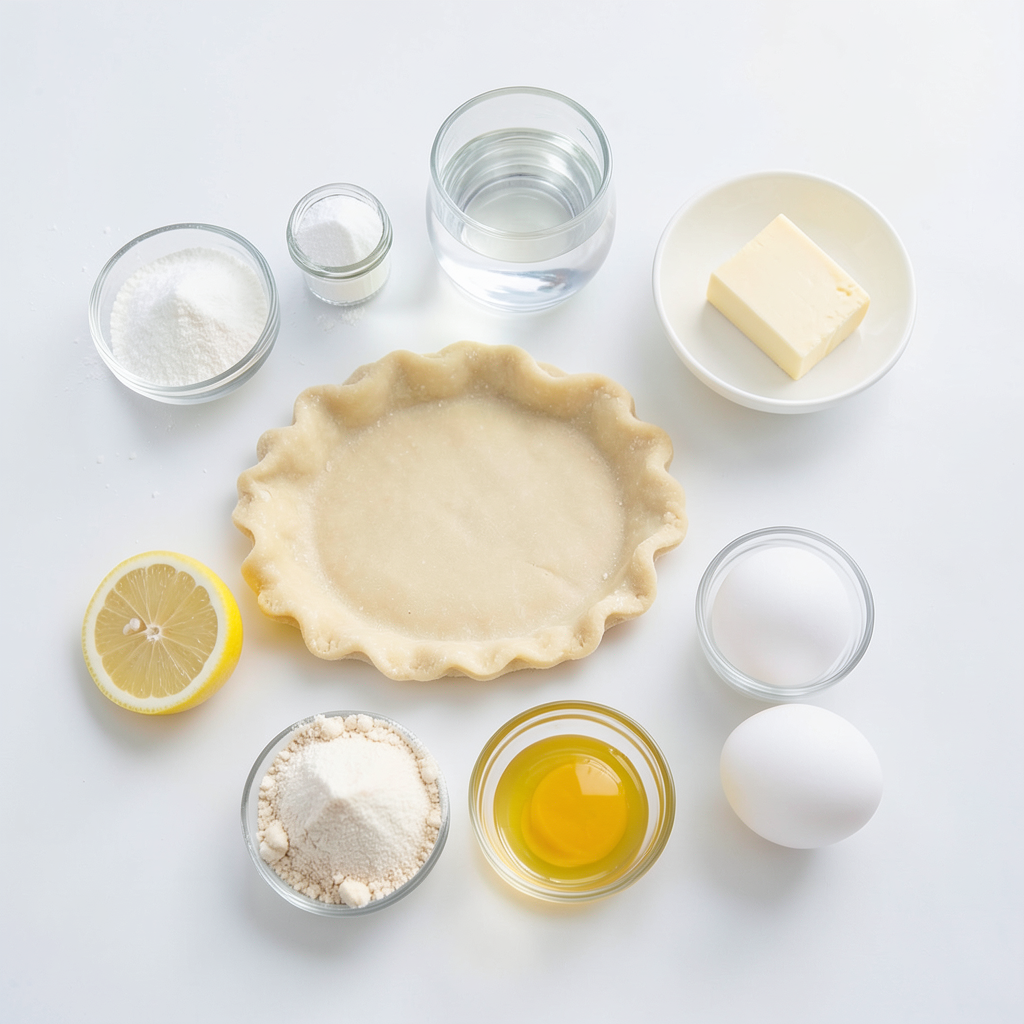
Ingredients
List of Ingredients
- 1 pre-made pie crust
- 1 cup granulated sugar
- 2 tablespoons cornstarch
- 1/4 teaspoon salt
- 1 1/2 cups water
- 3 large egg yolks, beaten
- 1/4 cup fresh lemon juice (about 2 lemons)
- Zest of 1 lemon
- 2 tablespoons unsalted butter
- 3 large egg whites
- 1/2 teaspoon cream of tartar
- 1/2 cup powdered sugar
Granulated sugar adds sweetness and helps thicken the lemon filling. The cornstarch also helps with thickening. For the meringue, egg whites are key. They create the fluffy texture, while cream of tartar stabilizes it.
Importance of Fresh Ingredients
Fresh lemons give the best flavor and zest. The zest adds a bright note, while the juice brings the tangy taste. Using high-quality eggs matters too. They create better meringue when you beat the whites. Fresh eggs whip up to a fluffier texture.
Substitutions and Alternatives
If you want to change the pie crust, you can use homemade crust or a gluten-free option. For sugar alternatives, try using coconut sugar or stevia for a healthier twist. These can change the taste a bit, but they still work in this recipe.
Step-by-Step Instructions
Preparing the Filling
Start by preheating your oven to 350°F (175°C). This step is key to a great pie. In a medium saucepan, mix 1 cup granulated sugar, 2 tablespoons cornstarch, and 1/4 teaspoon salt. These ingredients help thicken the filling. Slowly add 1 1/2 cups of water while whisking. This keeps lumps from forming.
Cook this mixture over medium heat. Stir it constantly until it thickens and bubbles. This should take about 5 to 7 minutes. Once it bubbles, remove it from the heat.
Tempering Egg Yolks
Why do we temper egg yolks? Tempering helps prevent the yolks from cooking too fast. It keeps them smooth and creamy. To temper, whisk about 1/2 cup of the hot filling into the beaten egg yolks. Then, whisk the egg yolk mixture back into the saucepan. This step is crucial for a silky filling.
Making the Meringue
Now, let's make the meringue. In a clean bowl, beat 3 large egg whites and 1/2 teaspoon cream of tartar on medium speed. Watch for soft peaks to form. This means the mixture holds its shape but still looks soft.
Next, slowly add 1/2 cup powdered sugar. Increase the mixer speed to high. Keep mixing until stiff peaks form. The meringue should look glossy and smooth. Avoid common mistakes like overbeating. This can make the meringue dry and grainy.
Spread the meringue over the hot lemon filling. Make sure it touches the edges of the crust. This prevents shrinking. Use a spatula to create peaks and swirls. Your pie is now ready to bake!
Tips & Tricks
Perfecting Your Meringue
To make great meringue, start with clean tools. Any fat or grease can ruin your meringue. Use a glass or metal bowl, not plastic.
- Beat egg whites until soft peaks form. This means they bend but hold some shape.
- Gradually add powdered sugar. This helps make the meringue glossy. Keep beating until stiff peaks form. Your meringue should look shiny and smooth.
- To prevent shrinking, spread the meringue over the hot filling. Make sure it touches the crust edges. This seals it and keeps it in place.
Baking and Cooling Techniques
Baking time is key for a golden meringue. Bake it at 350°F (175°C) for 10-12 minutes. Watch it closely. You want a light golden color, not brown.
Once baked, let the pie cool at room temperature for at least an hour. This step helps set the filling. After that, refrigerate for 2-3 hours. Chilling helps firm up the pie and brings out the flavors.
Serving Suggestions
For a pretty presentation, slice the pie and sprinkle some lemon zest on top. Add a dollop of whipped cream on the side. This adds a nice touch and balances the tartness.
Pair your pie with a light drink, like iced tea or lemonade. These drinks complement the pie’s sweet and tangy flavors. Enjoy your delightful lemon meringue pie with friends or family!
Pro Tips
- Use Fresh Lemons: Opt for fresh lemons rather than bottled juice for a vibrant flavor and aroma that will elevate your pie.
- Perfect Meringue: Ensure your mixing bowl and beaters are completely clean and free of grease to achieve the best volume and stability in your meringue.
- Prevent Shrinkage: Spread the meringue all the way to the edges of the crust to seal it, which will help prevent it from shrinking during baking.
- Cool Before Serving: Allow the pie to cool completely at room temperature before refrigerating to set properly and enhance the texture.
Variations
Flavor Variations
You can change the taste of your lemon meringue pie by adding fruit purees. Consider mixing in berry or mango purees. This addition gives a fresh twist to the classic lemon flavor. You can even use a bit of passion fruit. It adds a tropical touch that excites the palate.
For the meringue, you can try different flavorings. Add a splash of vanilla extract or almond extract. These flavors mix well with the sweetness of the meringue. You can also try citrus zest, like orange or lime, to enhance the taste. This makes each bite a delightful surprise.
Dietary Modifications
If you need a gluten-free option, use a gluten-free pie crust. Many brands offer ready-made gluten-free crusts. You can also create your own crust using almond flour or gluten-free biscuits. Both options work well and taste great.
For a vegan version, use aquafaba instead of egg whites for the meringue. Aquafaba is the liquid from canned chickpeas. It whips up nicely and creates a fluffy meringue. You can also find vegan butter and use it in the filling. This way, everyone can enjoy this sweet treat.
Mini Pie Versions
Making mini lemon meringue pies is easy and fun. Use small tart pans or muffin tins for these bite-sized treats. Just follow the same filling and meringue steps. You may need to adjust the amount of filling for each mini crust.
When baking mini pies, reduce the cooking time. Bake them for about 5-8 minutes instead of 10-12. Watch them closely. You want the meringue to turn golden brown without burning. These mini pies are perfect for parties or a fun dessert option!
Storage Info
How to Properly Store Lemon Meringue Pie
To keep your lemon meringue pie fresh, store it in the refrigerator. Place the pie in a covered container or cover it lightly with plastic wrap. This helps prevent the meringue from drying out. Make sure the pie cools completely before you store it. If you store it warm, condensation may form and ruin the meringue's texture.
To keep the meringue fluffy, avoid touching it too much when you cover it. If you want to be extra careful, place a piece of wax paper between the meringue and the wrap. This will help maintain its shape and texture.
Freezing Instructions
Can you freeze lemon meringue pie? Yes, you can, but it is tricky. Meringue does not freeze well. If you choose to freeze it, only freeze the pie crust and lemon filling.
To freeze, prepare the pie without the meringue. Allow the filling to cool, then cover it tightly with plastic wrap and foil. When you want to eat it, thaw the filling in the fridge overnight.
Make fresh meringue just before serving. This way, you get that light, fluffy texture we all love.
Shelf Life
How long does lemon meringue pie last in the fridge? It lasts about 2 to 3 days. After that, the meringue may start to weep and lose its texture.
Look for signs of spoilage. If the meringue becomes sticky or the filling starts to separate, it’s best to toss it. Always trust your senses; if it looks or smells off, don’t eat it.
FAQs
What can I do if my meringue weeps?
Meringue weeping happens when moisture forms under the meringue. This can ruin your pie. To prevent weeping, make sure to spread the meringue on hot filling right away. Seal the meringue edges against the crust to stop the moisture. You can also add a bit of cornstarch to your meringue. This helps absorb extra moisture. If your meringue has already wept, try serving it chilled. It may not look perfect but will still taste great.
Can I make lemon meringue pie ahead of time?
Yes, you can make lemon meringue pie ahead of time! Make the pie and store it in the fridge for up to 2 days. Keep it covered with plastic wrap to prevent drying out. If you make it too early, the meringue might soften. To keep it fresh, add the meringue a few hours before you serve. This way, it stays fluffy and firm.
What is the difference between soft and stiff peaks?
Soft peaks form when you beat egg whites until they bend over. They look like gentle waves. Stiff peaks stand straight up and hold their shape. To check this, lift the beaters; the peaks should stay upright. Soft peaks are best for folding into batters, while stiff peaks work well for meringue. Using the right peak type gives the best texture to your final meringue.
Lemon meringue pie is a delightful treat that requires fresh ingredients and careful attention. We discussed key components, like the best pie crust options and high-quality eggs. Following step-by-step instructions ensures a smooth filling, perfect meringue, and a stunning presentation. Remember, small tweaks can lead to big flavor changes. Storing your pie and knowing its shelf life keeps it fresh longer. Now, you can confidently make this classic dessert, with the tips and tricks provided. Enjoy each bite of your homemade creation!