Are you ready to indulge in a classic dessert that never fails to impress? Banana cream pie with a Nilla wafer crust is a timeless treat that’s both easy to make and deliciously satisfying. In this post, I'll walk you through the simple steps needed to create your own perfect pie. With tips and variations, you'll discover how to personalize this recipe to suit your taste. Let's dive into this sweet journey together!
Why I Love This Recipe
- Delicious Flavor Combination: The sweet bananas paired with the creamy pudding and crunchy Nilla wafer crust create a delightful harmony of textures and flavors.
- Easy to Make: This recipe is straightforward and requires no baking skills, making it perfect for both novice and experienced bakers.
- Perfect for Any Occasion: Whether it’s a family gathering, a picnic, or a holiday meal, this pie is sure to impress and satisfy everyone.
- Chill Factor: It’s a refreshing dessert that’s best served cold, making it a perfect treat for warm days or after a hearty meal.
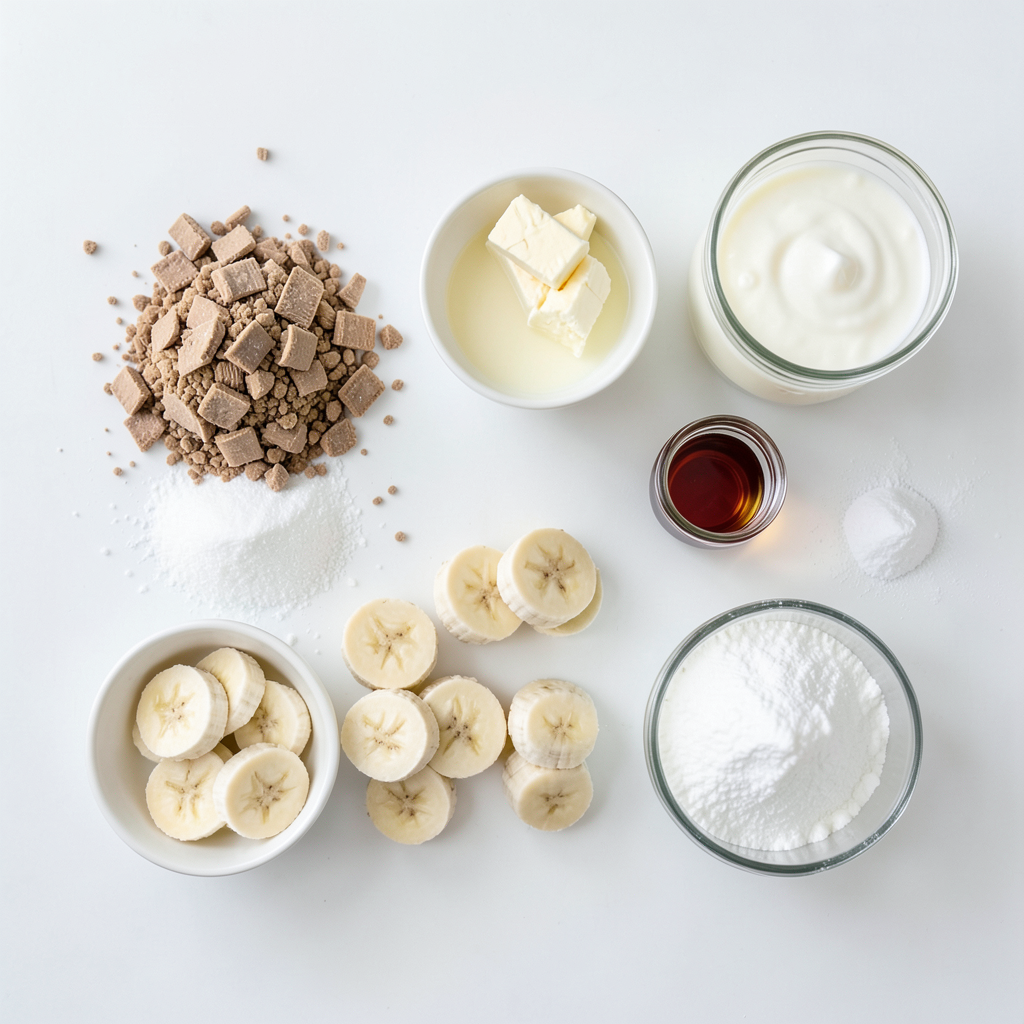
Ingredients
List of Ingredients for Banana Cream Pie
To make a classic banana cream pie with a Nilla wafer crust, gather the following ingredients:
- 1 ½ cups Nilla wafers, crushed
- 1/3 cup granulated sugar
- 1/4 cup unsalted butter, melted
- 2 medium ripe bananas, sliced
- 2 cups whole milk
- 1/2 cup granulated sugar (for filling)
- 1/3 cup cornstarch
- 1/4 teaspoon salt
- 4 large egg yolks, lightly beaten
- 2 tablespoons unsalted butter (for filling)
- 1 teaspoon vanilla extract
- 1 cup heavy whipping cream
- 2 tablespoons powdered sugar
- Additional banana slices and Nilla wafers for garnish
Measurements and Substitutions
Use these measurements for best results. If you wish to swap ingredients, here are some ideas:
- Nilla wafers: You can use graham crackers.
- Granulated sugar: Try coconut sugar for a different taste.
- Whole milk: Almond milk works as a dairy-free option.
- Egg yolks: Use egg replacer for a vegan choice.
- Heavy cream: Coconut cream can replace it for a dairy-free version.
Essential vs. Optional Ingredients
Some ingredients are vital while others are not. Here’s the breakdown:
- Essential: Nilla wafers, bananas, whole milk, sugar, cornstarch, egg yolks.
- Optional: Additional banana slices and Nilla wafers for garnish. You can skip the whipped cream if you want a lighter dessert.
Step-by-Step Instructions
Preparing the Nilla Wafer Crust
First, gather your ingredients for the crust. You need 1 ½ cups of crushed Nilla wafers, 1/3 cup of granulated sugar, and 1/4 cup of melted unsalted butter. In a medium bowl, mix the crushed wafers, sugar, and melted butter. Stir until everything combines well. Then, press the mixture firmly into a 9-inch pie dish. Make sure to cover the bottom and sides evenly. Bake it at 350°F (175°C) for about 10 minutes. After baking, let it cool completely before adding the filling.
Making the Pudding Filling
Now, let’s make the creamy pudding. In a medium saucepan, whisk together 2 cups of whole milk, 1/2 cup of sugar, 1/3 cup of cornstarch, and 1/4 teaspoon of salt. Place the saucepan over medium heat and stir constantly. Cook until the mixture thickens and bubbles start to form, which takes about 5 to 7 minutes. In another bowl, gently whisk 4 large egg yolks. Slowly add a small amount of the hot milk mixture to the yolks while stirring. This step is called tempering. Then, pour the egg mixture back into the saucepan. Keep cooking and stirring until the pudding gets thick, about 2 to 3 minutes. Remove it from heat and stir in 2 tablespoons of butter and 1 teaspoon of vanilla extract. Let it cool slightly.
Assembling the Pie and Chilling
Once the pudding has cooled for about 10 minutes, it's time to assemble the pie. Layer 2 medium ripe bananas, sliced evenly over the cooled Nilla wafer crust. Carefully pour the pudding mixture over the bananas, smoothing it out with a spatula. Cover the pie with plastic wrap, pressing it directly onto the surface of the pudding. This helps prevent a skin from forming. Chill the pie in the refrigerator for at least 4 hours or until it has set nicely. This step allows all the flavors to blend perfectly.
Tips & Tricks
How to Achieve the Best Texture
To get the best texture in your banana cream pie, focus on the pudding. Cook it slowly over medium heat. Stir constantly to avoid lumps. The pudding should thicken nicely. You want it creamy and smooth. When you layer the bananas, choose ripe but firm ones. This keeps them from getting mushy in the pie.
Preventing a Skin on the Pudding
A skin forms when the pudding cools too quickly. To prevent this, cover the pudding with plastic wrap. Press it right onto the surface of the pudding. This keeps air out and moisture in. If you forget to do this, don’t worry. You can simply whisk it before using it. It will still taste great!
Presentation Tips for Serving
To serve your pie beautifully, start with whipped cream on top. Spread it gently for an even layer. Add extra banana slices and Nilla wafers for a pop of color. You can also sprinkle some crushed wafers around the pie. For a fancy touch, use a piping bag for the cream. This makes it look special and inviting.
Pro Tips
- Use Ripe Bananas: For the best flavor and sweetness, make sure to use medium ripe bananas that have a few brown spots on the skin.
- Prevent Browning: To keep your banana slices from browning, you can toss them in a bit of lemon juice before layering them in the pie.
- Chill the Pudding: Allow the pudding mixture to cool slightly before pouring it over the bananas to prevent them from cooking and becoming mushy.
- Whip Cream to Soft Peaks: Be careful not to over-whip the cream; stop when soft peaks form for a light and airy topping.
Variations
Gluten-Free Options
You can easily make a gluten-free banana cream pie. Instead of Nilla wafers, use gluten-free cookies or crushed gluten-free graham crackers. Make sure to check the labels for any hidden gluten. The crust will still be sweet and crunchy.
Adding Flavors (like chocolate or almond)
You can add fun flavors to your pie. For chocolate, mix in cocoa powder with the pudding. Use about 1/4 cup for a bold taste. For almond flavor, add a teaspoon of almond extract to the pudding. This twist gives your pie a new depth of flavor.
Dairy-Free Alternatives
If you want a dairy-free version, use almond milk or coconut milk instead of whole milk. For the butter, coconut oil works well. You can also use coconut cream for the whipped topping. These swaps keep the pie creamy while making it dairy-free.
Storage Info
How to Store Leftover Banana Cream Pie
Store any leftover banana cream pie in the fridge. Cover it tightly with plastic wrap or aluminum foil. This keeps the pie fresh and prevents it from drying out. The cool air will help maintain its creamy texture.
Best Practices for Freezing
You can freeze banana cream pie, but it’s best to freeze the filling and crust separately. Wrap the crust well in plastic wrap. For the filling, place it in an airtight container. Freezing can change the texture of bananas, so I recommend adding them after thawing.
Shelf Life and Serving Recommendations
Leftover banana cream pie lasts about 3-4 days in the fridge. If you freeze it, use it within 2 months for the best taste. When serving leftovers, let the pie sit at room temperature for about 15 minutes. This brings back the creamy texture. Always add fresh whipped cream on top for the best flavor!
FAQs
Can I make banana cream pie in advance?
Yes! You can make this pie a day ahead. Just follow the recipe and chill it overnight. This helps the flavors mix well. The crust stays crisp, and the filling firms up nicely. Just add the whipped cream right before serving for the best taste.
What’s the best way to slice the pie?
To slice the pie, use a sharp knife. Dip it in warm water, then dry it off. This helps the knife glide through the cream and bananas. Clean the knife between cuts to keep each slice neat. Aim for even slices to share with friends!
Can I use other fruits in this recipe?
Absolutely! You can swap bananas for other fruits. Try strawberries, blueberries, or peaches. Just remember to balance the flavors. Each fruit gives a unique taste and color. Mix and match to find your favorite fruit combo!
Banana cream pie is a classic treat, made easy with the right steps. We explored the key ingredients, including how to measure and substitute. Preparing the crust and pudding is simple, so anyone can do it. I shared tips to improve texture and prevent skin on the pudding. There are fun variations and storage tips to keep your pie fresh. Finally, I answered common questions to help you succeed. Enjoy making this pie! It’s a dessert that delights everyone.