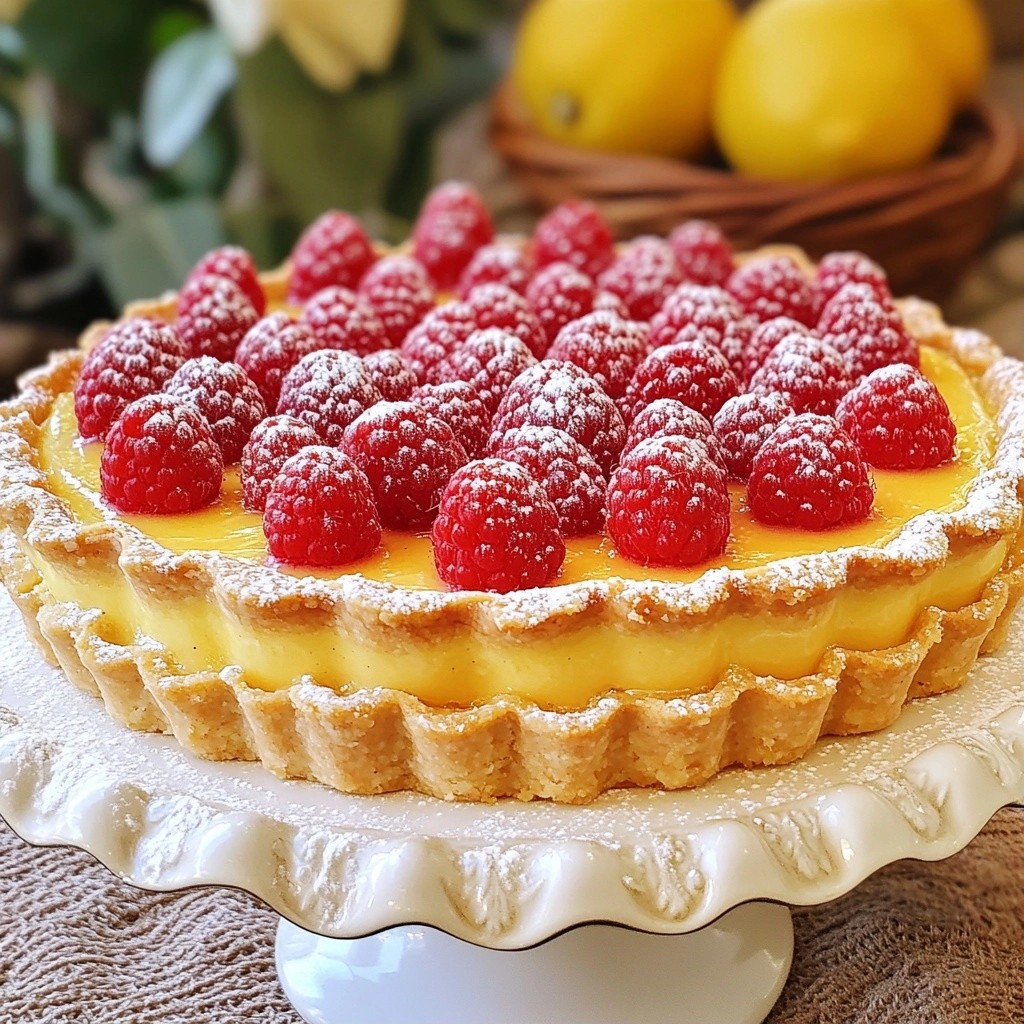
Are you ready to impress your loved ones with a sweet treat? The Classic Baking Raspberry Lemon Tart is sure to delight! With its zesty lemon filling and tart raspberry notes, this dessert hits all the right spots. In this guide, I’ll share essential ingredients, step-by-step instructions, and valuable tips. Let’s dive in and create a dessert that brightens any occasion!
Why I Love This Recipe
- Fresh Flavors: This tart combines the brightness of lemon with the sweetness of raspberries, creating a refreshing dessert that's perfect for any occasion.
- Simple Ingredients: With basic pantry staples and fresh fruit, this recipe is easy to make without needing any fancy equipment.
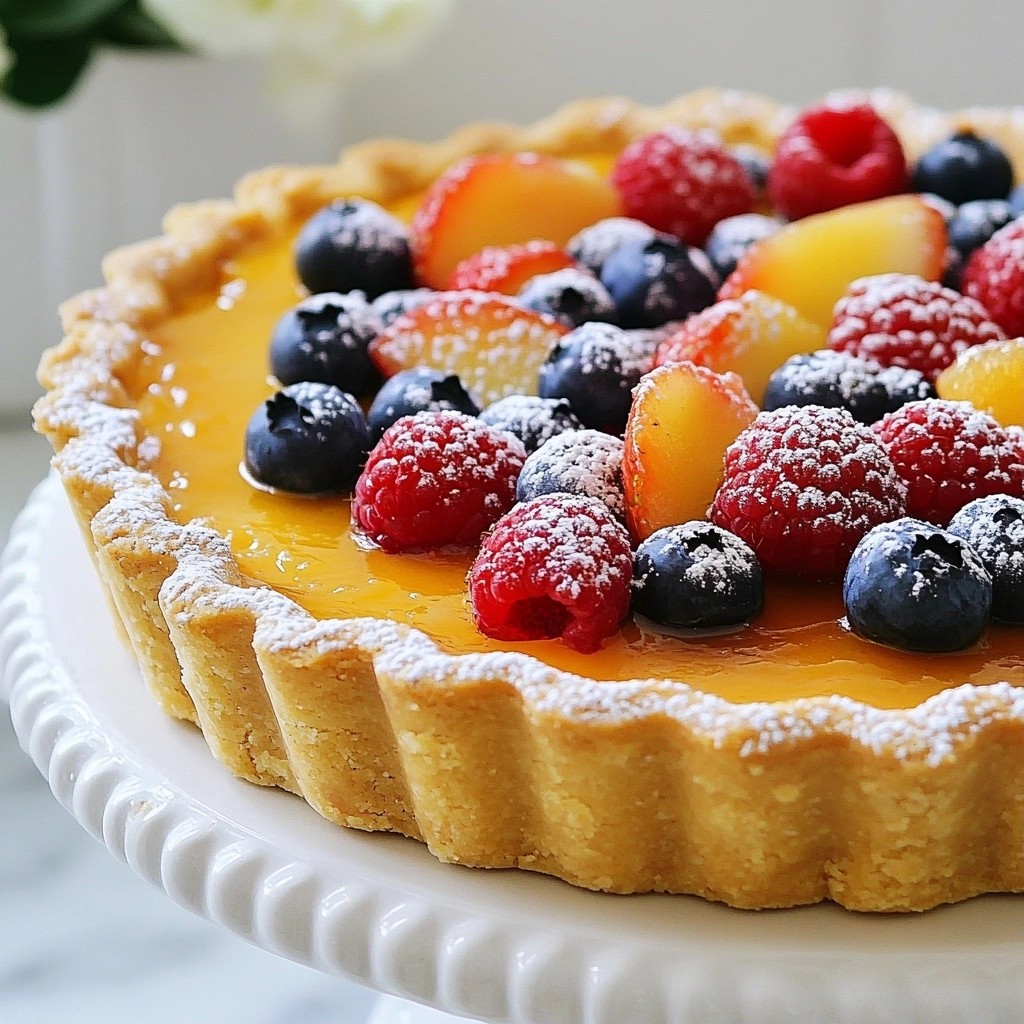
- Elegant Presentation: The stunning look of the tart makes it a showstopper at gatherings, impressing guests with its vibrant colors.
- Versatile Dessert: This tart can be enjoyed on its own or paired with whipped cream or ice cream for an extra indulgent treat.
Ingredients
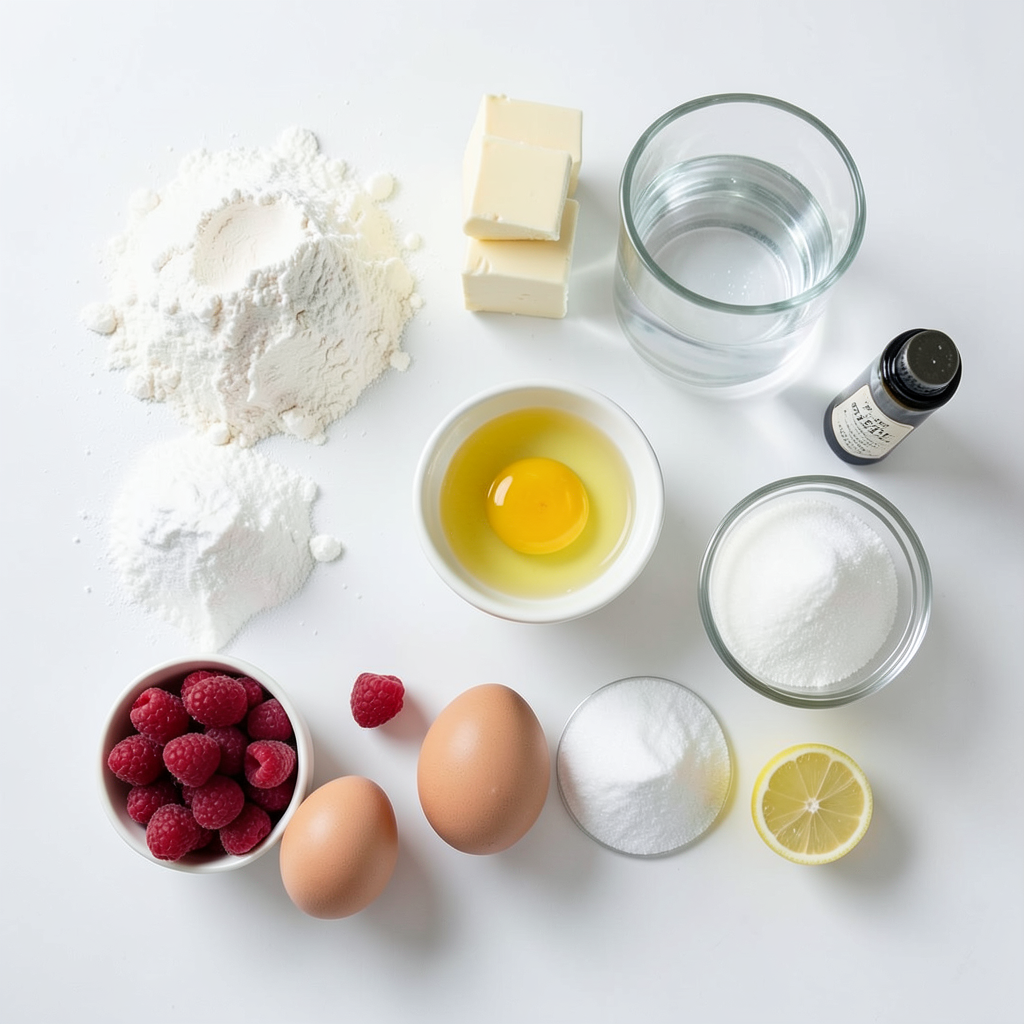
Complete List of Ingredients
- 1 ½ cups all-purpose flour
- ½ cup powdered sugar
- ½ cup unsalted butter, chilled and cubed
- 1 large egg yolk
- 2 tablespoons ice water
- 1 cup fresh raspberries
- 3 large eggs
- 1 cup granulated sugar
- 1/3 cup fresh lemon juice (about 2 large lemons)
- Zest of 1 lemon
- 1 teaspoon vanilla extract
- Pinch of salt
- Powdered sugar for dusting (optional)
Ingredient Notes and Substitutions
For the flour, you can use gluten-free flour if needed. The butter must be unsalted for the best flavor. If you need a dairy-free option, try using coconut oil or a vegan butter substitute. You can swap fresh raspberries for other berries, like blueberries or strawberries. For lemon juice, fresh is best, but bottled works in a pinch.
Why Fresh Ingredients Matter
Using fresh ingredients makes a big difference in taste. Fresh raspberries burst with flavor, adding a sweet-tart balance to your tart. Fresh lemons give a bright, zesty kick. They enhance the flavor and aroma of your dish. Plus, they provide better texture. Fresh ingredients help create a lovely presentation too. You want that bright red filling to shine against the crust. So, always choose fresh when you can!
Step-by-Step Instructions
Preparing the Tart Crust
To start, gather your ingredients for the crust. You need:
- 1 ½ cups all-purpose flour
- ½ cup powdered sugar
- ½ cup unsalted butter, chilled and cubed
- 1 large egg yolk
- 2 tablespoons ice water
First, I use a food processor to combine the flour and powdered sugar. I add the chilled butter next. I pulse this mix until it looks like coarse crumbs. This step is key for a flaky crust.
Next, I add the egg yolk and ice water. I process until the dough comes together. If it feels too dry, I add more water, one teaspoon at a time.
Then, I shape the dough into a disk. I wrap it in plastic wrap and chill it for at least 30 minutes. Chilling helps the crust hold its shape while baking.
Making the Raspberry Lemon Filling
Now, let’s make the filling. Gather these ingredients:
- 1 cup fresh raspberries
- 3 large eggs
- 1 cup granulated sugar
- 1/3 cup fresh lemon juice (about 2 large lemons)
- Zest of 1 lemon
- 1 teaspoon vanilla extract
- Pinch of salt
In a mixing bowl, I whisk together the eggs, sugar, lemon juice, zest, vanilla, and salt. I mix until it’s well combined.
Next, I gently fold in the fresh raspberries. I love how the raspberries add a burst of color and flavor to the filling.
Assembling and Baking the Tart
With the crust chilled and the filling ready, I preheat my oven to 375°F (190°C). I roll out the chilled dough on a floured surface. I fit it into a 9-inch tart pan, pressing the dough into the sides. I trim any excess and prick the bottom with a fork.
For blind baking, I place parchment paper over the crust. I fill it with pie weights or dried beans. I bake for 20 minutes, then remove the weights and parchment. I bake for another 10-15 minutes until it’s golden. Once done, I let it cool completely.
Now, I pour the raspberry-lemon filling into the cooled tart shell. I bake it for about 25-30 minutes. The center may jiggle a bit but will firm up as it cools.
After baking, I let the tart cool at room temperature. It’s best to refrigerate for at least 1 hour before serving. If desired, I dust it with powdered sugar before slicing. Enjoy this delightful treat!
Tips & Tricks
Tips for Perfecting the Tart Crust
To make a great tart crust, use cold ingredients. Cold butter gives the crust a flaky texture. When mixing, stop as soon as you see coarse crumbs. Over-mixing can lead to a tough crust. Use a light touch when shaping the dough. After rolling it out, chill the crust again before baking. This helps it hold its shape.
Common Mistakes to Avoid
One common mistake is not chilling the dough. Skipping this step can make the crust shrink while baking. Another mistake is using too much flour when rolling out the dough. This can dry out the crust. Always measure flour correctly. Lastly, don’t rush the blind baking. Properly bake the crust to ensure a crisp base.
How to Achieve the Best Flavor Balance
Balancing flavors is key. The tartness of lemon needs sweetness from sugar. Use fresh lemon juice for the best taste. The raspberries add a fruity depth. Make sure to fold them in gently. This keeps their shape and adds bursts of flavor. Don’t forget a pinch of salt. It enhances all the flavors in your filling.
Pro Tips
- Chill Your Ingredients: Ensure your butter and egg are well-chilled before making the crust for a flakier texture.
- Don’t Overmix: When combining the filling ingredients, mix just until combined to keep the filling light and airy.
- Check for Doneness: The tart is done when the filling is set but still slightly jiggly in the center; it will firm up as it cools.
- Garnish for Presentation: Add fresh mint leaves and additional raspberries on top before serving for an eye-catching presentation.
Variations
Adding Different Fruits
You can change the fruit in this tart to mix things up. Instead of raspberries, try fresh blueberries, strawberries, or blackberries. Each fruit brings a new taste. Blueberries add sweetness, while strawberries add a fresh touch. You can even blend fruits for a fun twist. Just keep the same amount to ensure the filling sets well.
Modifications for Dietary Restrictions
If you need a gluten-free option, swap the all-purpose flour for a gluten-free blend. Many brands offer great mixes that work well in tarts. For those who can’t have eggs, use a flaxseed or chia seed mixture instead. Combine one tablespoon of flaxseed or chia with three tablespoons of water. Let it sit for five minutes to thicken. This will help bind the tart.
Flavor Infusions and Enhancements
You can boost the flavor of the tart easily. Try adding a hint of ginger or cardamom to the filling. A teaspoon of ground ginger can add a warm spice. For a richer taste, mix in a splash of almond extract instead of vanilla. This adds a lovely nutty flavor. Zest some lime or orange along with the lemon for a bright twist. Each variation gives your tart a unique flair.
Storage Info
How to Store Leftover Tart
To keep your raspberry lemon tart fresh, store it in the fridge. Use an airtight container or cover it with plastic wrap. This helps keep it from drying out. The tart will last for about three days in the fridge. If you plan to eat it later, avoid adding powdered sugar until you serve it.
Freezing Instructions
You can freeze the tart for longer storage. First, let it cool completely. Wrap it tightly in plastic wrap or foil. Then, place it in a freezer-safe container. The tart can last up to three months in the freezer. When you are ready to eat it, thaw it in the fridge overnight.
Best Practices for Maintaining Freshness
To keep your tart as fresh as possible, follow these tips:
- Store it in the fridge as soon as it cools.
- Avoid leaving it out at room temperature for too long.
- Always cover the tart to prevent it from absorbing odors.
- If you notice any moisture, use a paper towel to gently dab it.
These practices will help you enjoy your raspberry lemon tart at its best!
FAQs
Can I Use Frozen Raspberries?
Yes, you can use frozen raspberries in this tart. They may release extra juice. To avoid a soggy filling, let them thaw first. Drain any excess juice before adding them to the filling. This helps keep the tart firm.
How Do I Know When the Tart is Done?
You can tell the tart is done by looking at the filling. It should be set but still jiggle a bit in the center. The edges may puff slightly. If you see that, it’s ready! The baking time is about 25 to 30 minutes.
What’s the Best Way to Serve Raspberry Lemon Tart?
Serve the tart chilled for the best flavor. You can dust it with powdered sugar for a nice touch. Adding fresh raspberries or a mint sprig makes it look pretty. Use a sharp knife for clean slices. Enjoy it with a dollop of whipped cream for extra richness!
In this post, I shared how to create a tasty raspberry lemon tart. We covered the ingredients, step-by-step instructions, and tips for success. Using fresh ingredients makes a big difference in flavor. I also explained how to customize the tart with different fruits and dietary options. Remember to store leftovers properly to keep them fresh. Now, you're ready to impress everyone with your baking skills. Enjoy your delicious tart creation!