

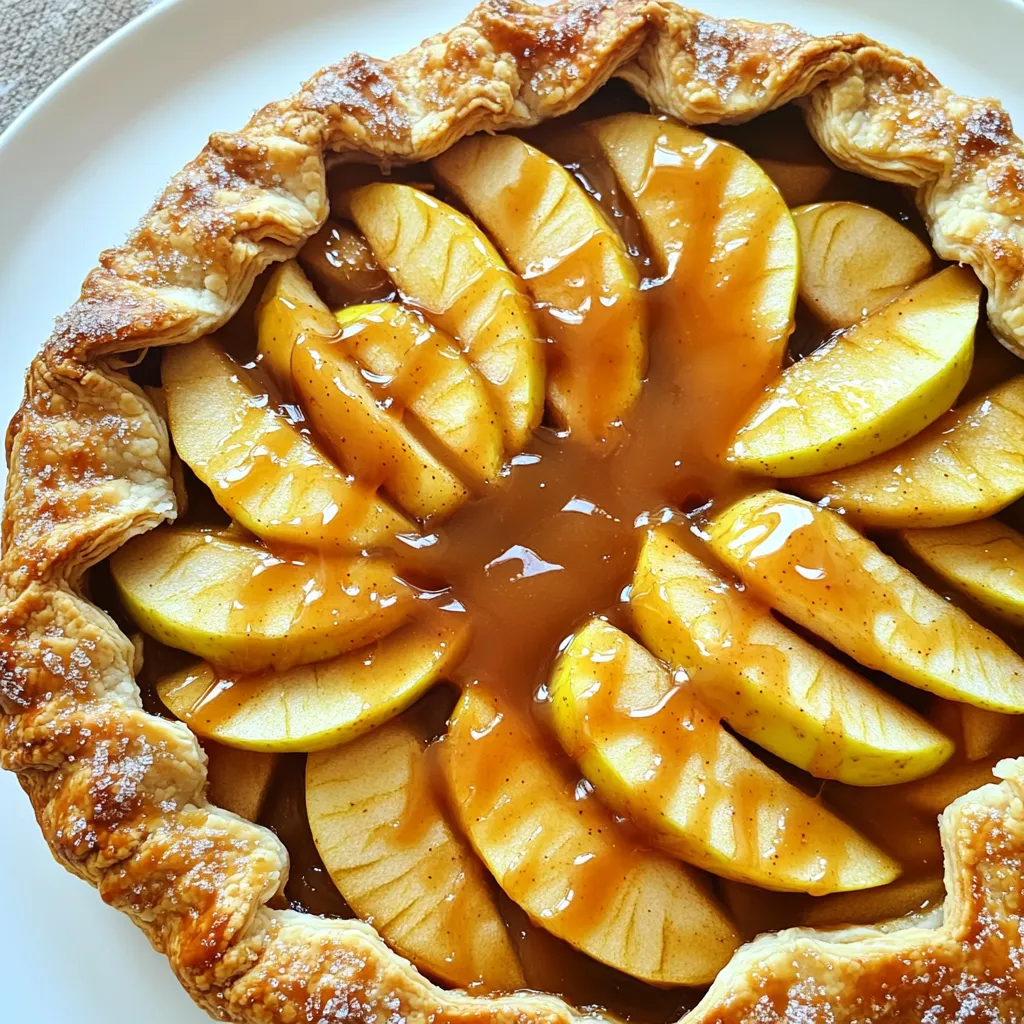
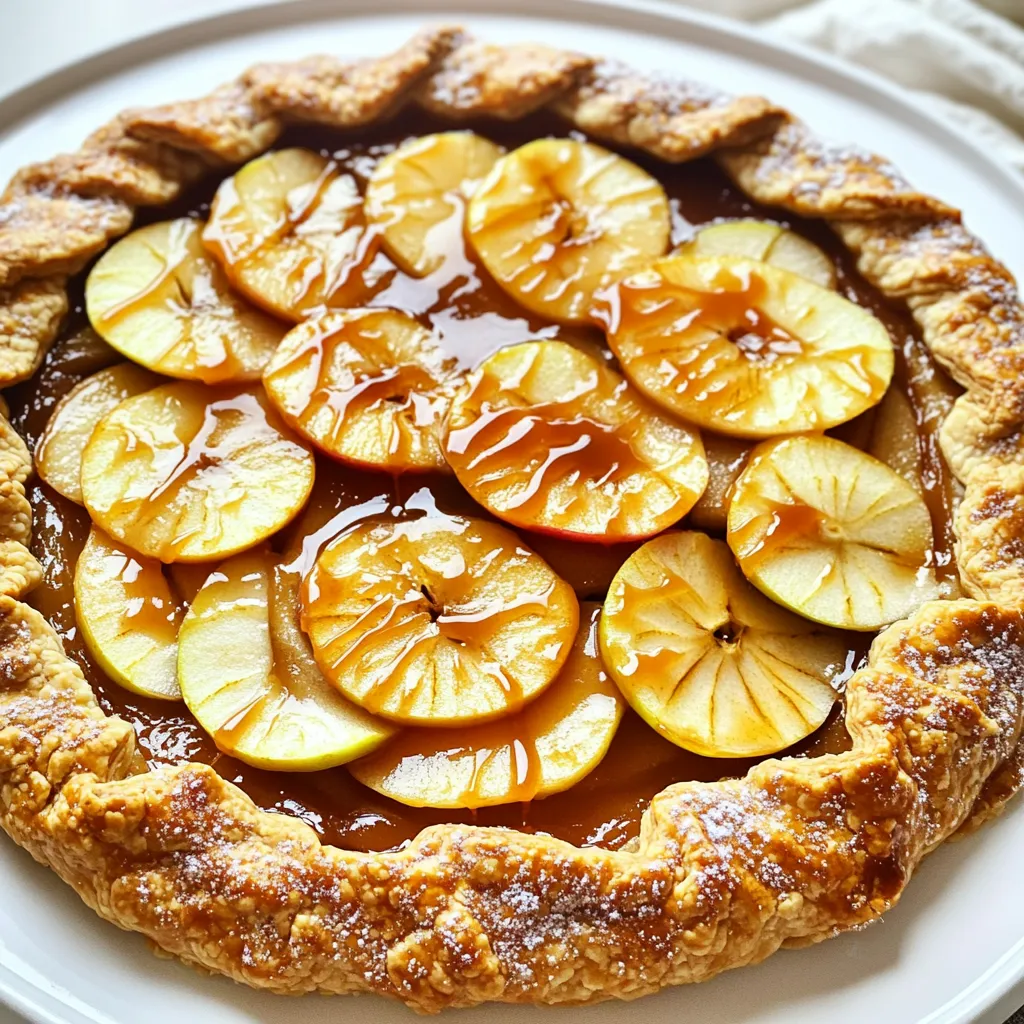
Are you ready to treat yourself to a tasty dessert? This Caramel Apple Galette is simple and oh-so-delicious. With fresh apples and rich caramel sauce, it’s a perfect mix of sweet and tart. In this post, I’ll guide you through easy steps to create this delightful dish. Plus, I’ll share tips for storing leftovers and ways to customize the galette. Let’s dive in and get baking!
Ingredients
Key Ingredients for Caramel Apple Galette
To make a tasty caramel apple galette, you need some simple ingredients:
– 2 medium apples, peeled and sliced
– 1 tablespoon lemon juice
– 1/4 cup granulated sugar
– 1/4 teaspoon ground cinnamon
– 1/4 teaspoon nutmeg
– 1 pre-made pie crust (or homemade if you like)
– 1/4 cup caramel sauce, plus extra for drizzling
– 1 tablespoon unsalted butter, cut into small pieces
– 1 egg, beaten (for egg wash)
– Coarse sugar for sprinkling (optional)
These ingredients mix together to create a sweet and crunchy dessert. The apples give it a fresh taste while the caramel adds rich sweetness.
Recommended Apple Varieties
The type of apples you choose matters a lot. I love using Granny Smith apples. They bring a nice tart flavor which balances the sweet caramel. Honeycrisp apples are also great. They are sweet and have a crisp bite. You can mix different kinds of apples for more depth in flavor.
Optional Ingredients for Extra Flavor
Want to add a twist? You can try these optional ingredients:
– A pinch of salt to enhance the sweetness
– Chopped nuts like pecans or walnuts for crunch
– A splash of vanilla extract for warmth
– Dried fruits like raisins or cranberries for a chewy texture
These extra ingredients can make your galette even more special. Feel free to experiment and find your favorite combination!
Step-by-Step Instructions
Prepping the Oven and Ingredients
Start by preheating your oven to 400°F (200°C). This step is key for a crispy crust. While the oven heats, line a baking sheet with parchment paper. This keeps your galette from sticking. Next, peel and slice two medium apples, like Granny Smith or Honeycrisp. In a bowl, mix the apple slices with one tablespoon of lemon juice. Add 1/4 cup of granulated sugar, 1/4 teaspoon of ground cinnamon, and 1/4 teaspoon of nutmeg. Toss well and let the apples sit for about 10 minutes to absorb the flavors.
Assembling the Galette
On a floured surface, roll out your pie crust into a rough 12-inch circle. If you use a store-bought crust, it saves time. Carefully transfer the crust to the lined baking sheet. In the center of the crust, place your apple mixture, leaving a 2-inch border around the edge. Drizzle 1/4 cup of caramel sauce over the apples, adding sweet richness. Then, dot the filling with small pieces of unsalted butter. This adds a nice flavor as it bakes. Now, fold the edges of the crust over the apples. Create gentle pleats for that rustic look. Brush the exposed crust with a beaten egg to give it a golden shine. If you like, sprinkle coarse sugar over the crust for extra sparkle.
Baking the Galette to Perfection
Now, pop the galette into your preheated oven. Bake it for 25-30 minutes until the crust turns golden brown. The apples should also be tender and juicy. Once it’s done, remove it from the oven. Drizzle some extra caramel sauce over the warm galette for a delicious finish. Let it cool for a few minutes before serving. This galette is simple yet so tasty!
Tips & Tricks
How to Choose the Best Apples for Baking
When picking apples, you want crisp ones. I love using Granny Smith or Honeycrisp. These apples add a nice tartness. They hold their shape well when baked. Avoid soft apples like Red Delicious. They can turn mushy in the oven. Look for firm apples with bright skin. Freshness matters, so buy from local farms if you can.
Achieving a Flaky Pie Crust
A flaky pie crust makes all the difference. Start with cold ingredients. Keep your butter and water very cold. This helps create steam as it bakes. When mixing, handle the dough gently. Overworking it can make it tough. Roll it out on a floured surface to avoid sticking. If you want extra flakiness, try using half butter and half shortening.
Serving Suggestions and Pairings
Serve your galette warm for the best taste. A scoop of vanilla ice cream goes perfectly with it. You can also drizzle more caramel sauce on top. If you like, sprinkle some sea salt for a sweet-salty mix. A dollop of whipped cream adds a nice touch, too. Enjoy it with a cup of hot cider or tea for a cozy treat.
Variations
Different Fruit Combinations
You can change up the flavors by using different fruits. Pears work well; they add a sweet touch. You can also mix apples with berries. Try blueberries or raspberries for a tart twist. Stone fruits like peaches or plums can add a juicy flavor. Just make sure to adjust the sugar based on the fruit’s sweetness.
Gluten-Free or Vegan Options
For a gluten-free galette, use a gluten-free pie crust. Many brands offer ready-made options. You can also make your own with gluten-free flour. If you want a vegan version, skip the egg wash. Brush the crust with a plant-based milk instead. This still gives it a nice color while keeping it vegan.
Flavor Profile Enhancements
To enhance the taste, try adding spices like ginger or cloves. They can bring warmth to the galette. You might also add a splash of vanilla extract to the apples. For extra richness, consider adding nuts like walnuts or pecans. They add crunch and depth. You can even drizzle some balsamic reduction on top for a unique twist.
Storage Info
How to Store Leftovers
To store your caramel apple galette, let it cool completely. Place it in an airtight container. You can also cover it with plastic wrap. Keep it in the fridge for up to three days. The crust may soften a bit, but it will still taste great.
Reheating Tips for Best Texture
To reheat the galette, preheat your oven to 350°F (175°C). Place the galette on a baking sheet. Heat it for about 10-15 minutes. This keeps the crust crispy and warms the apples. Avoid using the microwave, as it can make the crust soggy.
Freezing for Later Use
If you want to freeze the galette, let it cool first. Wrap it tightly in plastic wrap. Then, place it in a freezer bag or container. You can freeze it for up to three months. To enjoy, thaw it in the fridge overnight and reheat as mentioned above for the best results.
FAQs
What is a galette?
A galette is a free-form pie. It has a simple, rustic look. You can fill it with many fruits. The crust is easy to make or buy. This makes galettes a fun choice for home cooks. The best part? They do not need a pie pan. You can shape them by hand.
Can I use a different type of crust?
Yes, you can use any type of crust you like. A flaky pie crust works well. You might also try a cookie crust for a sweet twist. Puff pastry gives a light and airy feel. Just make sure it can hold the filling.
How do I prevent the crust from becoming soggy?
To keep the crust crisp, follow these tips:
– Use a pre-baked crust: This helps set the base.
– Add a layer of flour or nuts: Sprinkle this on the crust before adding fruit.
– Avoid over-filling: Too much juice can make it wet.
– Bake until golden: A well-cooked crust has less chance of being soggy.
Can I make this recipe ahead of time?
You can prep the galette ahead of time. Just store it unbaked in the fridge. It is best to bake it fresh for the best texture. If you want to freeze it, wrap it well. You can bake it right from frozen, adding a few extra minutes.
You now have all the tools to make a great caramel apple galette. We covered key ingredients, best apple choices, and extra flavor options. I shared step-by-step instructions to guide you through baking. Plus, I offered tips for a flaky crust and pairing ideas. Don’t forget about the fun variations and how to store leftovers.
Enjoy this delicious dessert with family and friends. Your galette will impress everyone at the table. Happy baking!
