
Get ready to delight your sweet tooth with my No-Bake Salted Caramel Cheesecake Jars! This easy dessert is perfect for any occasion, and it requires no oven. You’ll learn how to mix a creamy filling, create a tasty crust, and layer it all perfectly. Plus, I’ll share tips to make it even better and give you fun flavor options. Dive in to discover your new go-to treat!
Ingredients
Complete List of Ingredients
– 1 cup graham cracker crumbs: These crumbs form the base of your cheesecake. They create a sweet, crunchy layer.
– 2 tablespoons melted butter: This binds the crumbs together and adds richness.
– 16 oz cream cheese, softened: Cream cheese gives the cheesecake its creamy texture. Make sure it’s at room temperature for easy mixing.
– 1 cup powdered sugar: This sweetens the filling and helps it stay smooth.
– 1 teaspoon vanilla extract: This adds a warm flavor that enhances the cheesecake.
– 1 cup heavy cream: Whipping this cream makes the cheesecake light and fluffy.
– 1/2 cup salted caramel sauce: This provides the sweet and salty flavor we love. You can use store-bought or homemade.
– Flaky sea salt for garnish: This adds a finishing touch, balancing the sweetness.
Possible Substitutes for Key Ingredients
– Graham cracker crumbs: You can use crushed cookies like Oreos or digestive biscuits for a different flavor.
– Cream cheese: Neufchâtel cheese works well for a lighter version.
– Heavy cream: Look for coconut cream if you want a non-dairy option.
– Salted caramel sauce: Try making your own with sugar, cream, and butter for a fresh taste.
This simple list helps you gather all the elements for a delicious dessert. Each ingredient plays a key role in making these no-bake salted caramel cheesecake jars a delightful treat.
Step-by-Step Instructions
Preparation of the Cheesecake Crust
First, gather your graham cracker crumbs and melted butter. In a mixing bowl, combine them well. You want the mixture to feel like wet sand. This texture helps the crust hold together. Next, take six small jars or cups. Divide the mixture evenly among them. Press it down gently with your fingers. This creates a firm layer at the bottom.
Making the Cheesecake Filling
Now, let’s focus on the filling. In a separate bowl, add the softened cream cheese. Beat it until it becomes smooth and creamy. This step is key for a good texture. Gradually add the powdered sugar while you mix. Then, stir in the vanilla extract for flavor. In another bowl, whip the heavy cream until you see soft peaks. This means it’s ready. Gently fold the whipped cream into the cream cheese mixture. Be careful not to deflate it. You want a light and airy filling.
Assembling and Chilling
Time to put it all together! Start by spooning the cheesecake filling over the crust in each jar. Leave some space for caramel. Drizzle the salted caramel sauce on top of each jar. You want enough to enjoy the flavor without drowning the cheesecake. After assembling, cover the jars with lids or plastic wrap. Refrigerate them for at least 4 hours. Chilling is important. It helps the flavors develop and the cheesecake to set. Enjoy your delicious no-bake salted caramel cheesecake jars!
Tips & Tricks
Achieving the Perfect Texture
To get a creamy cheesecake, be sure to beat the cream cheese well. Start with softened cream cheese. This makes mixing easier. Gradually add in powdered sugar. Mix until it is smooth.
For the cream, whip it until you see soft peaks. This means the cream holds some shape but is not stiff. Gently fold the whipped cream into the cream cheese mixture. This keeps the cheesecake light and fluffy.
Flavor Enhancements
To boost the caramel flavor, use more salted caramel sauce. You can add a little extra to the filling. This makes each bite rich and sweet.
You can also try different extracts. Almond or hazelnut extracts add unique notes. Just a drop or two can change the flavor profile.
Presentation Techniques
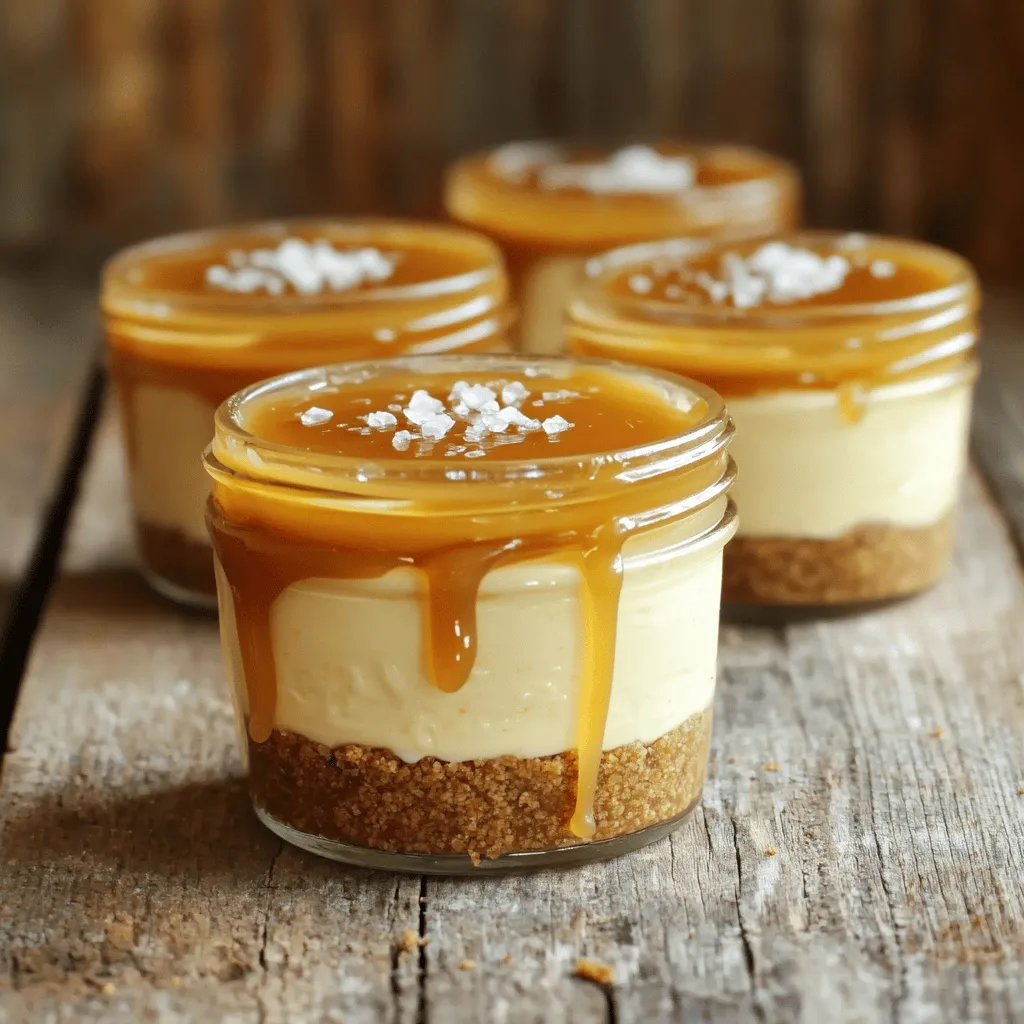
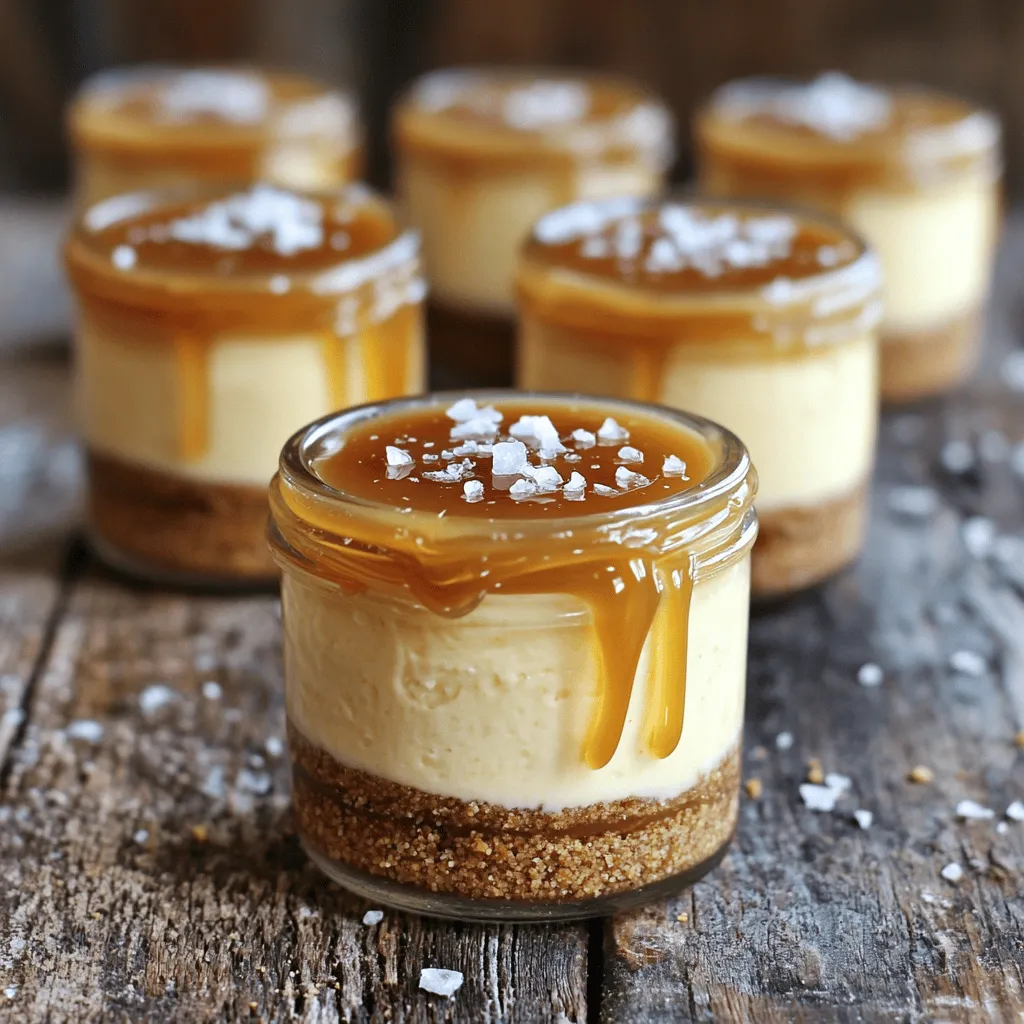
When serving in jars, think about creative ways to show them off. Use clear jars so the layers show. This makes them look fancy.
For garnishing, sprinkle flaky sea salt on top. This gives a nice crunch and enhances the flavor. You can also add a drizzle of caramel and some crust crumbs. This makes the jars even more appealing.
Variations
Alternative Flavor Combinations
You can change up the flavor of your no-bake salted caramel cheesecake jars easily. Try a chocolate caramel cheesecake by adding cocoa powder to the cream cheese mix. This adds a rich and decadent twist. You can also use chocolate graham crackers for the crust. For something fruity, blend in puréed berries like strawberries or raspberries for a fresh touch. You can also fold in lemon zest to give it a bright flavor.
Dietary Modifications
If you need gluten-free options, swap graham crackers with gluten-free cookies or almond flour. For a vegan version, use dairy-free cream cheese and coconut cream instead of heavy cream. Replace powdered sugar with a powdered sugar substitute for a low-sugar option. These swaps can make this treat fit many diets without losing flavor.
Seasonal Variations
Incorporating seasonal fruits can make this dessert even more special. For summer, add fresh peaches or blueberries on top. In the fall, try a spiced pumpkin topping for a cozy vibe. Use festive toppings during holidays, like crushed peppermint or chocolate shavings. These variations keep the dessert exciting and fresh all year round.
Storage Info
Best Practices for Storing Cheesecake Jars
You can store these cheesecake jars in the fridge for up to five days. Make sure to cover them tightly with lids or plastic wrap. This keeps them fresh and tasty. If you want to save them longer, you can freeze them. To freeze, simply cover the jars with plastic wrap. Then, place them in an airtight container. They can last up to three months in the freezer.
Reheating and Serving After Storage
When you’re ready to enjoy your cheesecake after freezing, take it out and let it thaw in the fridge overnight. This helps maintain the smooth texture. If you want to serve them right away, let them sit at room temperature for about 30 minutes. Do not microwave them, as this can ruin the cheesecake texture. For the best experience, add a drizzle of salted caramel on top before serving. Enjoy the delightful flavors!
FAQs
Can I use different types of cookies for the crust?
Yes, you can! Try using Oreo cookies for a rich chocolate flavor. You can also use vanilla wafers or even shortbread cookies. Each type will add its own taste and texture. Simply crush them as you would with graham crackers. You may need to adjust the butter amount to keep the crust firm.
How long does the cheesecake need to chill?
The cheesecake needs at least 4 hours to chill. This helps it set well and allows the flavors to mix. If you can, chill it overnight for the best taste. The longer it chills, the creamier it feels.
Can I make this recipe ahead of time for an event?
Absolutely! This cheesecake is perfect to make ahead. Just prepare the jars and store them in the fridge. They will stay fresh for about three days. This way, you can enjoy your event without cooking at the last minute.
What is the best way to layer the cheesecake and caramel?
Start with the crust as the first layer. Press it down firmly in each jar. Then, spoon the cheesecake filling gently on top. For the caramel, drizzle it on last. Try to make each layer even for a nice look. You can alternate layers if you like for a fun twist!
This blog post covered everything you need to make delicious cheesecake jars. We explored the main ingredients, preparation steps, tips for the perfect texture, and tasty variations. Remember to chill your jars for the best flavor. Don’t hesitate to get creative with flavors or presentation. You can even store them for later. Now you have the tools to impress yourself and others with these sweet treats. Enjoy making your cheesecake jars!
