
LATEST RECIPES


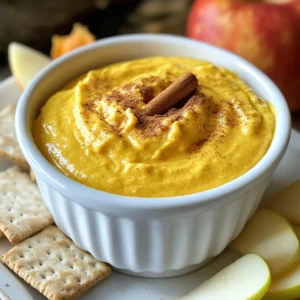

LET'S GET COOKING!
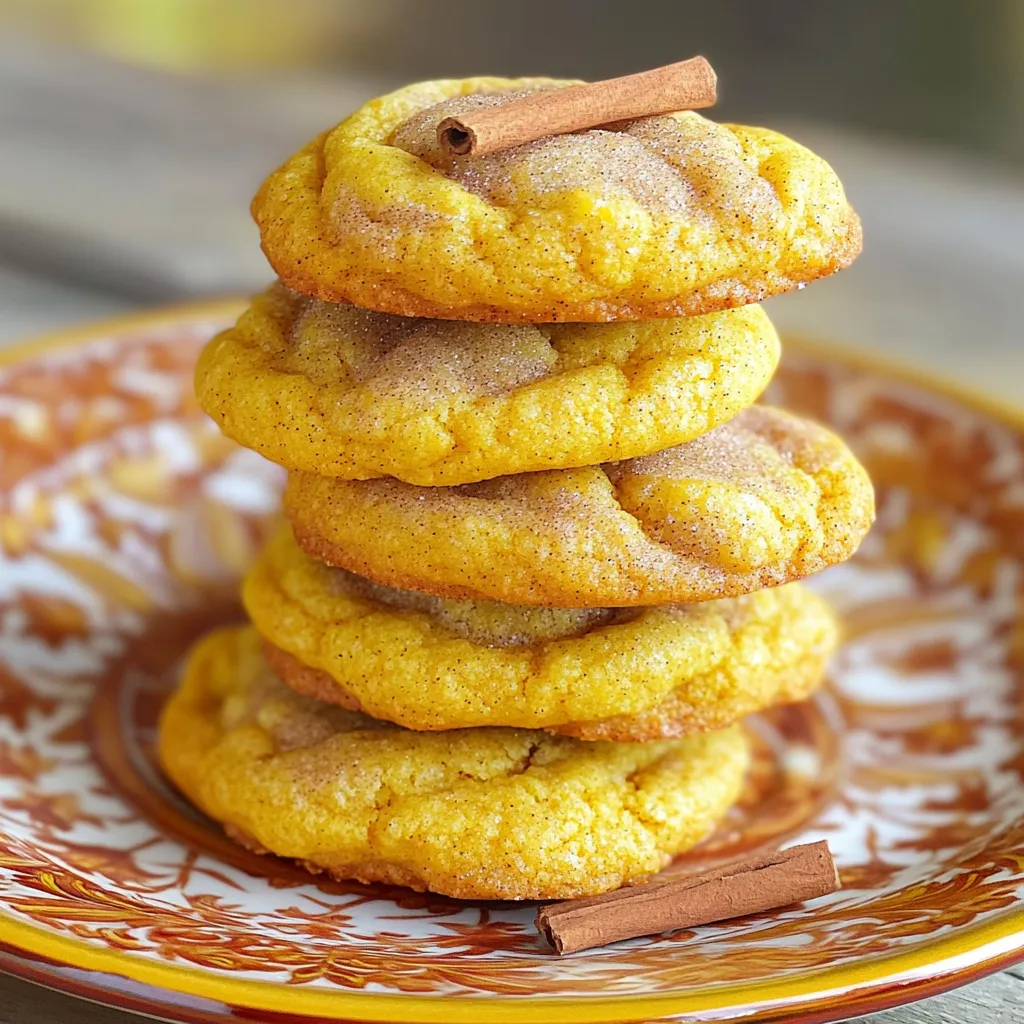
Delicious Pumpkin Snickerdoodle Cookies Recipe Guide
Craving a sweet twist on fall flavors? In this guide, you’ll learn how to bake delicious Pumpkin Snickerdoodle Cookies that will impress your friends and...
Read Full Recipe →