


LATEST RECIPES


LET'S GET COOKING!
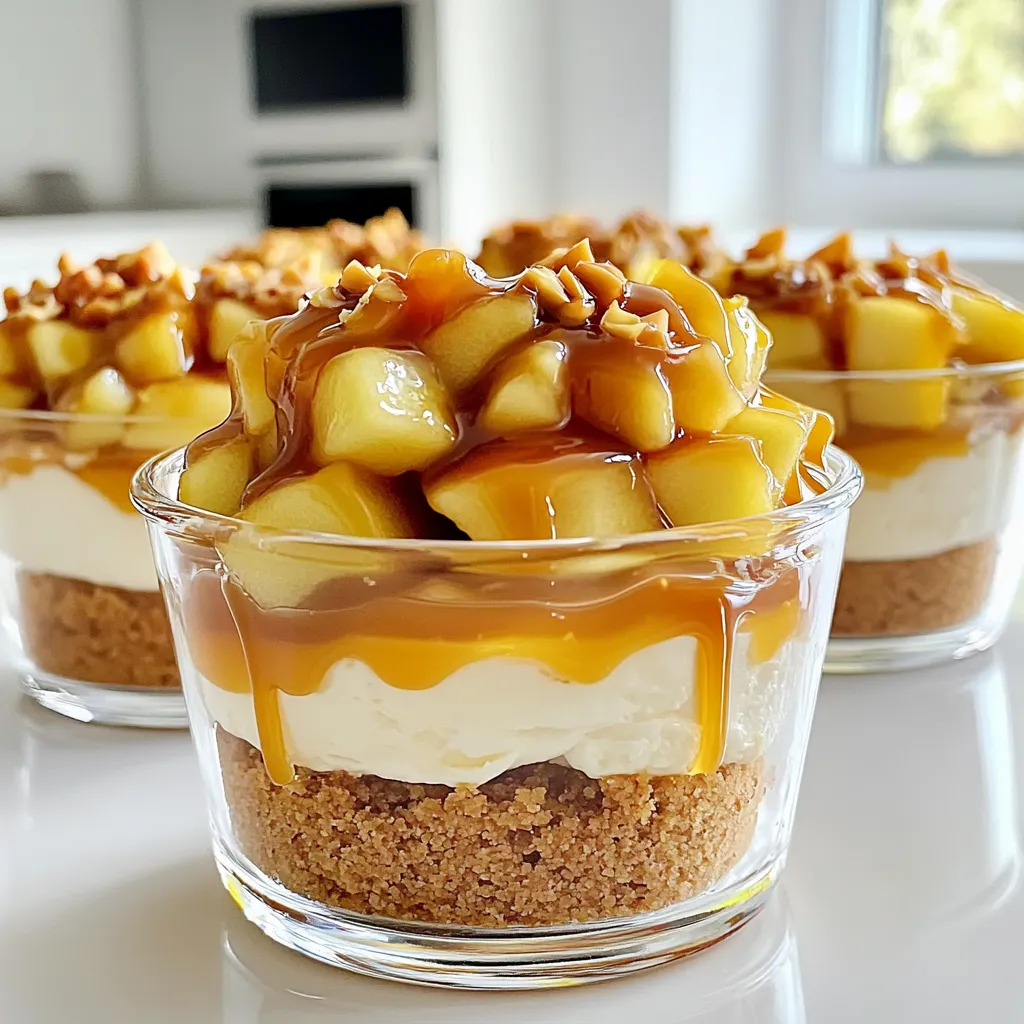
Caramel Apple Cheesecake Cups No Bake Delightful Treat
Craving a sweet treat that’s fun and easy to make? You’ll love these No-Bake Caramel Apple Cheesecake Cups! They combine creamy cheesecake with crunchy apples...
Read Full Recipe →