
LATEST RECIPES


LET'S GET COOKING!
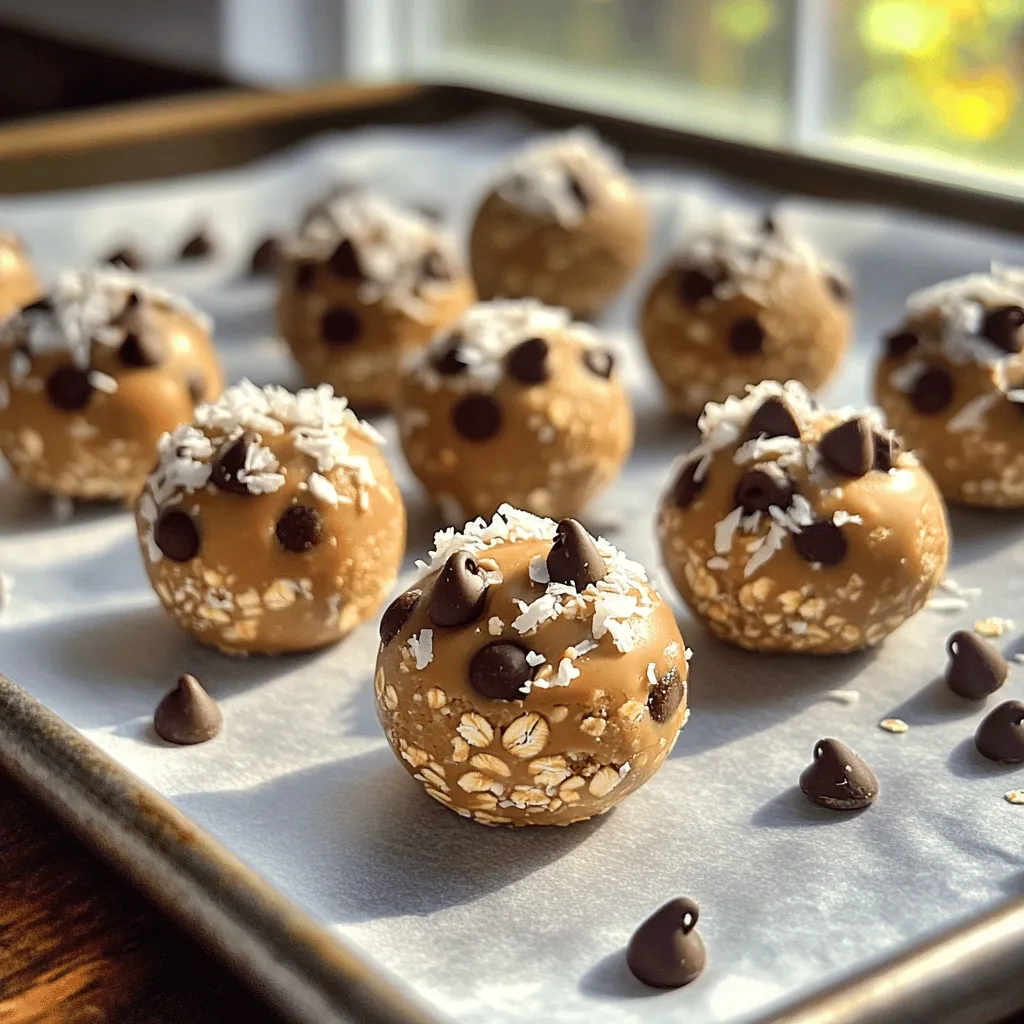
No-Bake Peanut Butter Chocolate Chip Bites Delight
Craving a quick snack that’s both easy and indulgent? Look no further! These No-Bake Peanut Butter Chocolate Chip Bites offer a perfect blend of sweet...
Read Full Recipe →