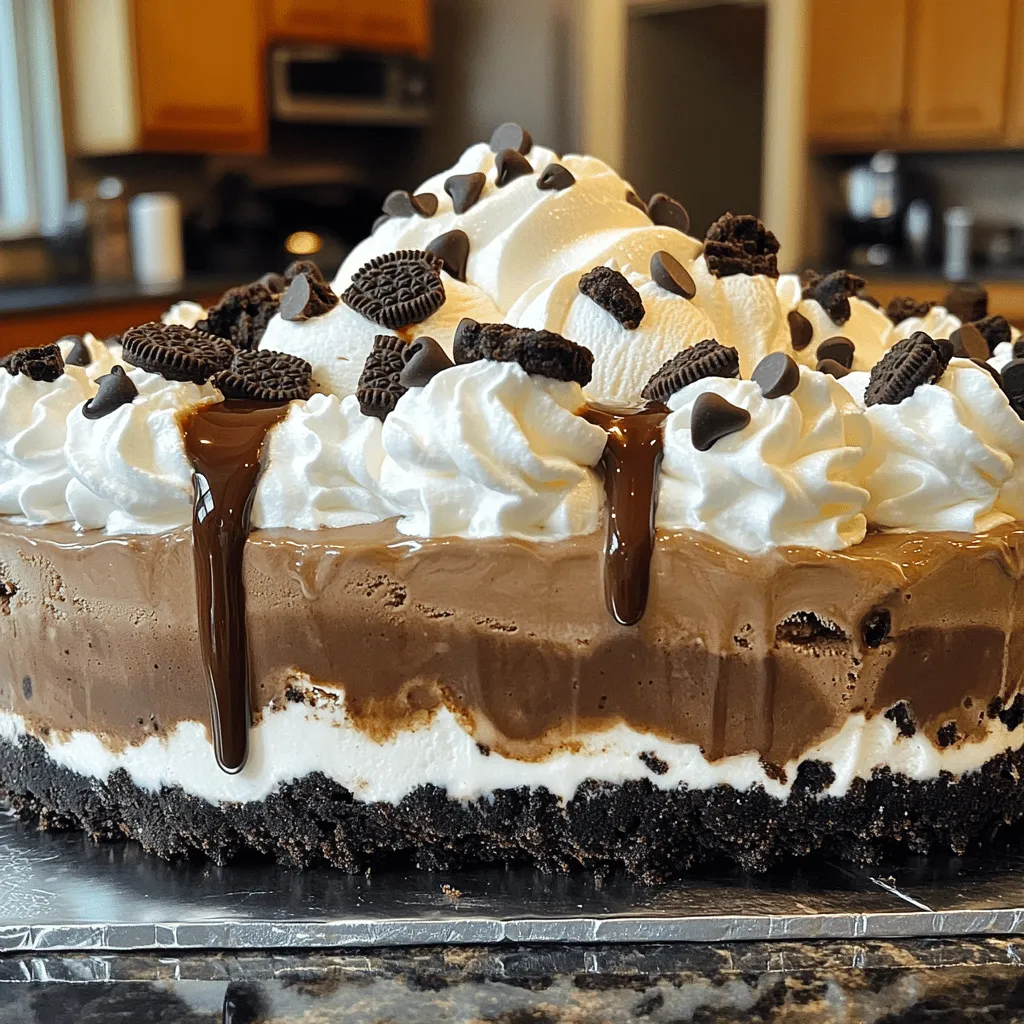
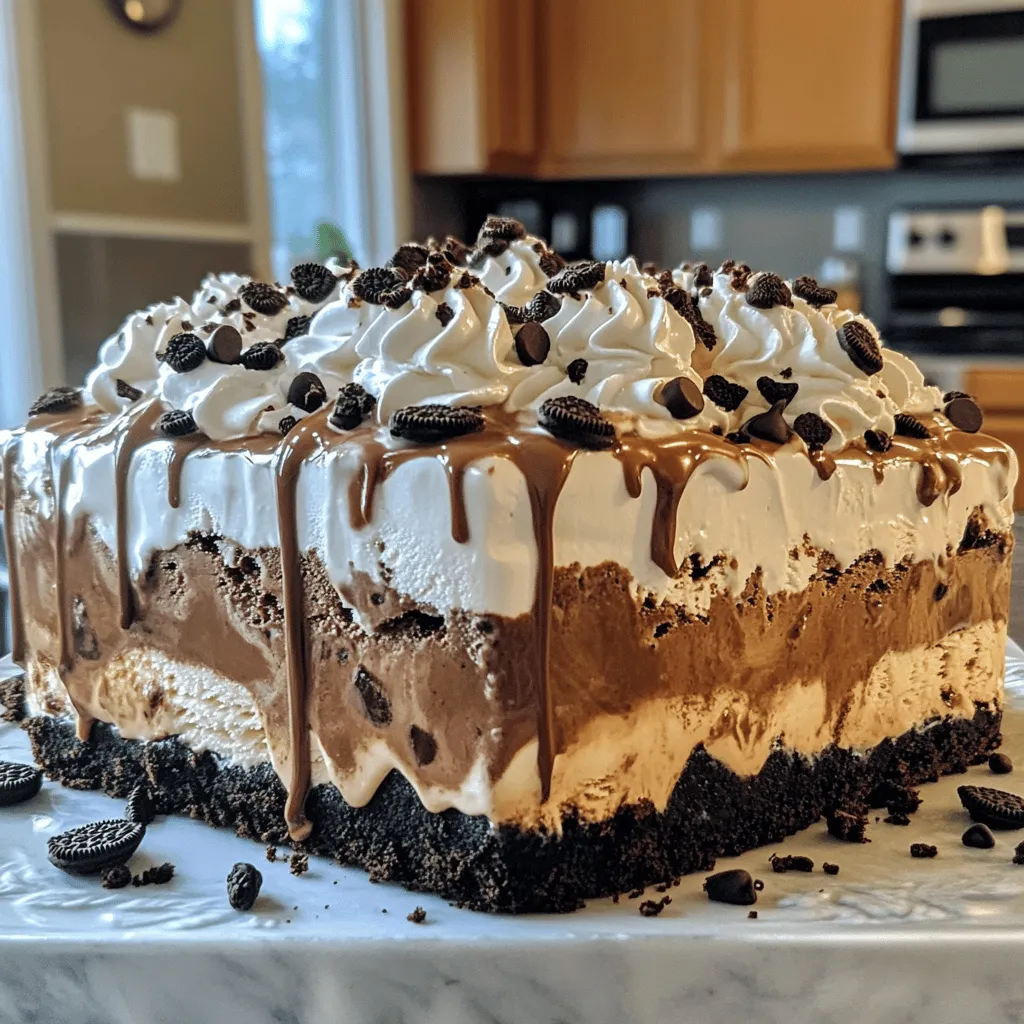
If you’re looking for a dessert that blends rich coffee flavor with creamy goodness, you’re in the right place! Today, I’ll show you how to make a Mocha Oreo Ice Cream Cake that’s both delightful and easy. This recipe is perfect for any occasion, or just a fun treat for yourself. Join me as we dive into the sweet world of layers, flavors, and tips to create this showstopper. Your taste buds will thank you!
Ingredients
List of Ingredients for Mocha Oreo Ice Cream Cake
To make this tasty treat, you will need:
– 2 cups Oreo cookie crumbs
– 1/2 cup unsalted butter, melted
– 3 cups mocha ice cream, softened
– 1 cup whipped cream
– 1/2 cup chocolate syrup
– 1/2 cup crushed Oreos for topping
– 1/4 cup brewed espresso or strong coffee (cooled)
– 1/2 cup chocolate chips (optional)
These simple ingredients create a rich and creamy cake. The blend of mocha and Oreo flavors makes it extra special.
Ingredient Substitutions
If you don’t have an ingredient, don’t worry. Here are some easy swaps:
– Use graham cracker crumbs instead of Oreo cookie crumbs for a different crust.
– Swap the unsalted butter for coconut oil for a dairy-free option.
– Any chocolate ice cream can replace mocha ice cream if you prefer.
– For whipped cream, you can use a dairy-free whipped topping.
– If you don’t have espresso, strong brewed coffee works well too.
These swaps will still give you a delicious cake. Feel free to get creative!
Measuring Tips for Accuracy
Measuring ingredients right is key for great results. Here’s how to do it:
– Use a dry measuring cup for solids like cookie crumbs and butter.
– For liquids like melted butter and coffee, use a liquid measuring cup.
– Level off dry ingredients with a straight edge for accuracy.
– When measuring sticky ingredients, like syrup, coat the cup with cooking spray first.
These tips help ensure your cake turns out just right. Accurate measuring makes a big difference in baking!
Step-by-Step Instructions
Preparing the Crust
First, you need to make the crust. Grab a mixing bowl and add 2 cups of Oreo cookie crumbs. Pour in 1/2 cup of melted unsalted butter. Mix them well until the crumbs look shiny. This means the butter coats each crumb. Next, take an 8-inch springform pan and press the crumb mix into the bottom. Make it even and firm. Then, put the pan in the freezer for about 15 to 20 minutes. This helps the crust set and hold its shape.
Layering the Mocha Ice Cream
After the crust is ready, it’s time for the mocha ice cream. Take 3 cups of softened mocha ice cream and spread it over the crust. Use a spatula to smooth the top. Make it nice and even. This layer should be thick and creamy. The ice cream should be soft enough to spread easily but not too runny.
Adding Coffee and Final Touches
Now, let’s add some coffee flavor! Drizzle 1/4 cup of cooled brewed espresso or strong coffee over the mocha ice cream. Use a knife or spatula to gently swirl it into the ice cream. This creates a beautiful marbled effect. Next, take 1 cup of whipped cream and spoon it on top. Spread it evenly across the ice cream. Then, drizzle 1/2 cup of chocolate syrup over the whipped cream. Finally, sprinkle 1/2 cup of crushed Oreos on top. If you like, add 1/2 cup of chocolate chips for extra fun. Cover the pan with plastic wrap and freeze it for at least 4 hours. Once set, you can slice it and enjoy your delicious Mocha Oreo Ice Cream Cake!
Tips & Tricks
How to Soften Ice Cream Quickly
To soften ice cream fast, take it out of the freezer. Let it sit at room temperature for about 10-15 minutes. If you want it even quicker, scoop some into a bowl. This helps it soften faster. Just don’t leave it too long or it will melt!
Expert Tips for Layering
Layering is key for a great Mocha Oreo Ice Cream Cake. Start with a firm crust. Press the Oreo crumbs into the pan tightly. This keeps the crust from crumbling. When adding the mocha ice cream, spread it evenly. Use a spatula to smooth the top. When you add coffee, swirl it gently for a nice pattern.
Enhancing Flavor with Optional Ingredients
Want to kick up the flavor? Consider adding chocolate chips. They add a nice crunch and richness. You can also use flavored whipped cream. Try adding a splash of vanilla or a hint of mint. This gives a fresh twist to your cake. Feel free to get creative with toppings too!
Variations
Customizing with Different Ice Cream Flavors
You can change the ice cream flavor to fit your taste. Try vanilla, mint, or coffee ice cream. Each flavor gives a new twist to your cake. For a fruity option, use strawberry or raspberry ice cream. This adds a bright color and a fun taste. Just remember, keep the same amounts as in the recipe.
Adding Additional Toppings and Mix-ins
Toppings can make your cake even more fun. You can use crushed nuts for crunch or sprinkles for color. You might add different cookies, like Chips Ahoy or Nutter Butter, for a mix of flavors. Try adding a layer of caramel sauce for a sweet surprise. Get creative and use what you love!
No-Bake Alternative for a Lighter Version
If you want a lighter cake, skip the crust. You can layer the ice cream and toppings in a bowl. This way, you save time and still enjoy the flavors. Use less ice cream or add more whipped cream for a fluffy texture. This no-bake option is quick and easy, perfect for warm days.
Storage Info
Proper Freezing Techniques
To keep your Mocha Oreo Ice Cream Cake fresh, proper freezing is key. First, make sure your cake is fully set. After you layer the whipped cream and toppings, cover the springform pan tightly with plastic wrap. This prevents ice crystals from forming on the cake. You can also use aluminum foil for extra protection.
How Long It Lasts in the Freezer
When stored correctly, your cake can last up to two weeks in the freezer. While it may still taste good after this time, the texture may change. Always check for any signs of freezer burn. If you see any, it’s best to toss it out.
Ideal Containers for Storing Ice Cream Cake
The best container for your cake is the springform pan you used to make it. This allows you to keep the cake in its original shape. If you want to use another container, choose one that seals well. You can use airtight plastic containers or freezer-safe glass dishes. Just remember to cover the top well to keep it fresh!
FAQs
Can I make Mocha Oreo Ice Cream Cake ahead of time?
Yes, you can make this cake ahead of time. It freezes well for up to a week. Just make sure to cover it well with plastic wrap. This keeps it fresh. You can make it the day before a party. It will be ready when you are.
What can I substitute for espresso or coffee?
You can use strong brewed tea instead of espresso. A dark roast coffee also works well. If you want a caffeine-free option, try using decaf coffee. You can also use chocolate milk for a sweeter flavor. These options will change the taste a bit but will still be yummy.
How do I prevent the cake from being too hard after freezing?
To keep the cake from getting too hard, let it sit out for a few minutes before serving. This will help soften the ice cream. You can also try using half-and-half instead of heavy cream in the ice cream layer. This can make it creamier and easier to slice. Enjoy your cake at the perfect texture!
This blog post covers all the essential steps for making a Mocha Oreo Ice Cream Cake. We reviewed necessary ingredients, measuring tips, and possible substitutes. I shared clear, step-by-step instructions to help you prepare the crust, add layers, and finalize the cake. You learned useful tips for softening ice cream and adding flavors. Variations allow you to customize your cake for your taste. Lastly, I provided storage advice to keep your cake fresh. Enjoy making this delicious dessert! It’s fun and simple, so dive in and create your own version.