Do you want a fun treat that brings winter joy indoors? Making ingredient snow ice cream is simple and exciting! With just a few key items, you can whip up a creamy delight that’s perfect for kids and adults alike. In this article, I’ll guide you through easy steps, flavor ideas, and tips to make your snow ice cream shine. Let’s dive into this delicious, frosty adventure together!
Why I Love This Recipe
- Unique Experience: Gathering fresh snow adds a fun and adventurous twist to making ice cream.
- Quick and Easy: This recipe takes just 10 minutes from start to finish, making it perfect for spontaneous treats.
- Customizable Toppings: With various toppings, you can personalize each serving to suit your taste and mood.
- Perfect for Winter: This recipe is a delightful way to enjoy the beauty of winter while satisfying your sweet tooth.
Ingredients
Essential Ingredients for Snow Ice Cream
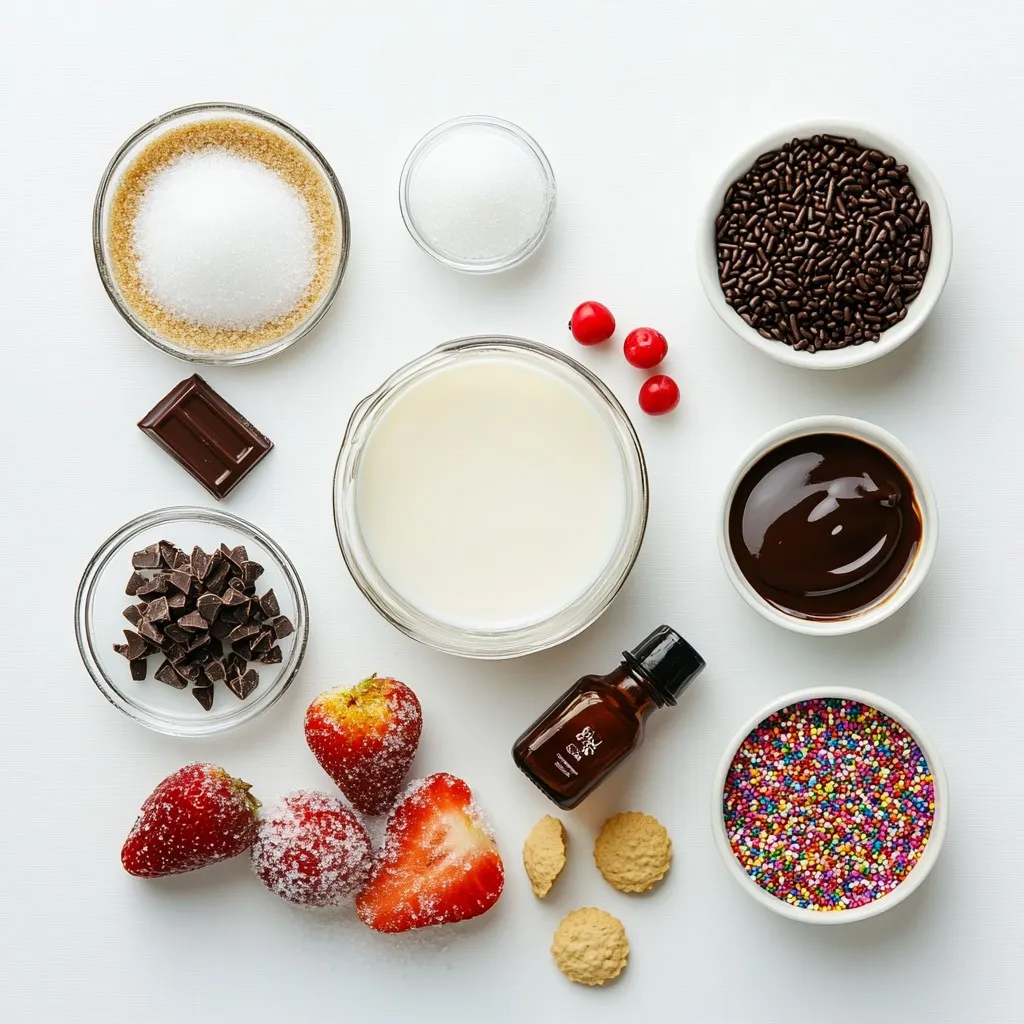
To make snow ice cream, you need just a few simple items:
– 4 cups of freshly fallen snow (clean and free of debris)
– 1 cup whole milk
– 1/2 cup sugar
– 1 tablespoon vanilla extract
– A pinch of salt
These ingredients create a creamy and sweet treat. The snow gives it that special texture. The milk adds creaminess, while sugar provides sweetness. Vanilla adds flavor, and salt brings out all the tastes.
Optional Toppings and Customizations
You can add fun toppings to your snow ice cream. Here are some ideas:
– Chocolate syrup
– Sprinkles
– Crushed cookies
– Fresh fruits
These toppings make your dessert even more exciting. You can mix and match to find your favorite combo.
Ingredient Substitutions and Variations
You can swap ingredients if needed. If you don’t have whole milk, try almond milk or coconut milk. You can also use different sweeteners like honey or agave syrup. For flavor, use other extracts like almond or mint. Get creative and make it your own!
Step-by-Step Instructions
Preparing the Base Mixture
Start by grabbing a large mixing bowl. Add 1 cup of whole milk, 1/2 cup of sugar, 1 tablespoon of vanilla extract, and a pinch of salt. Mix it well until the sugar dissolves completely. This mixture acts as the base for our ice cream. It should taste sweet and creamy.
Combining Snow with the Mixture
Next, gather 4 cups of fresh, clean snow. Make sure it is free of dirt or debris. Add the snow slowly to your milk mixture. Stir gently as you go. You don’t want to melt the snow too fast. This step is crucial for getting that fluffy ice cream texture.
Achieving the Perfect Consistency
Keep mixing until you see a light and fluffy texture. If your mixture looks too runny, add a little more snow. You want it to hold its shape like soft serve ice cream. Once you have the right consistency, it’s time to scoop it into bowls. Enjoy this fun treat with your favorite toppings!
Tips & Tricks
Tips for Gathering Clean Snow
When making snow ice cream, it is key to gather clean snow. Here are some tips:
– Choose fresh snow that has just fallen.
– Avoid snow that looks dirty or yellow.
– Stay away from areas with foot traffic or pets.
– Use a clean bowl or container to collect the snow.
Ensuring the Right Texture for Ice Cream
Getting the right texture is important for your ice cream. Follow these tips:
– Mix the milk and sugar well before adding snow.
– Add snow slowly to keep the mixture fluffy.
– If it feels too runny, add more snow bit by bit.
– Aim for a light and airy texture, like soft serve.
Serving and Presentation Tips
How you serve your snow ice cream can make it more fun. Here are some ideas:
– Use clear glass bowls to show off your ice cream.
– Add colorful toppings like sprinkles and fruits.
– A mint leaf on top adds a nice touch.
– Serve right away for the best taste and texture.
Pro Tips
- Choose Fresh Snow: Always use clean, freshly fallen snow to ensure the best texture and flavor for your ice cream.
- Mix Gently: When combining the snow with the milk mixture, stir gently to maintain the fluffy texture and prevent melting.
- Adjust Consistency: If the mixture is too runny, add more snow a little at a time until you reach the desired ice cream-like consistency.
- Experiment with Toppings: Get creative with your toppings! Try adding a variety of ingredients like fresh fruits, nuts, or different syrups for unique flavors.
Variations
Flavor Variations (Chocolate, Strawberry, etc.)
You can easily change the flavor of your snow ice cream. To make chocolate snow ice cream, add 1/4 cup of cocoa powder to your milk mix. Stir well until it blends smoothly. For strawberry flavor, mash fresh strawberries and mix in 1/2 cup of strawberry puree. This adds a sweet touch that kids love.
Vegan or Dairy-Free Alternatives
If you want a vegan version, swap the whole milk for almond or coconut milk. Use the same amount, 1 cup, for a creamy base. You can also try oat milk for a rich flavor. Sweeten with maple syrup instead of sugar. This keeps your snow ice cream tasty and plant-based.
Seasonal and Themed Variations
Make your snow ice cream fit the season! In winter, add peppermint extract for a minty twist. For Halloween, mix in orange food coloring and pumpkin spice. In summer, use lemon juice and zest for a refreshing treat. These fun twists make your ice cream perfect for any celebration or holiday!
Storage Info
Best Practices for Storing Leftover Snow Ice Cream
If you have leftover snow ice cream, store it in an airtight container. This keeps the ice cream fresh and prevents freezer burn. Make sure to press down the ice cream to remove air pockets. You can also cover it with plastic wrap before sealing the lid for extra protection.
How to Refreeze If Necessary
If your snow ice cream melts a bit, you can refreeze it. First, stir it gently to mix in any melted parts. Then, put it back in the freezer. Check it every 30 minutes. Once it firms up, it’s ready to enjoy again. Just remember, the texture may change slightly after refreezing.
Estimated Shelf Life of Snow Ice Cream
Snow ice cream is best eaten fresh. However, if stored properly, it can last about 1 to 2 days in the freezer. After that, it may lose its fluffy texture and taste. For the best experience, make small batches and enjoy them right away.
FAQs
Can I Make Snow Ice Cream Without Snow?
Yes, you can! If you don’t have snow, you can use crushed ice instead. This option gives you a similar cool treat. Just mix the crushed ice with your milk mixture. You may need to adjust the milk and sugar a bit, as ice has less air than snow.
How Long Can I Store Snow Ice Cream?
Snow ice cream is best eaten right away. It will melt quickly, so enjoy it fresh! If you must store it, place it in a sealed container. It can last up to a few hours in the freezer, but the texture may change.
What Kind of Milk Works Best for Snow Ice Cream?
Whole milk gives the best creamy taste. You can also try 2% milk for a lighter option. If you like a richer flavor, use heavy cream. Non-dairy milk works too, such as almond or coconut milk, but the taste will change.
Can I Use Artificial Flavoring Instead of Vanilla Extract?
Yes, you can! Use any flavoring you like, such as almond or mint. Just remember to start with a small amount. Taste as you go to make sure it’s not too strong. This is a fun way to make your snow ice cream unique!
Making snow ice cream is fun and easy. You need simple ingredients like snow, milk, and sugar. You can customize it with toppings or try different flavors. Gather clean snow and mix it well for the right texture. Don’t forget to store any leftovers properly.
In the end, snow ice cream is a great treat. It offers endless options for flavor and fun. Enjoy the chilly delight any way you lik