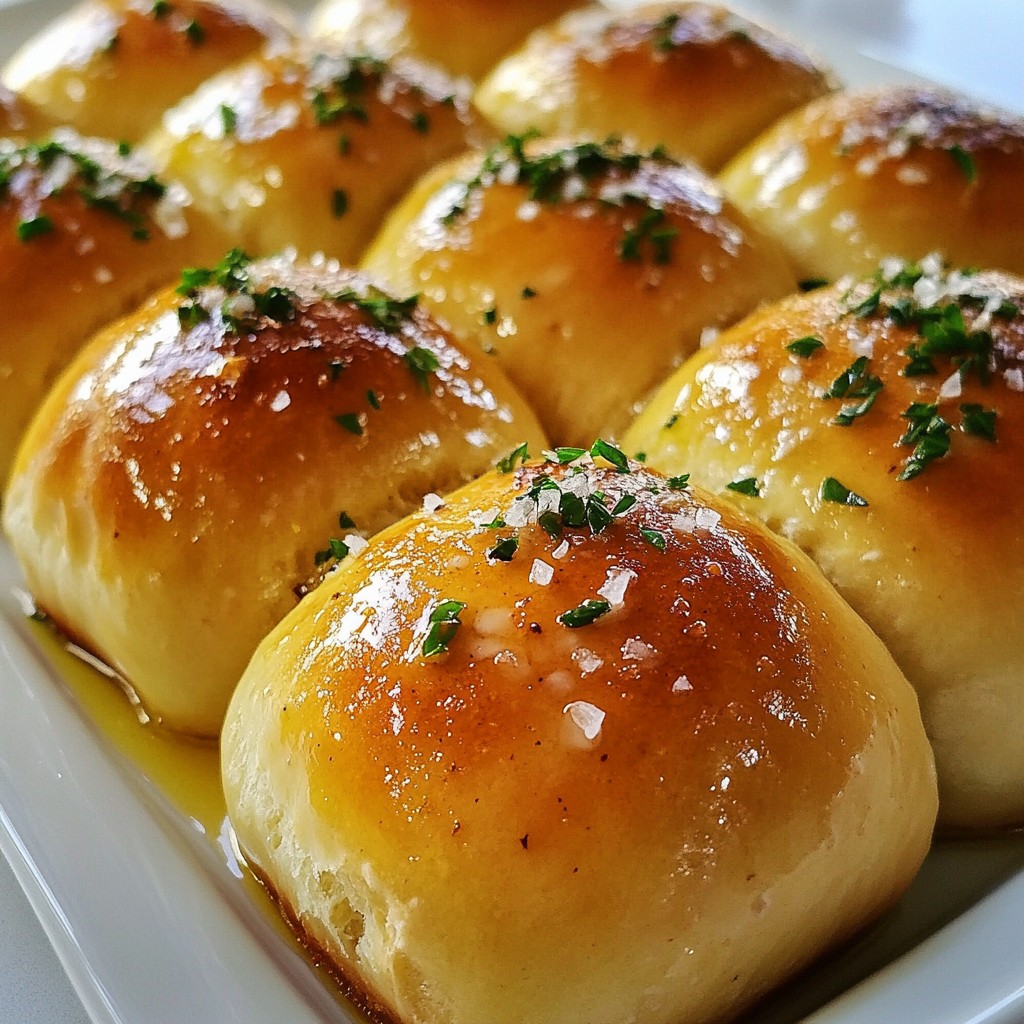
Are you ready to elevate your dinner experience with some mouthwatering Garlic Herb Dinner Rolls? These soft and flavorful treats are the perfect addition to any meal. I'll guide you step-by-step through making these rolls, from mixing the dough to serving them warm on your table. With simple ingredients and practical tips, you’ll create rolls that everyone will love. Let’s dive in and get baking!
Why I Love This Recipe
- Delicious Aroma: The combination of garlic and fresh herbs fills your kitchen with an irresistible scent that makes everyone eager to dig in.
- Easy to Make: This recipe requires simple ingredients and straightforward steps, making it perfect for both novice and experienced bakers.
- Perfect for Any Occasion: These dinner rolls are versatile and can complement any meal, from casual family dinners to festive gatherings.
- Warm and Comforting: There’s nothing quite like pulling fresh, warm rolls out of the oven to enjoy with a pat of butter, bringing a sense of comfort to any table.
Ingredients
List of Ingredients
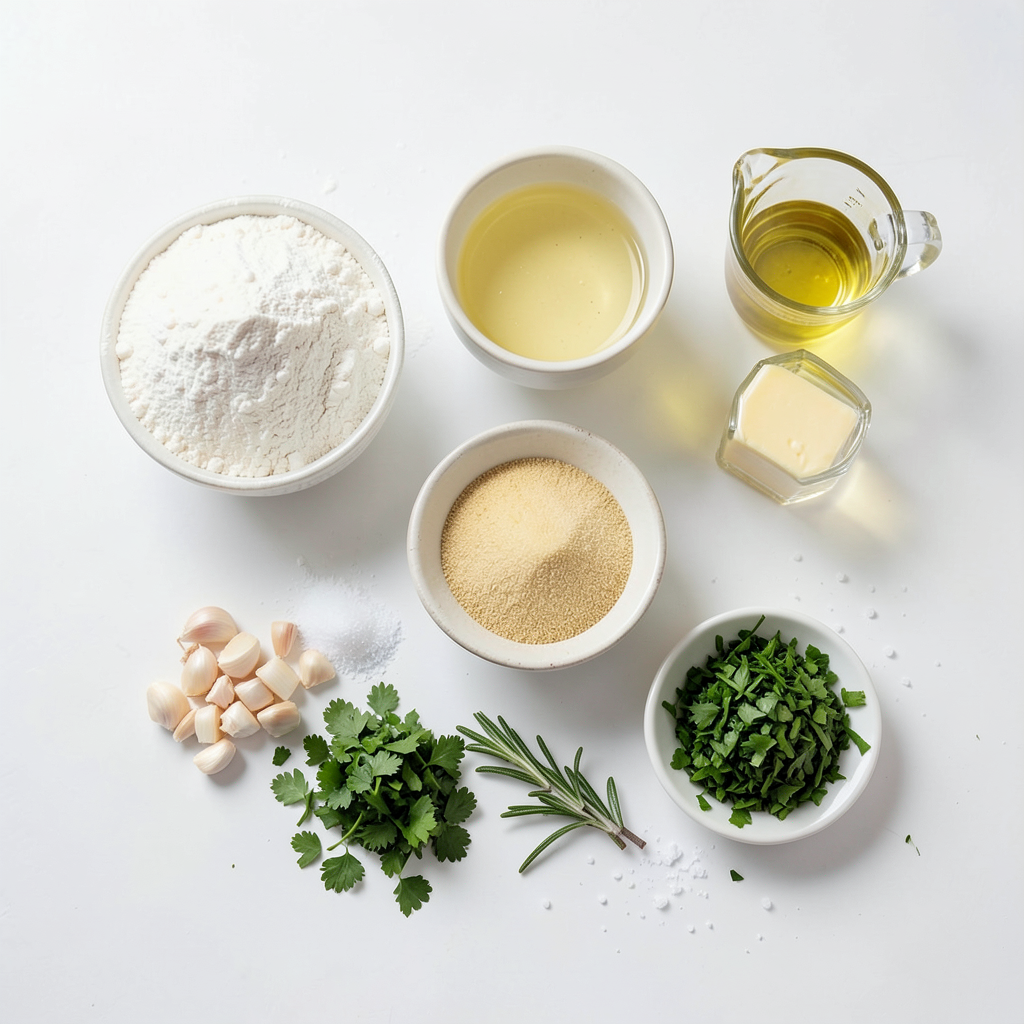
To make Garlic Herb Dinner Rolls, you will need the following ingredients:
- 3 ½ cups all-purpose flour
- 1 packet (2 ¼ teaspoons) active dry yeast
- 1 cup warm water (110°F or 43°C)
- 3 tablespoons granulated sugar
- 2 tablespoons olive oil
- 1 teaspoon salt
- 4 cloves garlic, minced
- 2 tablespoons fresh parsley, chopped
- 1 tablespoon fresh rosemary, chopped
- 1 tablespoon melted butter (for brushing)
- Additional salt for topping (optional)
These simple items create soft and flavorful rolls. Each ingredient plays a role in texture and taste.
Optional Ingredients and Substitutions
You can customize your rolls using optional ingredients. Here are some ideas:
- Cheese: Add shredded cheese for a cheesy twist. Mozzarella or cheddar work well.
- Other Herbs: Use thyme or basil instead of rosemary or parsley. Fresh herbs bring vibrant flavors.
- Vegan Butter: Substitute melted butter with vegan butter for a dairy-free version.
- Honey: Swap sugar with honey for a natural sweetness.
Feel free to mix and match these ingredients to suit your taste.
Notes on Fresh vs. Dried Herbs
Fresh herbs add a bright flavor to your rolls. They can enhance the aroma and taste. Use them when available. However, dried herbs can still work well.
- Fresh Herbs: Use a larger amount of fresh herbs than dried ones. A rule of thumb is to triple the amount.
- Dried Herbs: They are more concentrated. Use less, about one-third the amount of fresh herbs.
Both types of herbs can create delicious rolls. Choose based on what you have at home.
Step-by-Step Instructions
Preparation of Yeast Mixture
Start by mixing the warm water and granulated sugar in a large bowl. The water should be about 110°F (43°C). This warm water helps the yeast wake up. Next, sprinkle the active dry yeast over the water-sugar mix. Let it sit for about 5-10 minutes until it looks frothy. This froth shows that the yeast is active and ready to help our rolls rise.
Mixing Dough and Adding Ingredients
Once the yeast mixture is frothy, add the olive oil, minced garlic, and fresh herbs. Stir in 1 teaspoon of salt. Then, add 2 cups of all-purpose flour. Mix until it forms a thick batter. Gradually add the rest of the flour. Keep mixing until you have a soft dough. It should feel slightly tacky but easy to handle.
Kneading and Shaping the Rolls
Sprinkle some flour on your counter. Place the dough on this floured surface. Knead the dough for about 5-7 minutes. You want it to be smooth and elastic. When it's ready, shape the dough into a ball. Place this ball in a lightly oiled bowl. Cover it with a kitchen towel to keep it warm.
Rising Times and Tips
Let the dough rise in a warm spot for about 1 hour. It should double in size. After it rises, punch it down gently to release the air. Divide the dough into 12 equal pieces. Roll each piece into a round shape and place them on a parchment-lined baking sheet. Cover the rolls with the towel again and let them rise for another 30 minutes. This second rise makes the rolls light and airy.
Tips & Tricks
Perfecting the Texture of the Rolls
To make soft rolls, start with warm water. The water should feel like a warm bath. Too hot will kill the yeast. The dough needs to be slightly tacky but not sticky. Knead it well for about 5-7 minutes. This builds gluten and gives the rolls a nice chew. Letting the dough rise until it doubles is key. It should feel light and airy when ready.
How to Know When the Rolls Are Done
Watch for color and smell. The rolls should turn golden brown on top. Tap the bottom of a roll; it should sound hollow. If they feel firm yet soft, they are perfect. Keep an eye on the time; bake them for 15-20 minutes. If you want, use a thermometer. The rolls should reach 190°F (88°C) inside.
Serving Suggestions for Garlic Herb Dinner Rolls
These rolls shine with a warm spread of butter. Try mixing herbs with the butter for extra flavor. They pair perfectly with soup or salad. Use them to soak up sauce from your main dish. You can also serve them with a dip, like garlic butter or hummus. Enjoy them fresh out of the oven for the best taste.
Pro Tips
- Use Fresh Herbs: Fresh herbs like parsley and rosemary will elevate the flavor of your rolls significantly compared to dried herbs.
- Perfect Dough Consistency: The dough should be slightly tacky but not overly sticky. Adjust with a little extra flour if needed during kneading.
- Let Them Rise: Ensure your rolls have enough time to rise; this helps achieve a light and fluffy texture. A warm, draft-free area is ideal.
- Brush with Garlic Butter: For an extra flavor boost, mix some minced garlic into the melted butter before brushing it on the rolls.
Variations
Different Herb Combinations
You can mix up the herbs in your garlic herb dinner rolls. Try using fresh thyme or basil. These herbs add a nice twist to the flavor. You can also use dried herbs if fresh ones are not available. Mix 1 teaspoon of dried herbs into the dough. This keeps the rolls tasty and aromatic.
Cheese-Stuffed Garlic Herb Rolls
Adding cheese to your rolls makes them even better. You can stuff each roll with cheese before baking. Use mozzarella or cheddar for a nice melt. Simply flatten the dough, add a piece of cheese, and wrap it up. This creates a gooey, cheesy center. It’s a fun surprise when you take a bite!
Vegan Adaptations for Garlic Herb Dinner Rolls
You can easily make these rolls vegan. Replace the butter with a plant-based option. Use almond milk or coconut milk instead of regular milk. For the egg wash, you can brush with olive oil. These simple swaps keep the rolls soft and tasty. Even your non-vegan friends will love them!
Storage Info
Best Practices for Storing Rolls
To keep your garlic herb dinner rolls fresh, place them in an airtight container. This helps to avoid drying out. You can also wrap them in plastic wrap and then place them in a bag. Store them at room temperature for up to three days. If you want to keep them longer, the fridge is not the best place. It can make them dry and hard.
How to Reheat Garlic Herb Dinner Rolls
When it’s time to enjoy leftover rolls, reheating is easy. Preheat your oven to 350°F (175°C). Place the rolls on a baking sheet. Cover them with foil to keep them from baking too fast. Heat for about 10-15 minutes until warm. You can also use a microwave. Just wrap each roll in a damp paper towel and heat for 15-20 seconds. This keeps them soft.
Freezing Instructions and Tips
If you want to save rolls for later, freezing works well. Let the rolls cool completely. Place them in a freezer bag, removing as much air as possible. They can stay fresh in the freezer for up to three months. When you're ready to use them, thaw in the fridge overnight. Then reheat them as mentioned above. This way, you can enjoy fresh rolls anytime!
FAQs
Can I use instant yeast instead of active dry yeast?
Yes, you can use instant yeast. It works well and rises faster. Just mix it directly with the dry flour. You won’t need to proof it in water first. Instant yeast gives you a nice rise, just like active dry yeast.
How can I make the dinner rolls softer?
To make softer rolls, use more water in the dough. Adding an extra tablespoon or two can help. Also, don’t skip the kneading step. Kneading helps develop gluten, making the rolls soft. Lastly, cover the rolls while they rise to keep moisture in.
What meals pair well with garlic herb dinner rolls?
Garlic herb dinner rolls go great with many meals. They pair nicely with soups like minestrone or chicken noodle. You can serve them with pasta dishes too, like spaghetti or lasagna. They also work well with grilled meats and salads.
Can I make the dough in advance?
Yes, you can make the dough in advance. After kneading, place it in the fridge. It can stay there for up to 24 hours. When ready to bake, let it warm up and rise again. This gives you fresh rolls with less work on the day you serve them.
We covered the key ingredients for garlic herb dinner rolls and how to mix them. I shared step-by-step instructions, plus tips for perfecting their texture. You learned about variations like different herbs and even cheese-filled rolls. We discussed storage methods to keep your rolls fresh and how to reheat them. Remember, these rolls are great with many meals. Make them your own and enjoy! Cooking is fun, and these rolls can bring joy to your table.