Get ready to spread joy with your very own Christmas Cookie Box! In this delightful baking guide, I’ll share everything you need to know to create scrumptious holiday treats. From essential ingredients to easy step-by-step instructions, I’ll help you master your cookie game. Plus, explore fun decoration ideas and storage tips to keep your cookies fresh. Let’s dive in and make this Christmas sweet and memorable!
Why I Love This Recipe
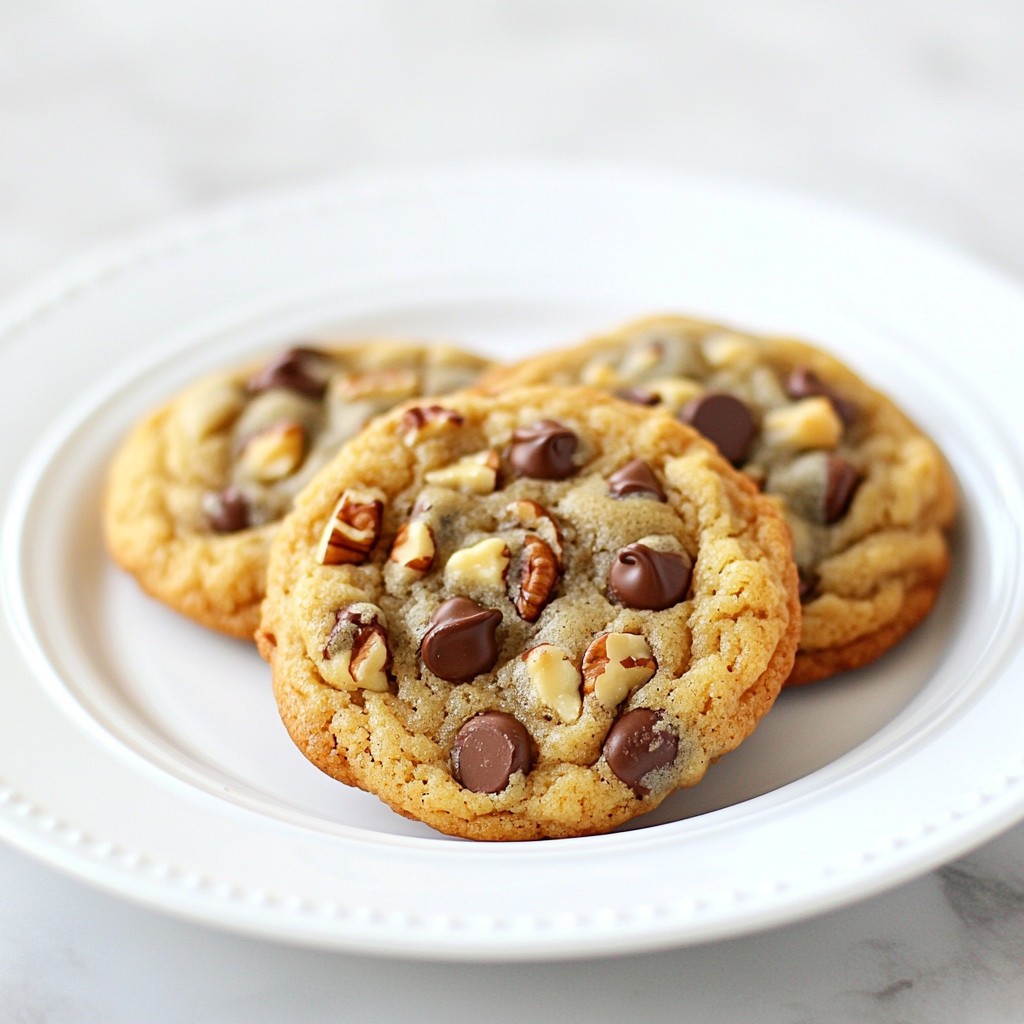
- Delicious Variety: This recipe allows for endless customization, from sprinkles to chocolate chips, making each batch unique and delightful.
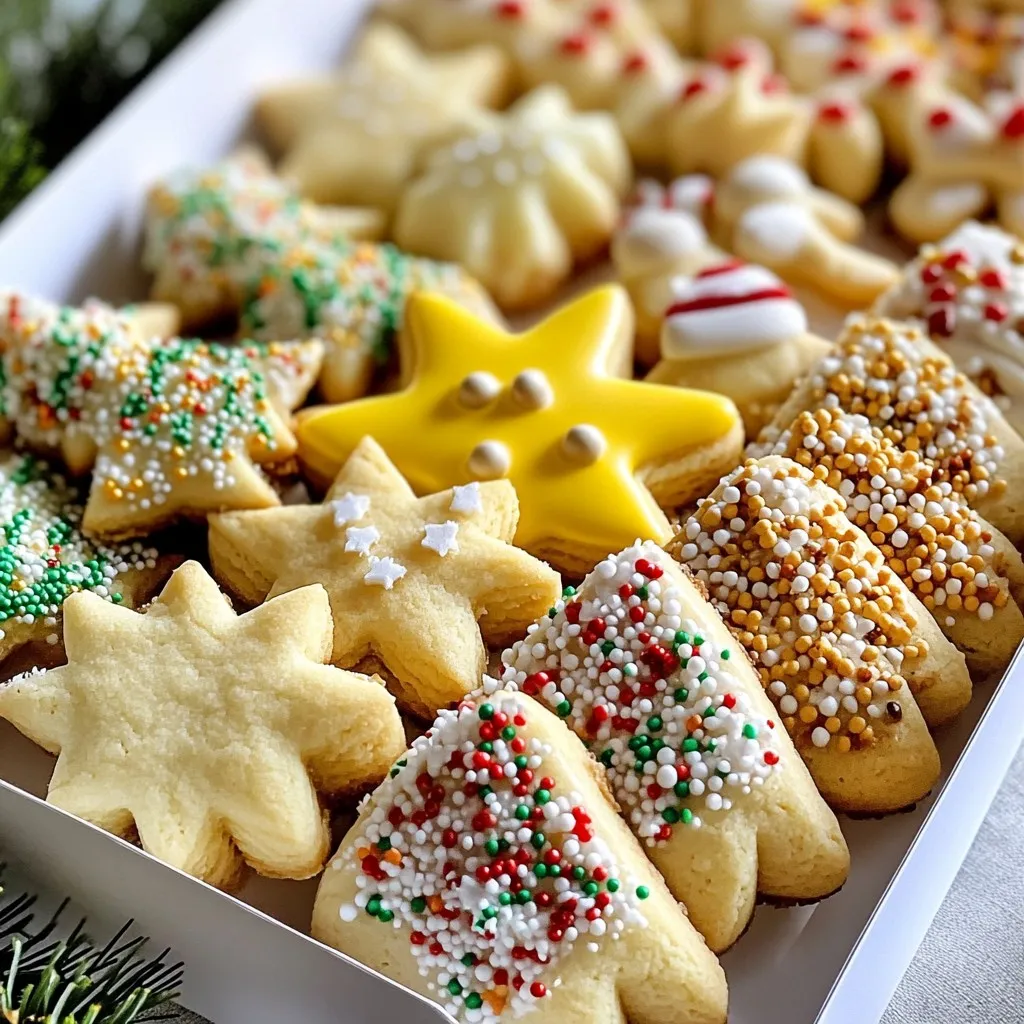
- Festive Presentation: The colorful decorations and festive shapes make these cookies perfect for holiday gatherings and gifting.
- Easy to Make: With simple ingredients and straightforward steps, even novice bakers can create these beautiful cookies.
- Perfect for Sharing: This recipe yields a generous amount of cookies, making it ideal for sharing with family, friends, and coworkers during the holiday season.
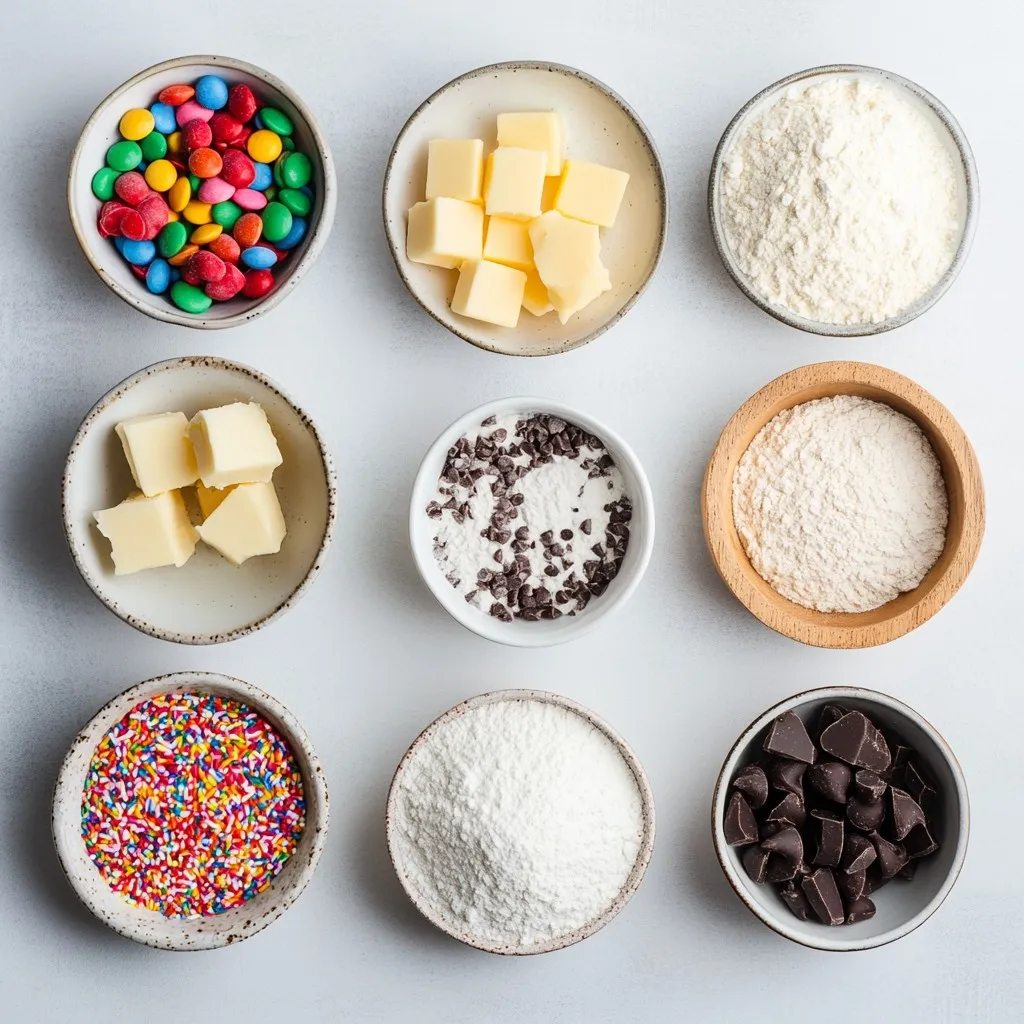
Ingredients
List of Required Ingredients
– 2 cups all-purpose flour
– 1 cup unsalted butter, softened
– 1 cup powdered sugar
– 1 large egg
– 1 teaspoon vanilla extract
– 1 teaspoon almond extract
– 1 teaspoon baking powder
– 1/4 teaspoon salt
– 1/2 cup colored sprinkles (for decoration)
– 1/2 cup chocolate chips (optional)
– 1/2 cup crushed peppermint candies (for topping)
– Royal icing (for decorations – optional)
Gathering these ingredients is the first step to baking your Christmas cookies. You need flour, butter, and sugar for the base. The egg helps the dough hold together. Vanilla and almond extracts add great flavors. Baking powder makes the cookies rise, while salt enhances the taste.
Sprinkles, chocolate chips, and crushed candies give your cookies a fun look and taste. Royal icing is optional but adds a lovely touch for decorating. Make sure all your ingredients are fresh for the best results.
Each item plays a part in making your cookie box delightful. Remember, high-quality ingredients lead to tasty cookies!
Step-by-Step Instructions
Preparation Steps
1. Preheat your oven to 350°F (175°C). Line several baking sheets with parchment paper.
2. In a large bowl, cream together the softened butter and powdered sugar until light and fluffy.
3. Mix in the egg, vanilla extract, and almond extract until well combined.
4. In another bowl, whisk together the flour, baking powder, and salt. Gradually add the dry mix to the butter mixture. Stir until the dough forms.
Chilling and Rolling the Dough
1. Divide the dough into two parts. Flatten each part into a disk.
2. Wrap the disks in plastic wrap and refrigerate for about 30 minutes.
3. Once chilled, roll out the dough on a floured surface to about 1/4 inch thick. Use cookie cutters to make festive shapes like stars and trees.
Baking and Cooling
1. Place the cut-out cookies on the prepared baking sheets, ensuring space between each one.
2. Add colored sprinkles and crushed peppermint candies on top before baking.
3. Bake in the preheated oven for 8-10 minutes, or until the edges are lightly golden.
4. After baking, let the cookies cool on the sheets for a few minutes. Then, transfer them to wire racks to cool completely.
5. If desired, decorate the cooled cookies with royal icing for a festive touch.
Tips & Tricks
Perfecting Your Cookie Texture
To make light and fluffy cookies, use room temperature butter. Cream it well with powdered sugar until it looks soft and airy. Adding an egg helps bind the dough and adds moisture.
To avoid overbaking, keep an eye on your cookies as they bake. Set a timer for 8 minutes and check them. The edges should be golden, but the centers may look soft. Remember, cookies will continue to bake on the tray even after you take them out.
Decoration Ideas
Royal icing is a great choice for decorating. It dries hard and allows for fun designs. You can also use colored sprinkles for extra flair. Just sprinkle them on before baking for a festive look.
Get creative! Personalize cookies with different shapes and colors. Use chocolate chips or crushed peppermint candies on top. This adds a pop of color and flavor that everyone will love.
Packaging for Gift Giving
Choose decorative boxes or tins to hold your cookies. Look for ones that fit your theme. Layer cookies with parchment paper to keep them fresh and safe. This way, they won’t stick together.
Add ribbons or holiday stickers to make your gift even cuter. Everyone will appreciate this sweet and thoughtful gift during the holiday season.
Pro Tips
- Chill the Dough: Chilling the dough for at least 30 minutes helps prevent the cookies from spreading too much while baking, allowing them to maintain their shape.
- Use Quality Extracts: For the best flavor, opt for pure vanilla and almond extracts rather than imitation versions. They enhance the taste of your cookies significantly.
- Watch the Baking Time: Since baking times can vary based on the size and thickness of your cookies, keep a close eye on them. Remove them from the oven when the edges are just golden to avoid overbaking.
- Decorate with Care: If using royal icing, allow the cookies to cool completely before decorating to prevent the icing from melting and losing its shape.
Variations
Flavor Enhancements
To make your cookies special, try adding flavored extracts. You can use peppermint or lemon for a fresh twist. Just a teaspoon can change the taste. You can also mix in nuts or dried fruits. Chopped walnuts or dried cranberries add great texture and flavor. These enhancements make each bite exciting.
Different Cookie Shapes
Using fun holiday-themed cookie cutters makes baking more fun. Look for shapes like stars, trees, and candy canes. You can also create unique shapes, like hearts or snowflakes. Roll the dough to different thicknesses for variety. Smaller cookies bake faster, so watch them closely.
Alternative Decorating Techniques
Get creative with your cookie decorations! Use fondant to cover cookies for a smooth finish. Edible markers let you draw fun designs. You can also create themed sets, like a winter scene with trees and snowmen. The more imaginative you are, the more fun it will be to share them!
Storage Info
Proper Storage Techniques
To keep your cookies fresh, choose airtight containers. Glass jars or plastic boxes work great. Line the bottom with parchment paper to absorb moisture. You can also layer cookies with parchment to prevent sticking. Store your cookies in a cool, dry place. This keeps them tasty for longer.
Freezing Cookies
You can freeze cookie dough or baked cookies. For dough, wrap it in plastic wrap and place it in a freezer bag. Label the bag with the date. For baked cookies, let them cool first. Then, place them in a single layer in a freezer bag. To thaw, leave the cookies at room temperature for about an hour. This helps maintain their texture.
Shelf Life
How long do cookies last? Typically, they stay fresh for about one week at room temperature. You can extend this to three months if you freeze them. Look for signs of staleness, like a hard texture or off smell. If they lose their soft feel, it’s time to toss them.
FAQs
Can I make the dough ahead of time?
Yes, you can make the dough ahead of time. Wrap the dough tightly in plastic wrap. Store it in the fridge for up to three days. You can also freeze the dough for up to three months. When ready to bake, thaw it in the fridge overnight. This helps the dough stay fresh and flavorful.
What are the best cookies for decorating?
The best cookies for decorating are sugar cookies and gingerbread cookies. These cookies have a sturdy texture, which holds decorations well. Their flat surfaces make them easy to frost and add sprinkles. You can also try shortbread cookies. They are rich and hold up nicely when decorated.
How can I make the cookies softer or crunchier?
To make cookies softer, add a bit more butter or reduce the baking time. For crunchier cookies, bake them a few minutes longer. You can also adjust the flour ratio. More flour gives a firmer texture, while less flour leads to softer cookies. Test small batches to find your perfect balance.
In this article, we covered essential ingredients, simple steps, and creative tips for baking cookies. You learned how to make your cookies fluffy and how to decorate them nicely. I shared ideas for flavors, shapes, and storage. Remember, baking cookies is a fun way to show love and creativity. Enjoy making and sharing your treats, knowing that each bite can bring joy to others. Happy bakin