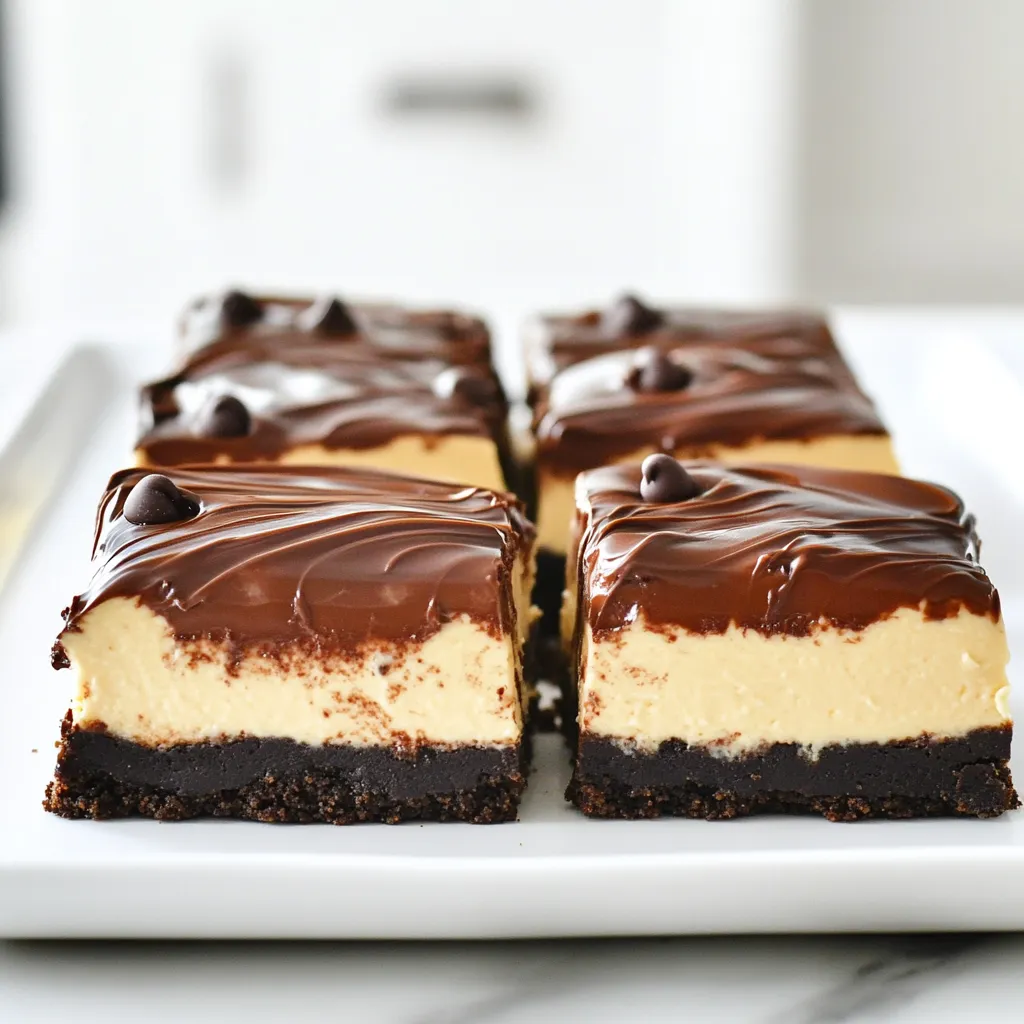
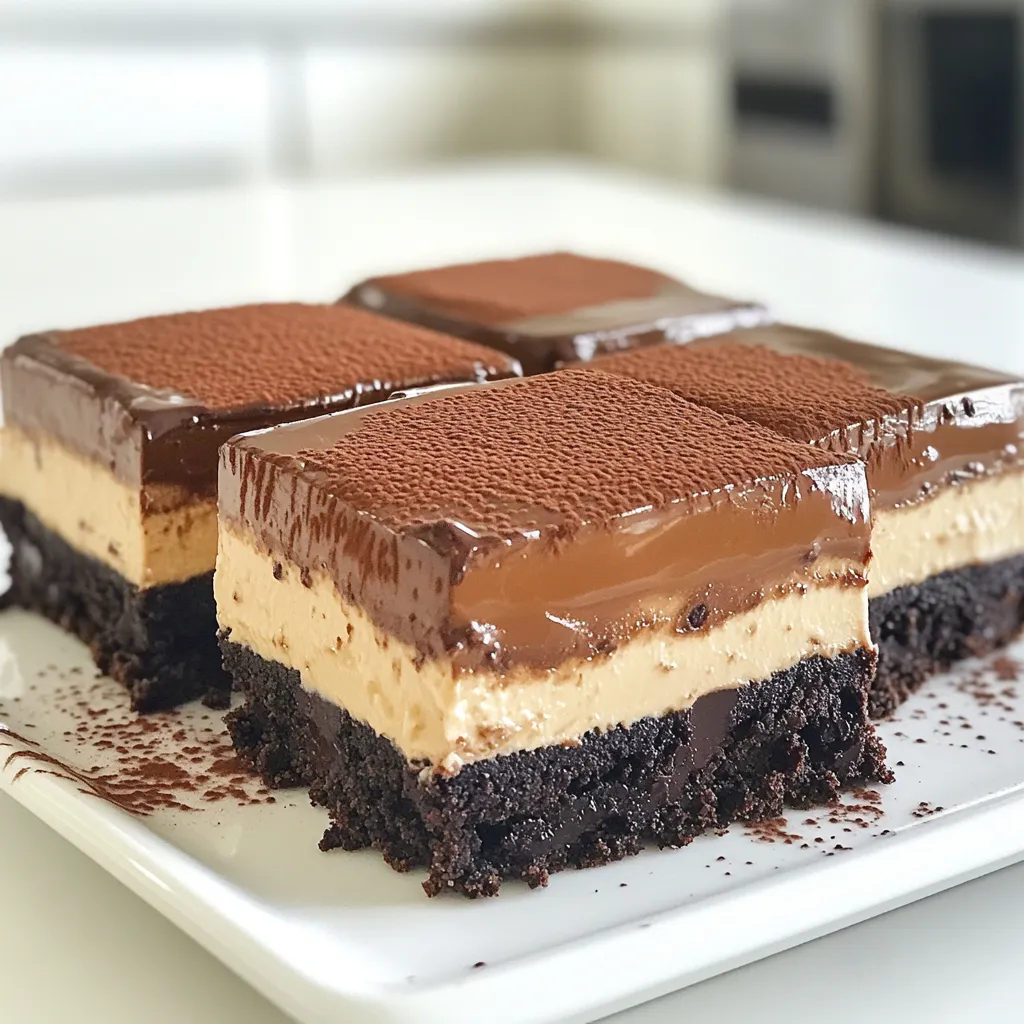
Indulging in a sweet treat doesn’t have to heat up your kitchen! My Chocolate Espresso Cheesecake Bars are no-bake, so they’re perfect for warm days or busy schedules. With rich chocolate flavors balanced by a coffee kick, each bite is a dessert lover’s dream. Join me as we whip up a creamy, dreamy delight that’s easy to make and even easier to enjoy! Ready to dive in? Let’s get started!
Ingredients
To make these Chocolate Espresso Cheesecake Bars, gather these simple ingredients:
– 1 ½ cups chocolate cookie crumbs
– ½ cup unsalted butter, melted
– 16 oz cream cheese, softened
– 1 cup powdered sugar
– 1 cup heavy whipping cream
– 2 tablespoons instant espresso powder
– 1 teaspoon vanilla extract
– ½ cup semi-sweet chocolate chips
– Pinch of salt
Each ingredient plays a key role. The chocolate cookie crumbs provide a rich base. Unsalted butter helps bind the crust together. Cream cheese gives the cheesecake its creamy texture. Powdered sugar adds sweetness without graininess. Heavy whipping cream makes the filling light and fluffy. Instant espresso powder adds bold coffee flavor. Vanilla extract enhances the overall taste. Semi-sweet chocolate chips bring extra chocolate joy. Lastly, a pinch of salt balances the sweetness perfectly.
These ingredients come together to create a delightful treat. You can easily find them at any grocery store. Always choose high-quality products for the best flavor. Don’t hesitate to experiment with flavors if you like.
Step-by-Step Instructions
Preparing the Crust
Start by mixing the chocolate cookie crumbs with the melted butter in a bowl. You want the crumbs to be well-coated. This will help form a tasty base for your cheesecake bars. Next, press the crumb mixture firmly into the bottom of an 8×8 inch baking dish. Use the back of a measuring cup to create a smooth layer. Once pressed, refrigerate the crust for 30 minutes to help it set.
Making the Cheesecake Filling
Now, let’s create the creamy filling. In a large bowl, beat the softened cream cheese with an electric mixer until it is smooth and creamy. This is key for a nice texture. Gradually add the powdered sugar, espresso powder, and vanilla extract. Mix well until everything is fully combined. The espresso powder adds a rich coffee flavor that pairs well with the chocolate.
Combining Ingredients
In a separate bowl, whip the heavy cream until it forms stiff peaks. This means it should hold its shape when you lift the whisk. Gently fold the whipped cream into the cream cheese mixture. Be careful not to deflate the whipped cream too much; you want to keep that light and airy texture. Finally, fold in the semi-sweet chocolate chips for an extra chocolatey touch.
Assembling the Bars
Take the cheesecake filling and pour it over the chilled crust. Use a spatula to spread the mixture evenly over the crust. Make sure it is smooth and level. This step is important for a nice look when you cut the bars.
Chilling the Dessert
Cover the dish with plastic wrap and refrigerate for at least 4 hours. This allows the cheesecake to set properly. If you want to make it a day in advance, that works too! Just keep it covered in the fridge.
Serving Suggestions
Once your bars are set, lift them out of the dish using parchment paper if you used it. Cut the cheesecake into bars. For a fun touch, stack the bars on a decorative platter. You can drizzle melted chocolate on top or sprinkle with cocoa powder or coffee beans for a fancy finish. Enjoy your delicious dessert!
Tips & Tricks
Precision in Measurements
Measuring ingredients correctly is key for success. For this cheesecake, use a dry measuring cup for the cookie crumbs. Pack the crumbs lightly to avoid extra air. Use a liquid measuring cup for melted butter. This ensures the right texture in your crust. A small scale helps too, especially for cream cheese. This way, you get the perfect amount every time.
Achieving Perfect Whipped Cream
To whip cream to stiff peaks, start with cold heavy cream. Use a clean bowl and beaters for best results. Whip on medium speed until you see soft peaks. This takes about two minutes. Then, increase the speed to high. Keep mixing until the cream holds its shape. Be careful not to overwhip it, or you’ll make butter!
Smoothing the Crust and Filling
For a smooth crust, use the back of a measuring cup to press the mixture. Make sure it’s flat and even. After adding the filling, use a spatula to spread it out. Work from the center to the edges for an even surface. A gentle touch prevents air bubbles and keeps the mixture nice.
Enhancing Flavor Profiles
Want to boost the flavor? Try adding a splash of almond extract for warmth. A little cinnamon can enhance the chocolate taste. If you like coffee, consider using brewed espresso instead of instant. These small changes can elevate your cheesecake. Play around with flavors to find your perfect mix!
Variations
Flavor Variations
You can change the flavor of your bars in fun ways. Try using different types of chocolate. Dark chocolate adds a rich taste. White chocolate gives a sweet twist. Both options work well with the cream cheese. You can also swap espresso for different flavored coffees. Hazelnut coffee or vanilla coffee adds a new spin.
Dietary Modifications
If you need gluten-free bars, use gluten-free cookies for the crust. They work just as well and taste great. For a vegan version, swap cream cheese with a plant-based alternative. Use coconut cream instead of heavy cream. These changes keep the taste while fitting your diet.
Serving Variations
Serve these bars in many ways. For a fun twist, place them in small jars. This makes a cute single-serving dessert. You can also layer them with other desserts. Try adding a layer of fruit or whipped cream. This adds color and flavor to your treat.
Storage Info
Best Storage Practices
To keep your chocolate espresso cheesecake bars fresh, store them in the fridge. Use an airtight container or cover the dish tightly with plastic wrap. This helps to prevent them from absorbing any strong odors. Make sure the bars are chilled before you cover them. This way, they stay firm and tasty.
Freezing Cheesecake Bars
You can freeze these cheesecake bars for later enjoyment. First, cut them into squares. Wrap each bar tightly in plastic wrap. Then, place them in a freezer-safe bag. Label the bag with the date. When you’re ready to eat them, take out the bars and put them in the fridge overnight to thaw. This keeps their creamy texture intact.
Shelf Life
These cheesecake bars last up to one week in the fridge. After that, they may lose some flavor and texture. If frozen, they can stay fresh for about three months. Just remember to check for any signs of freezer burn before eating. Enjoying them within these time frames helps you savor every bite!
FAQs
Can I make these bars ahead of time?
Yes, you can make these bars a day or two ahead. This helps the flavors blend well. Just keep them in the fridge until you are ready to serve.
What can I use instead of cream cheese?
You can try Greek yogurt or mascarpone cheese. These will give a creamy texture, but the taste may change a bit.
How do I know when the cheesecake is set?
Check if the edges look firm and the center is slightly jiggly. It will finish setting as it chills.
Can I use different types of cookies for the crust?
Yes, you can use vanilla wafers or even graham crackers. Each will add a unique flavor to your bars.
Is it necessary to chill the dessert for 4 hours?
Chilling for 4 hours helps the bars firm up. If you chill longer, they will taste even better.
This blog post covered how to make delicious cheesecake bars step by step. We looked at the simple ingredients, from chocolate cookie crumbs to cream cheese, and how to mix them just right. You learned tips on precision and achieving that perfect whipped cream. We also explored fun variations, dietary options, and storage tips to keep your bars fresh. As you bake, enjoy the process and get creative with flavors. You now have the tools to impress with these delicious treats. Happy baking!