FREE DINNER EBOOK!
Get your copy!
Cookie Policy
GDPR Policy
Disclaimer
Terms Of Use
Visit my other site:
Fun Cookie Recipes
Home
Dinner
Desserts
Drinks
Appetizers
Contact
About
Privacy Policy
Home
Dinner
Desserts
Drinks
Appetizers
Contact
About
Privacy Policy
Cookie Policy
GDPR Policy
Disclaimer
Terms Of Use
Visit my other site:
Fun Cookie Recipes
HOME / CATEGORIES /
Latest
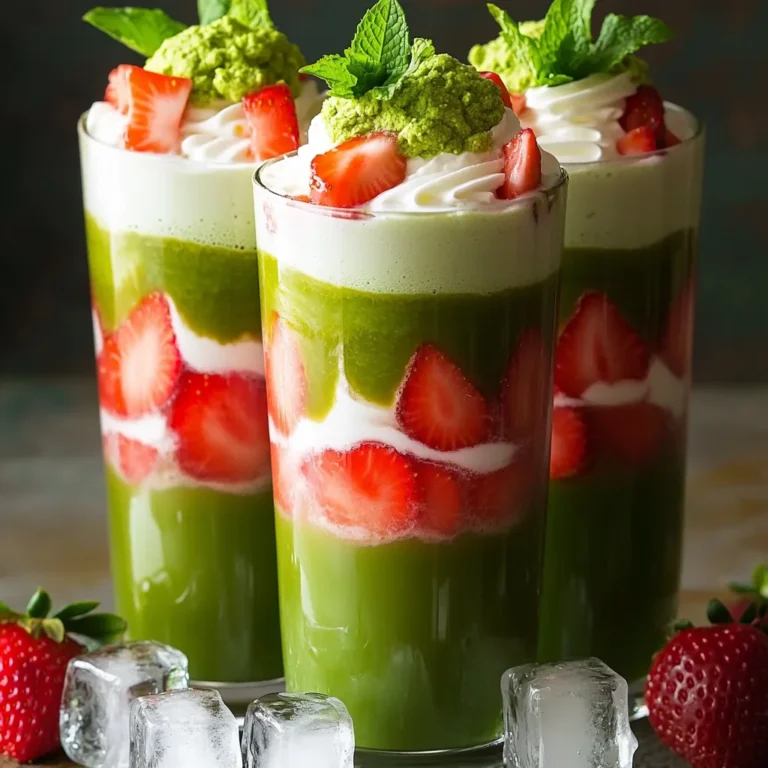
Iced Strawberry Matcha Latte Refreshing Summer Drink
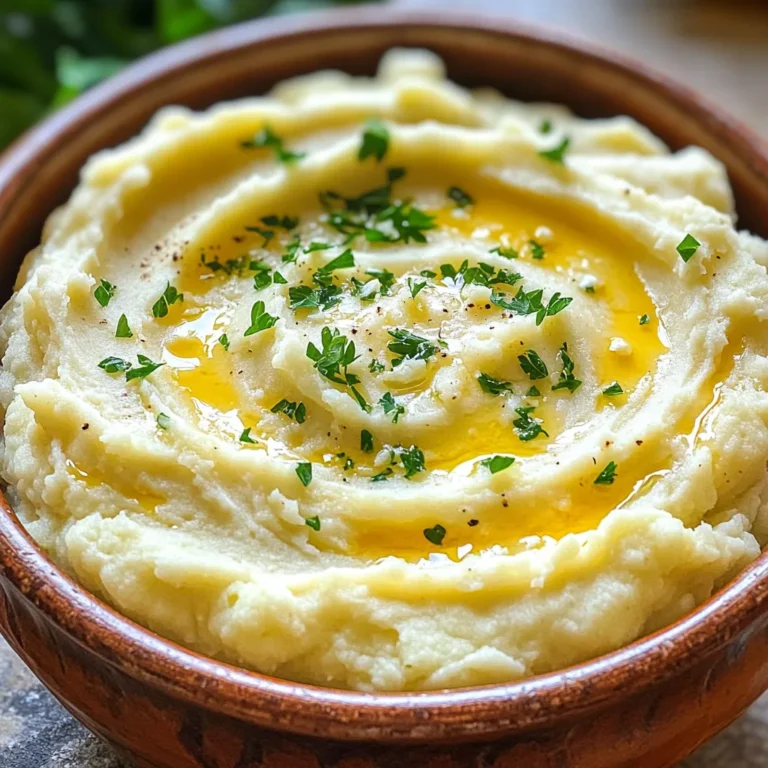
Creamy Garlic Parmesan Mashed Cauliflower Delight
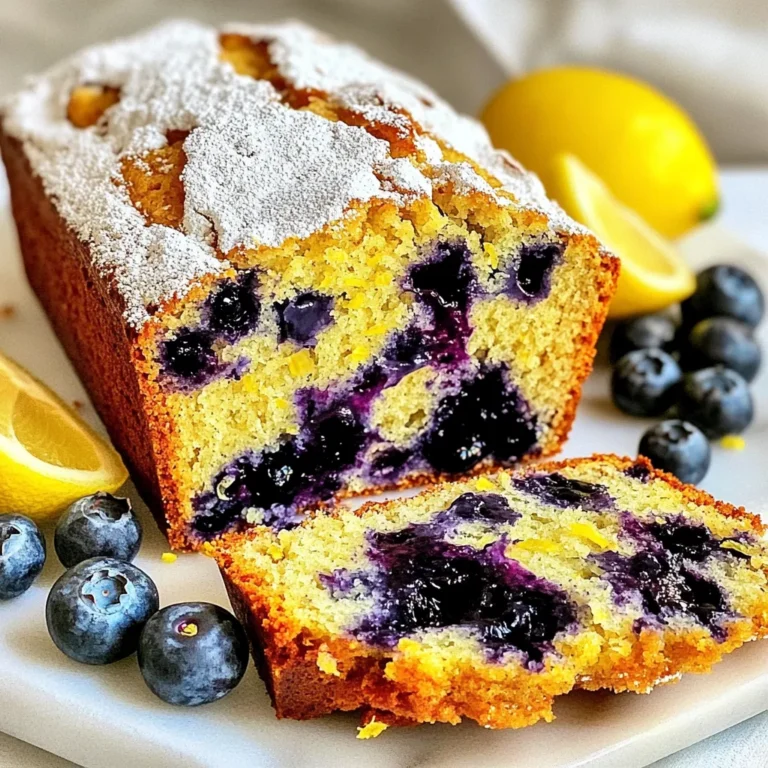
Irresistible Blueberry Lemon Yogurt Loaf Recipe
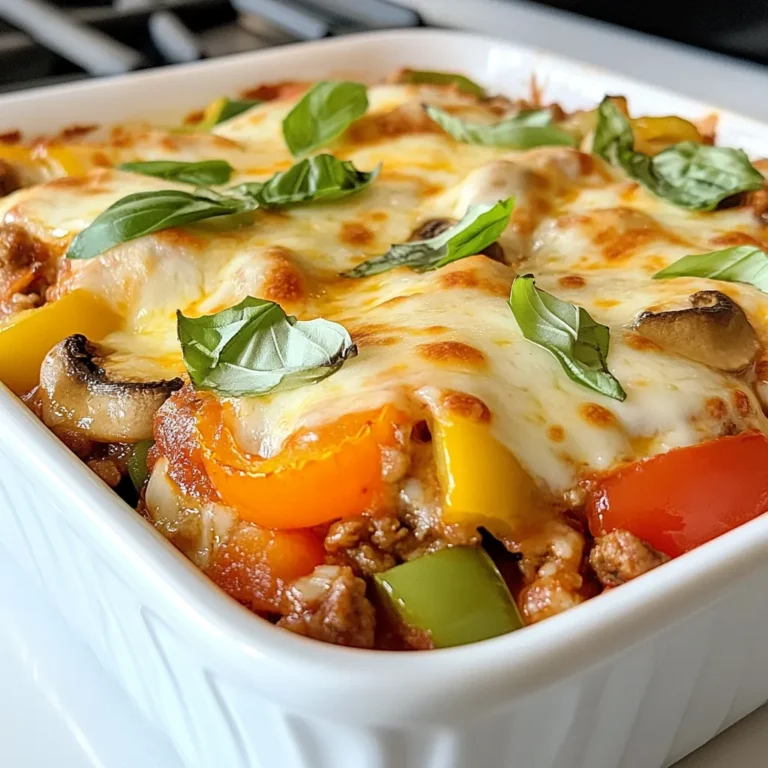
Low Carb Pizza Casserole Flavorful and Easy Dish
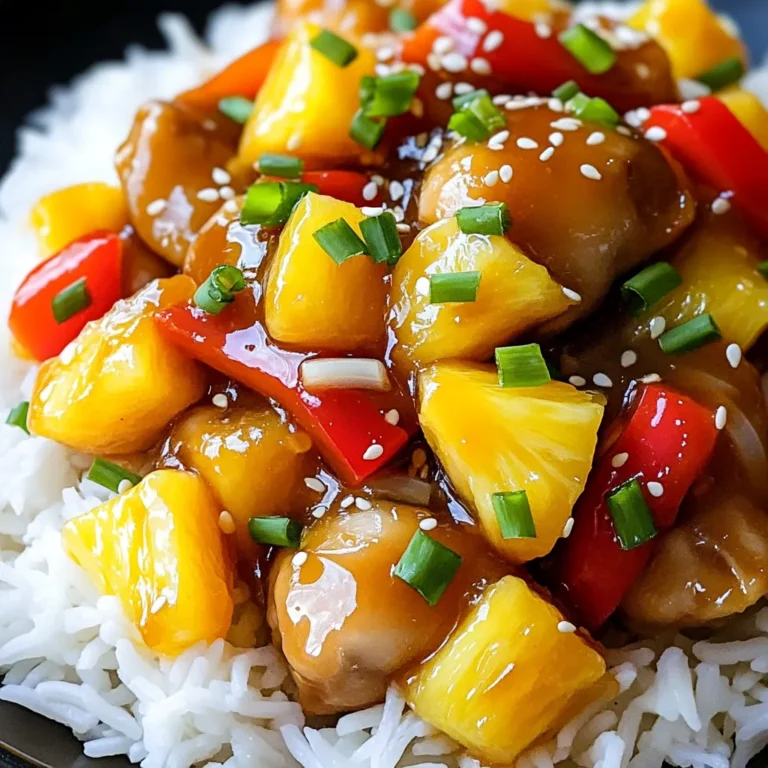
Slow Cooker Sweet & Sour Chicken Flavorful Recipe
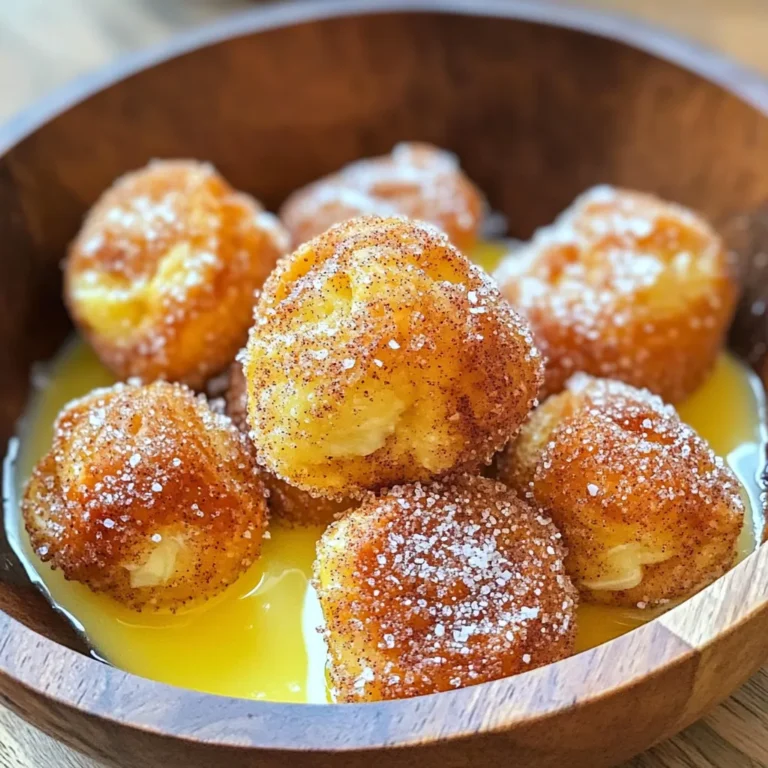
Air Fryer Cinnamon Pretzel Bites Quick and Easy Recipe
Creamy Cajun Shrimp Pasta Delightful and Easy Dish
Delicious Pumpkin Snickerdoodle Cookies Recipe Guide
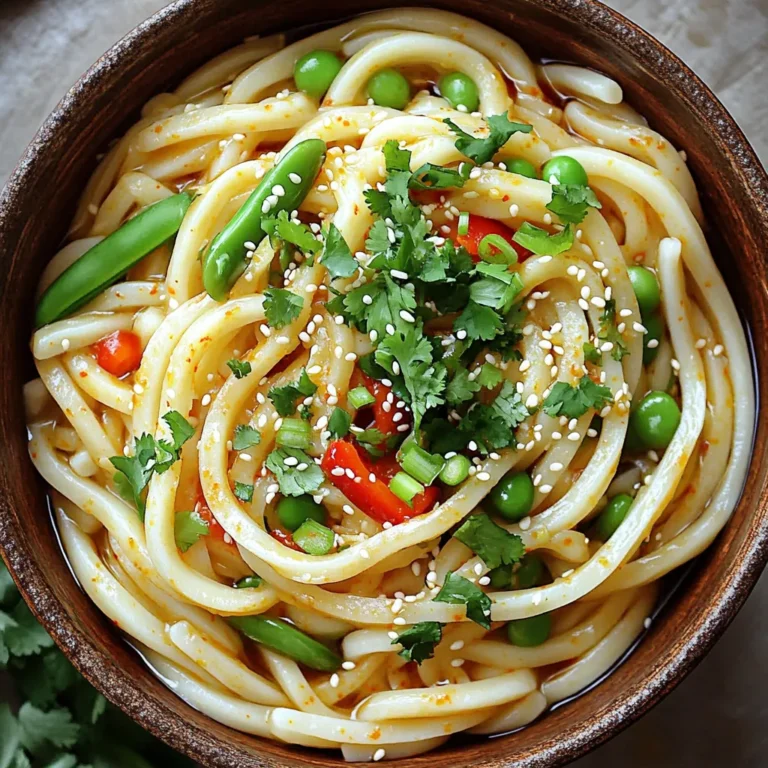
Spicy Garlic Udon Noodles Flavorful and Simple Dinner
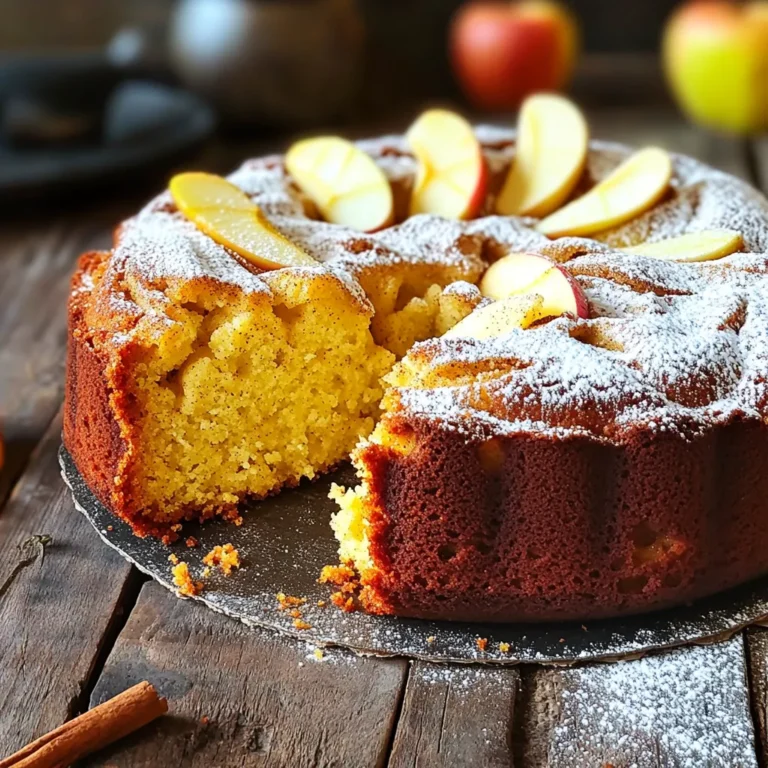
Apple Cider Pound Cake Delicious Fall Favorite Recipe
PREV
1
…
8
9
10
…
57
NEXT