FREE DINNER EBOOK!
Get your copy!
Cookie Policy
GDPR Policy
Disclaimer
Terms Of Use
Visit my other site:
Fun Cookie Recipes
Home
Dinner
Desserts
Drinks
Appetizers
Contact
About
Privacy Policy
Home
Dinner
Desserts
Drinks
Appetizers
Contact
About
Privacy Policy
Cookie Policy
GDPR Policy
Disclaimer
Terms Of Use
Visit my other site:
Fun Cookie Recipes
HOME / CATEGORIES /
Latest
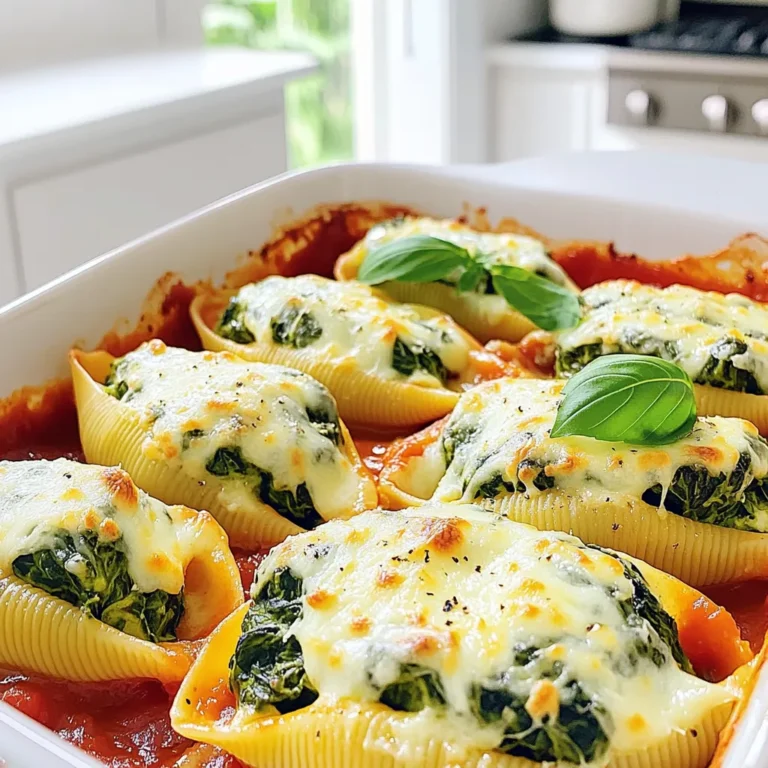
Cheesy Spinach Stuffed Shells Simple and Scrumptious Meal
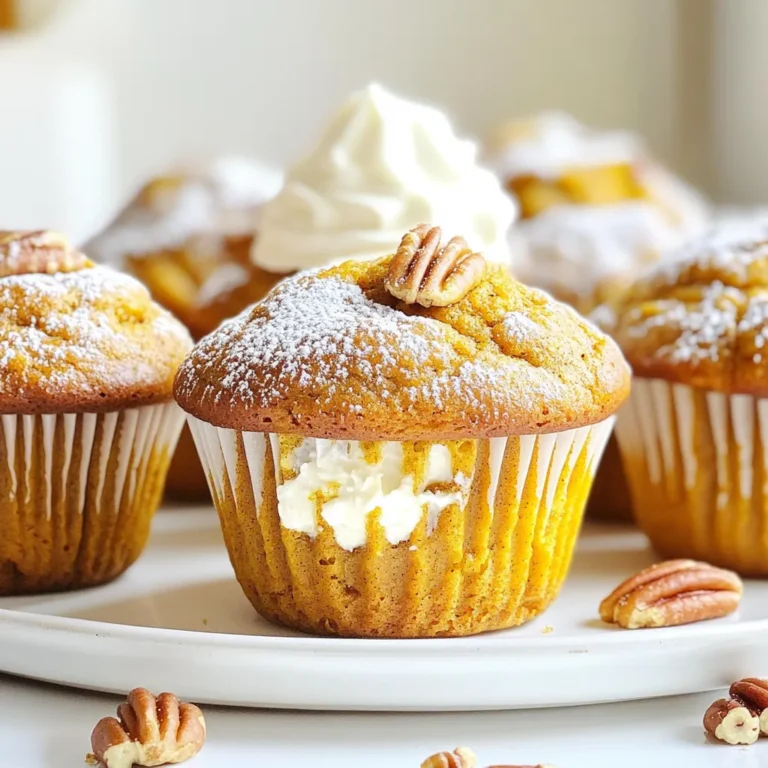
Pumpkin Cream Cheese Muffins Perfect for Fall Baking
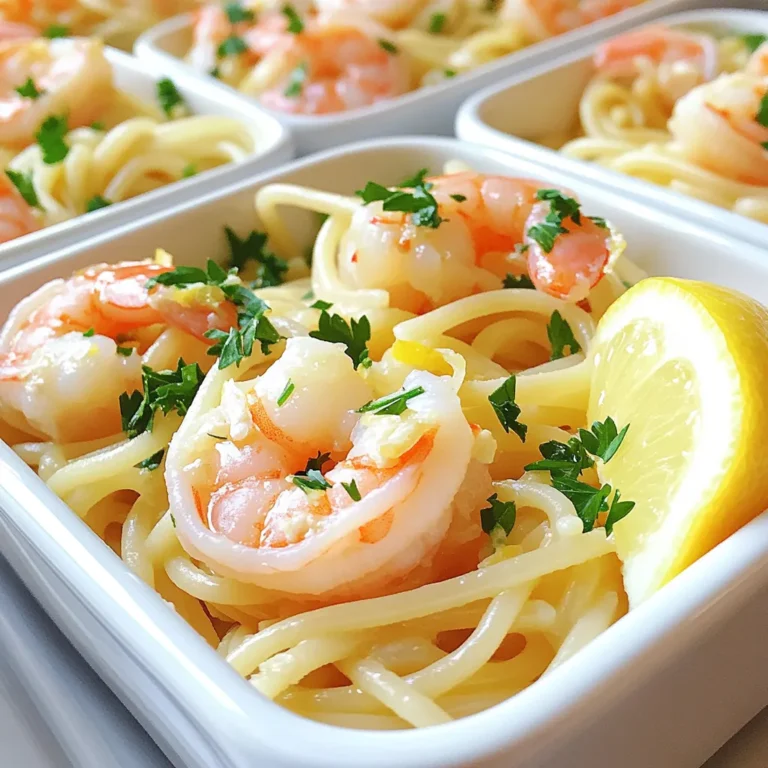
Minute Shrimp Scampi Pasta Quick and Tasty Meal
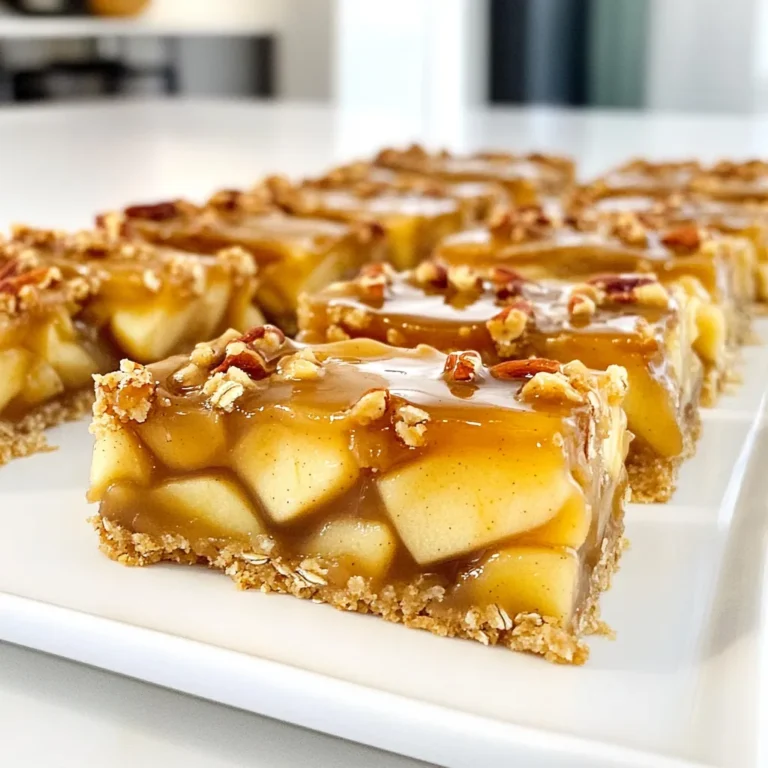
Caramel Apple Pie Bars Tasty and Fun to Make
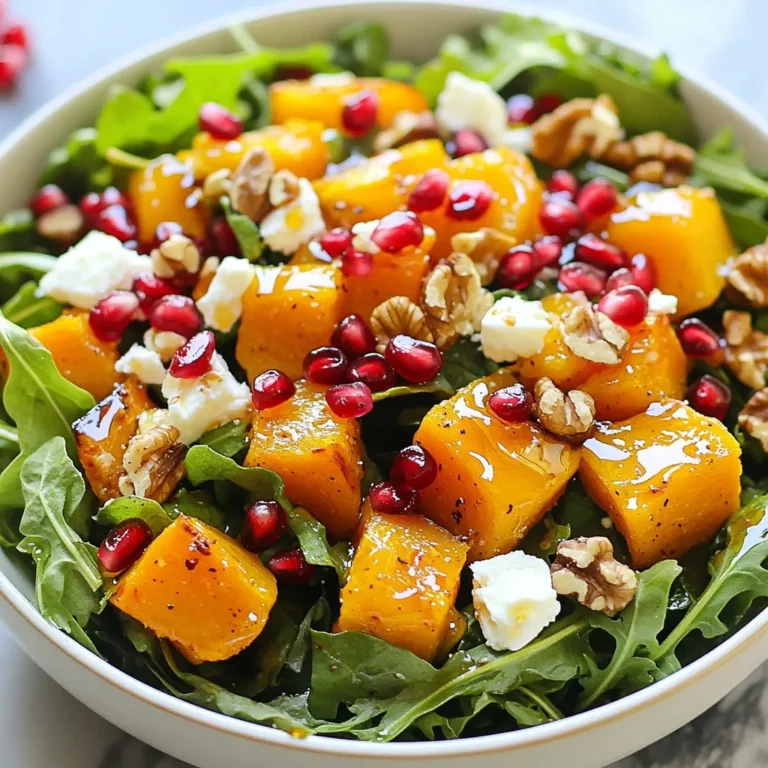
Pomegranate Autumn Harvest Salad Vibrant and Fresh
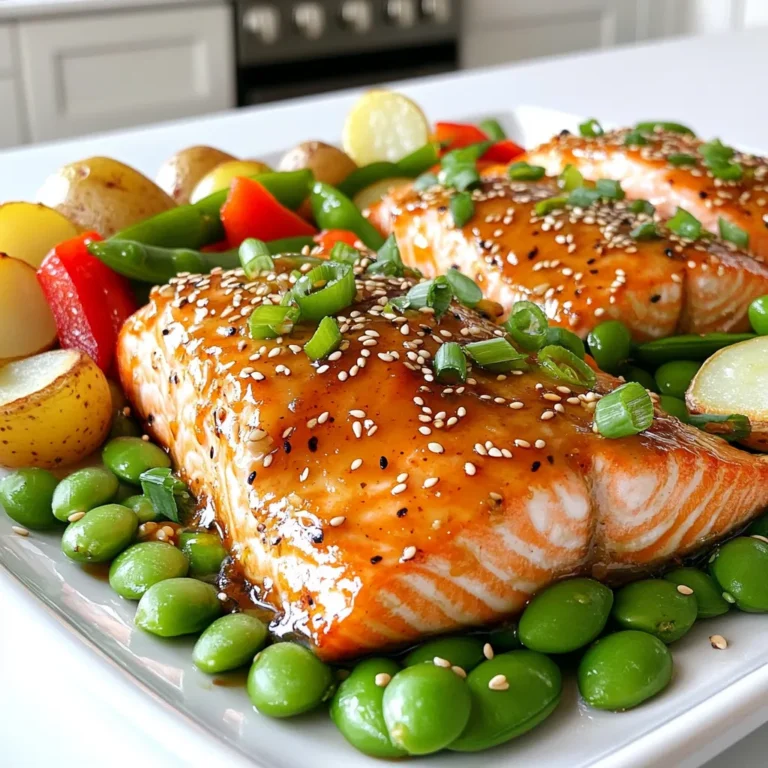
Sheet Pan Miso Glazed Salmon Simple and Flavorful Meal
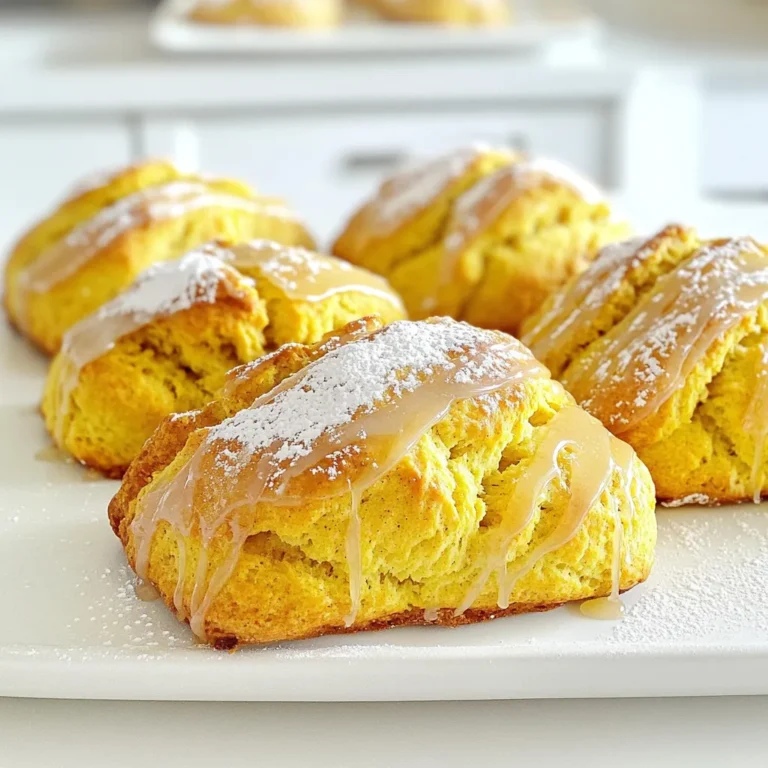
Maple Glazed Pumpkin Scones Delightful Fall Treat
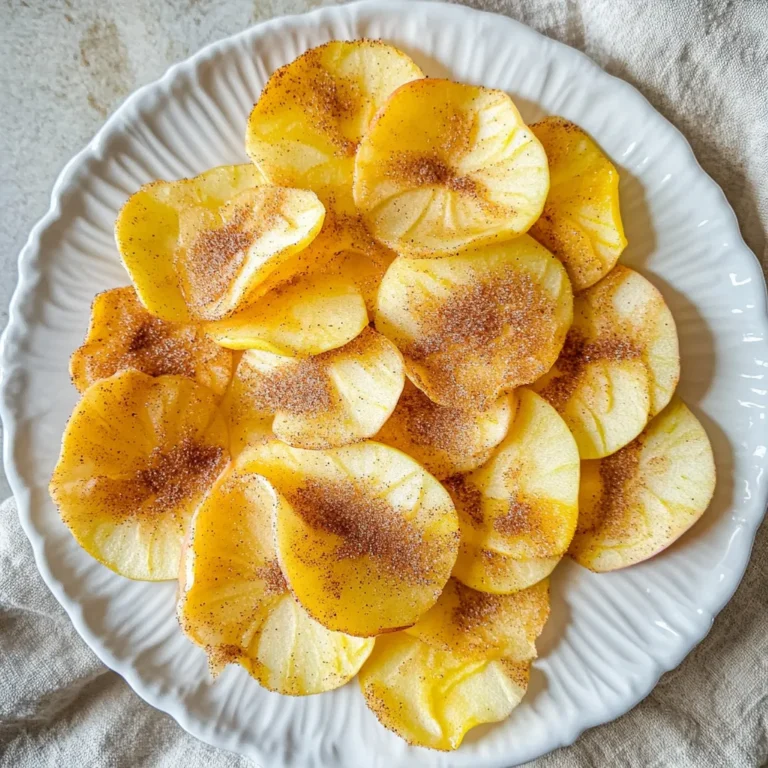
Air Fryer Cinnamon Sugar Apple Chips Simple and Sweet
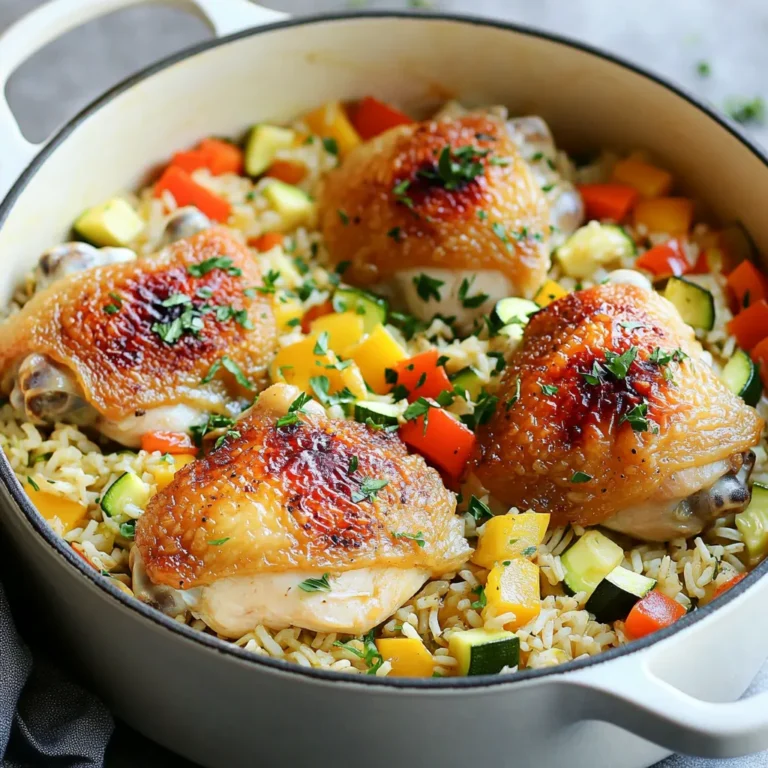
One Pot Chicken Rice Veggies Flavorful Family Meal
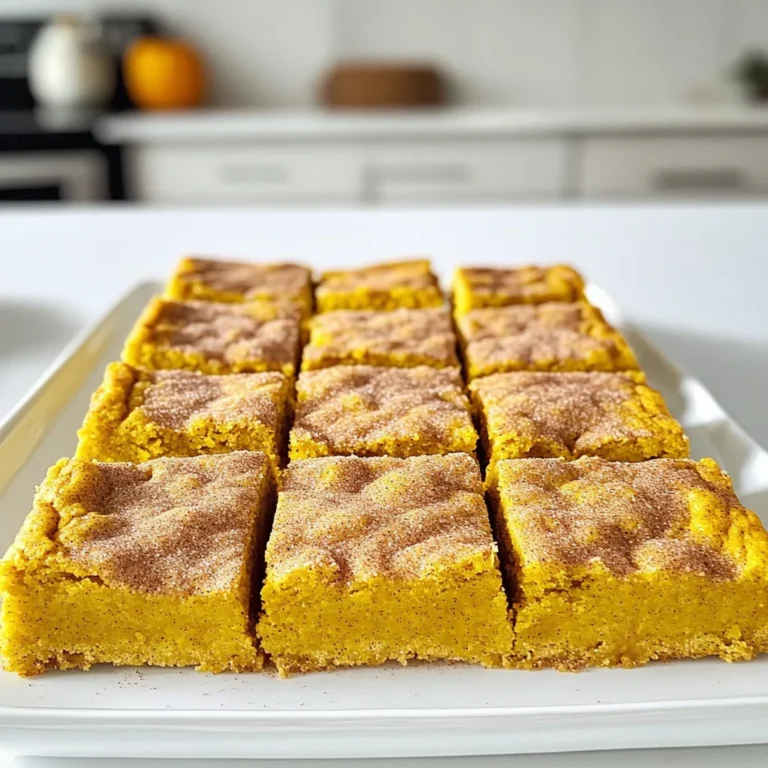
Pumpkin Snickerdoodle Bars Irresistible Fall Treat
PREV
1
…
7
8
9
…
86
NEXT