FREE DINNER EBOOK!
Get your copy!
Cookie Policy
GDPR Policy
Disclaimer
Terms Of Use
Visit my other site:
Fun Cookie Recipes
Home
Dinner
Desserts
Drinks
Appetizers
Contact
About
Privacy Policy
Home
Dinner
Desserts
Drinks
Appetizers
Contact
About
Privacy Policy
Cookie Policy
GDPR Policy
Disclaimer
Terms Of Use
Visit my other site:
Fun Cookie Recipes
HOME / CATEGORIES /
Latest
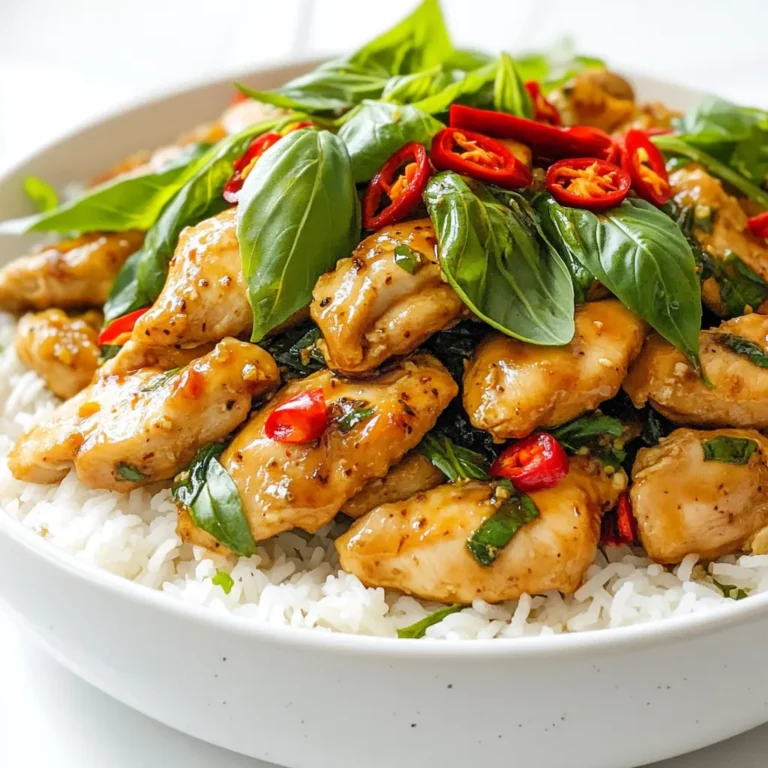
Thai Basil Chicken Flavorful and Easy Recipe Guide
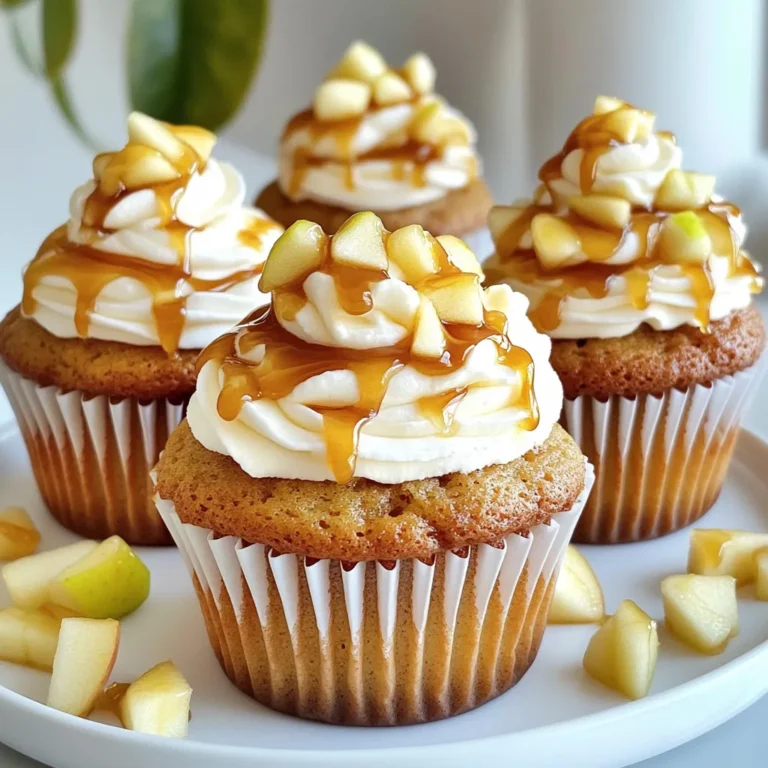
Caramel Apple Cupcakes Delightful Fall Treat Recipe
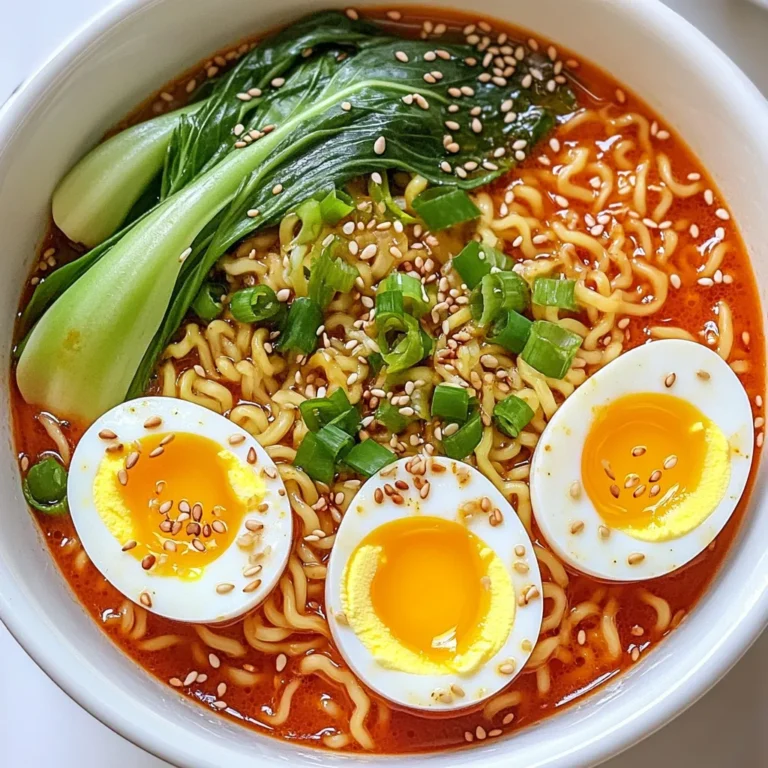
Minute Garlic Chili Ramen Quick and Flavorful Delight
Brown Butter Pumpkin Rice Krispies Delightful Treat
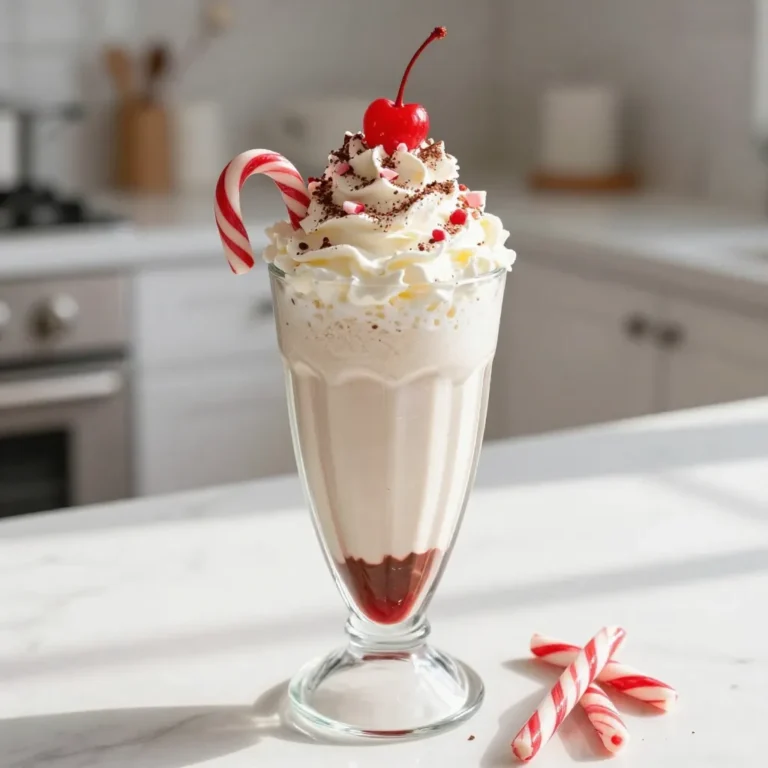
Santa’s Milkshake Recipe for a Festive Treat
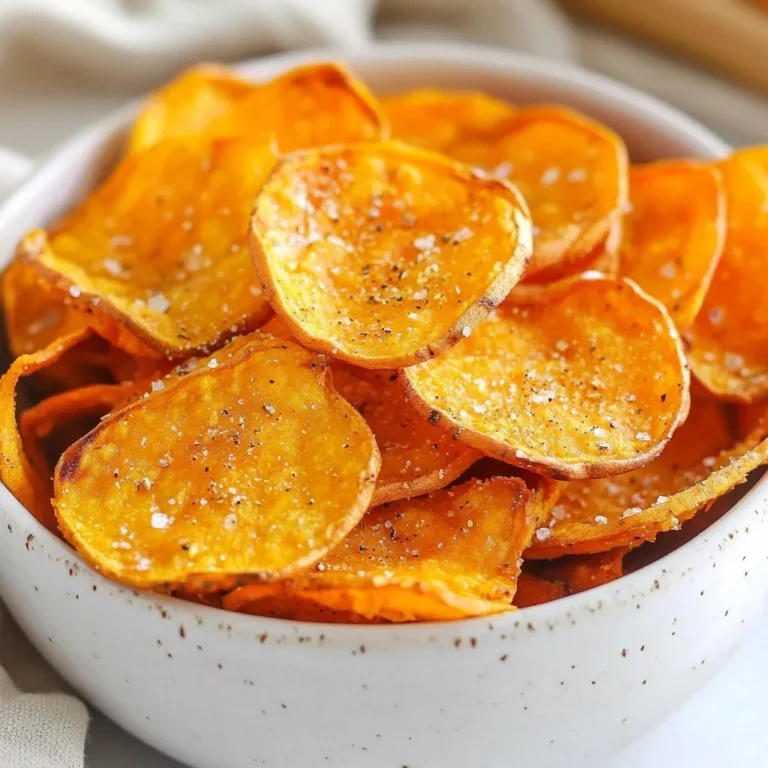
Air Fryer Sweet Potato Chips Crunchy Snack Delight
Creamy One Pot Beef Pasta Quick and Tasty Meal
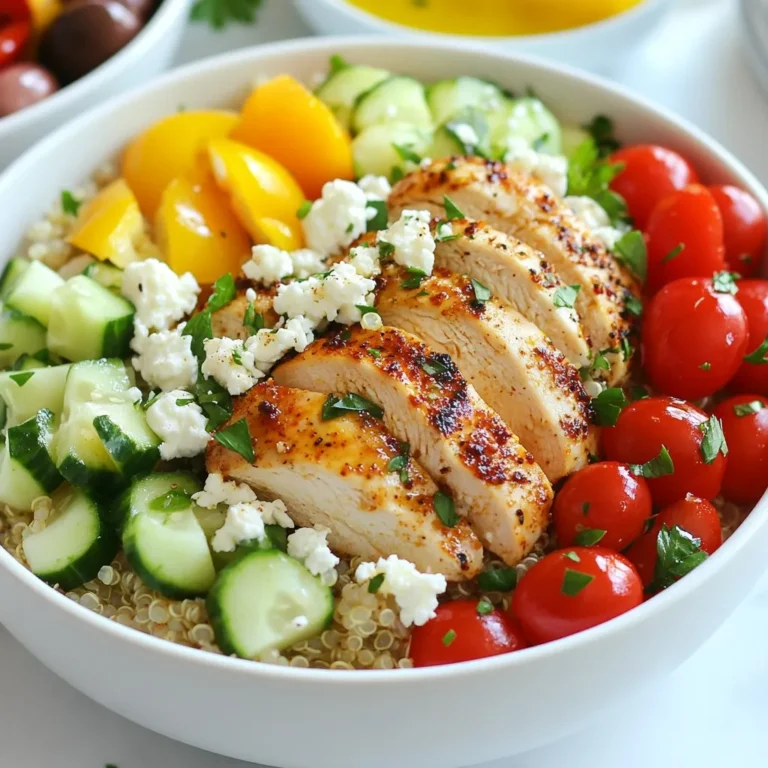
Greek Chicken Meal Prep Bowls Flavorful and Easy Recipe
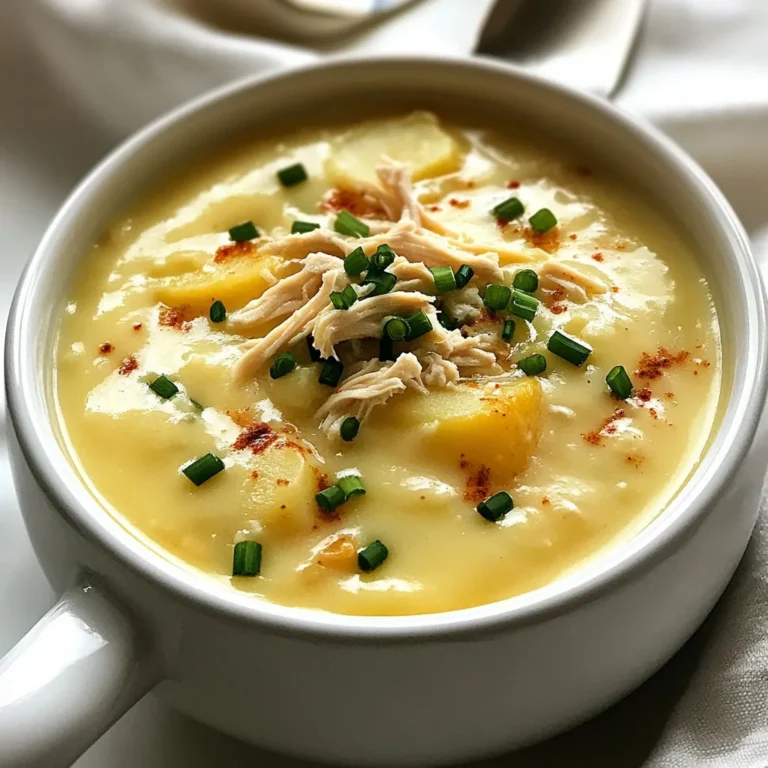
High Protein Creamy Potato Soup Comfort Food Recipe
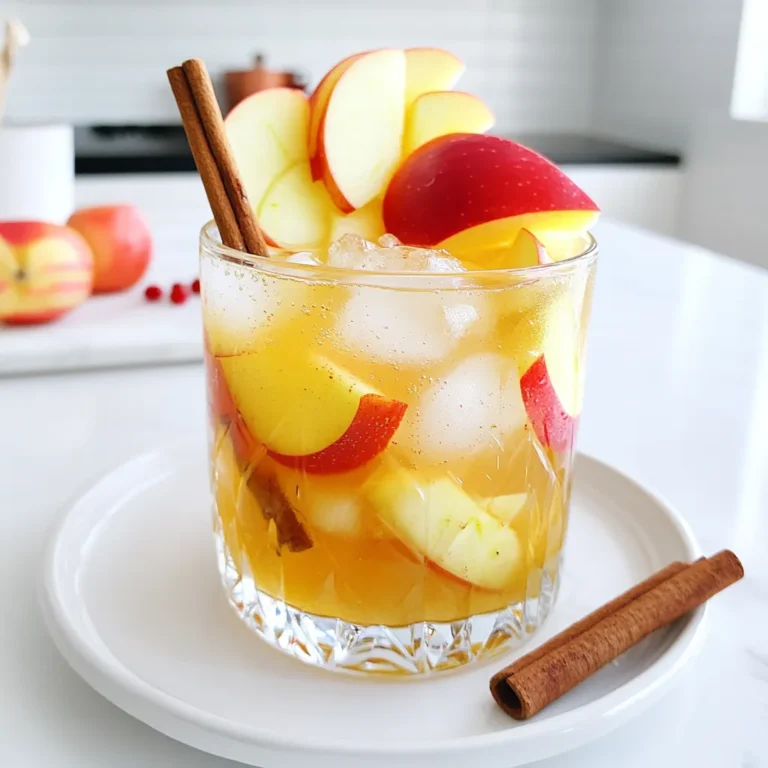
Apple Cider Bourbon Smash Refreshing Fall Drink Recipe
PREV
1
…
6
7
8
…
86
NEXT