FREE DINNER EBOOK!
Get your copy!
Cookie Policy
GDPR Policy
Disclaimer
Terms Of Use
Visit my other site:
Fun Cookie Recipes
Home
Dinner
Desserts
Drinks
Appetizers
Contact
About
Privacy Policy
Home
Dinner
Desserts
Drinks
Appetizers
Contact
About
Privacy Policy
Cookie Policy
GDPR Policy
Disclaimer
Terms Of Use
Visit my other site:
Fun Cookie Recipes
HOME / CATEGORIES /
Latest
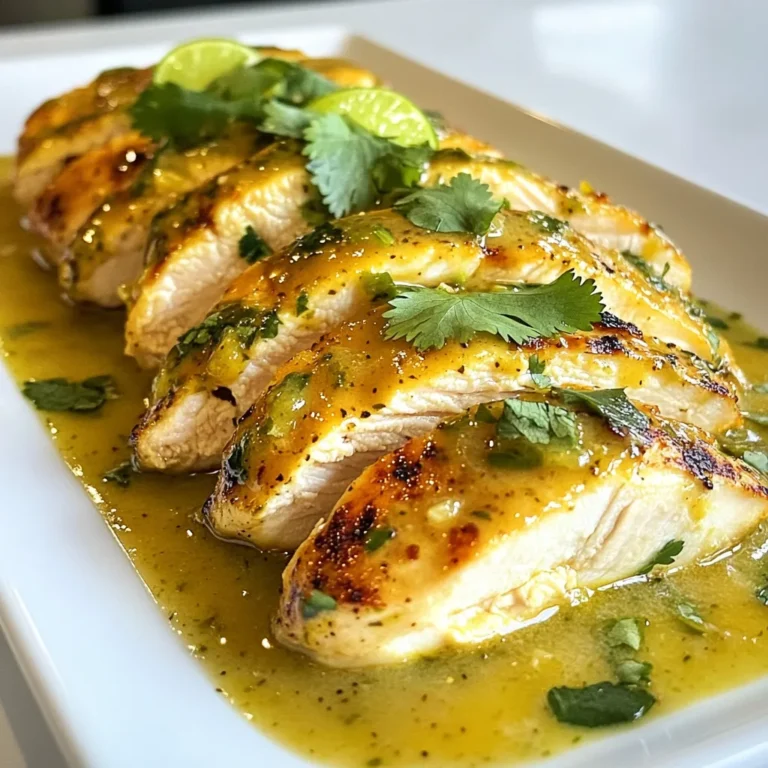
Coconut Lime Chicken Flavorful and Easy Recipe
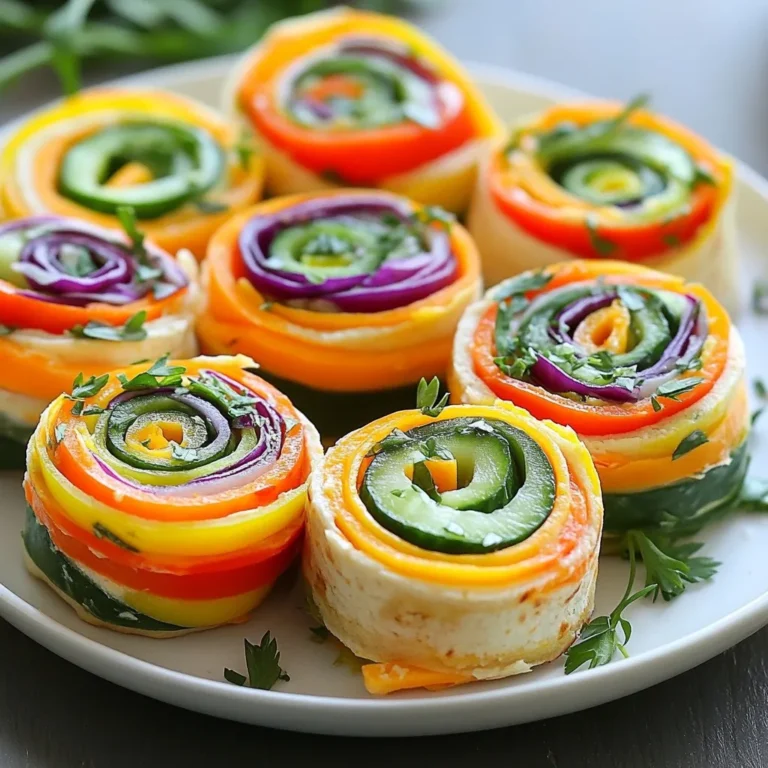
Rainbow Veggie Pinwheels Fun and Colorful Snack
Crockpot Chicken Tacos Savory and Simple Recipe
Failproof Homemade Puff Pastry Simple and Easy Guide
Minute Black Bean Soup Easy and Flavorful Dish
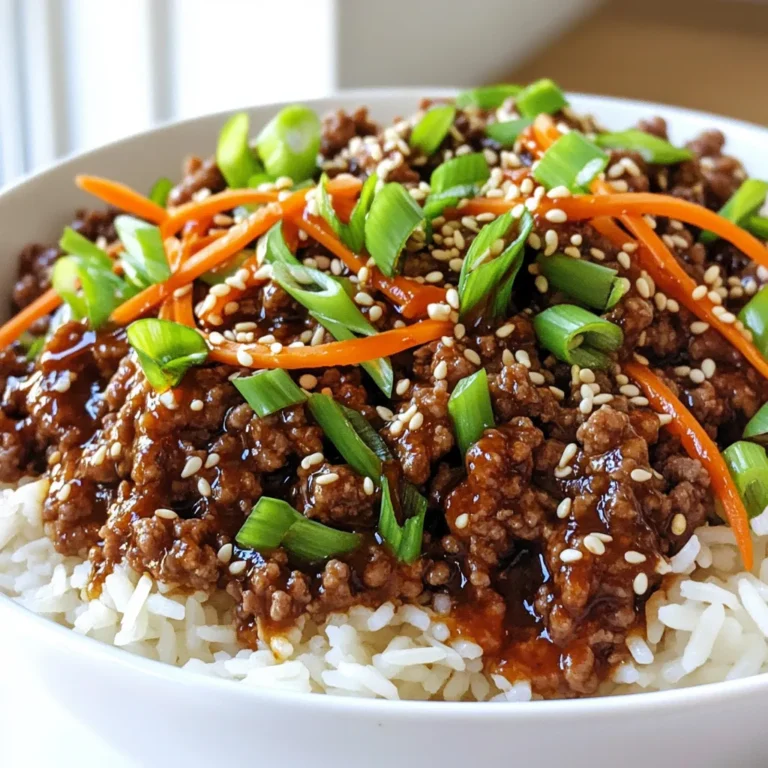
Korean Ground Beef Bowls Flavorful and Easy Dinner
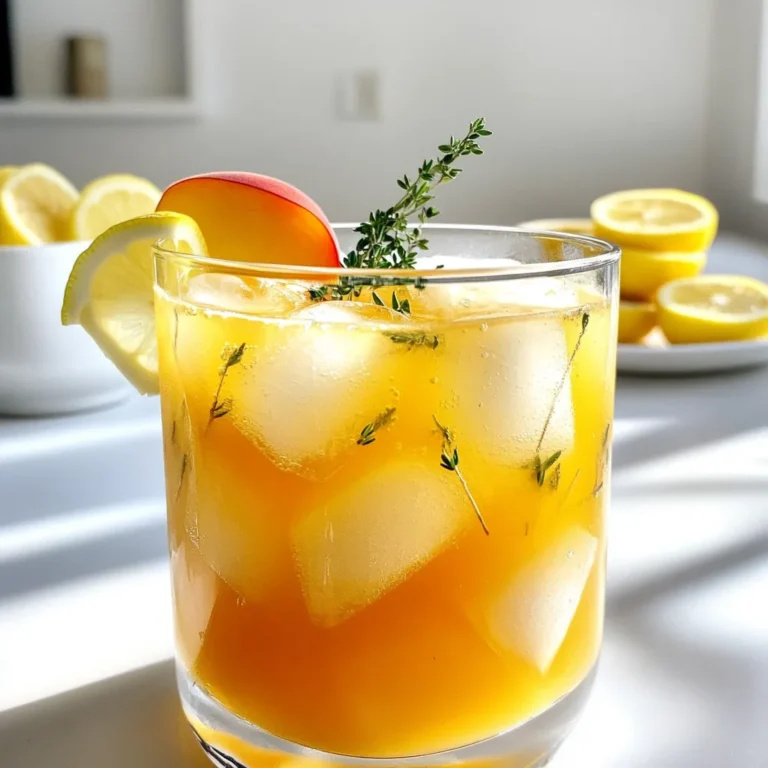
Peach Thyme Green Tea Lemonade Refreshing Summer Drink
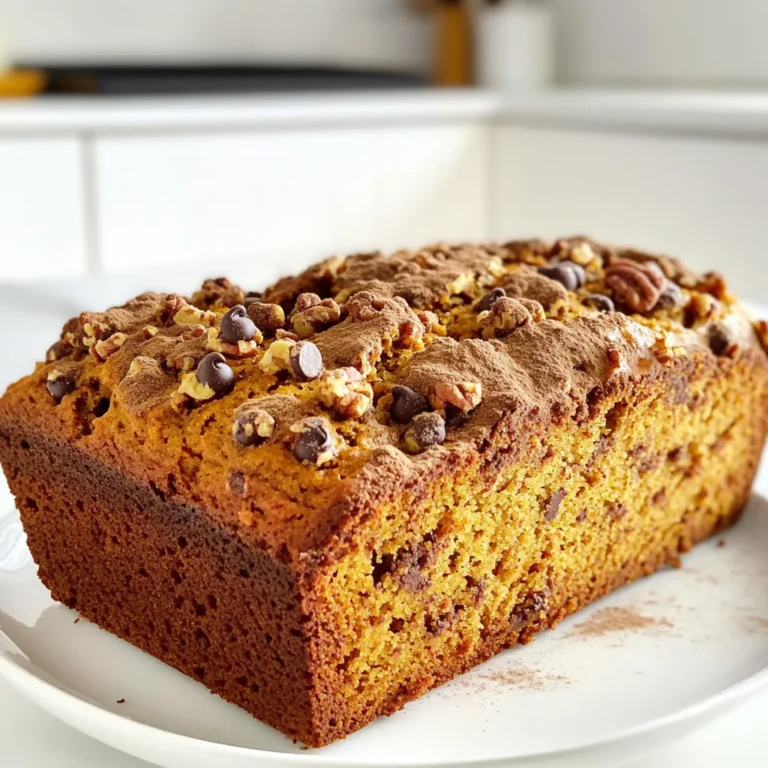
Brown Butter Pumpkin Bread Rich and Flavorful Recipe
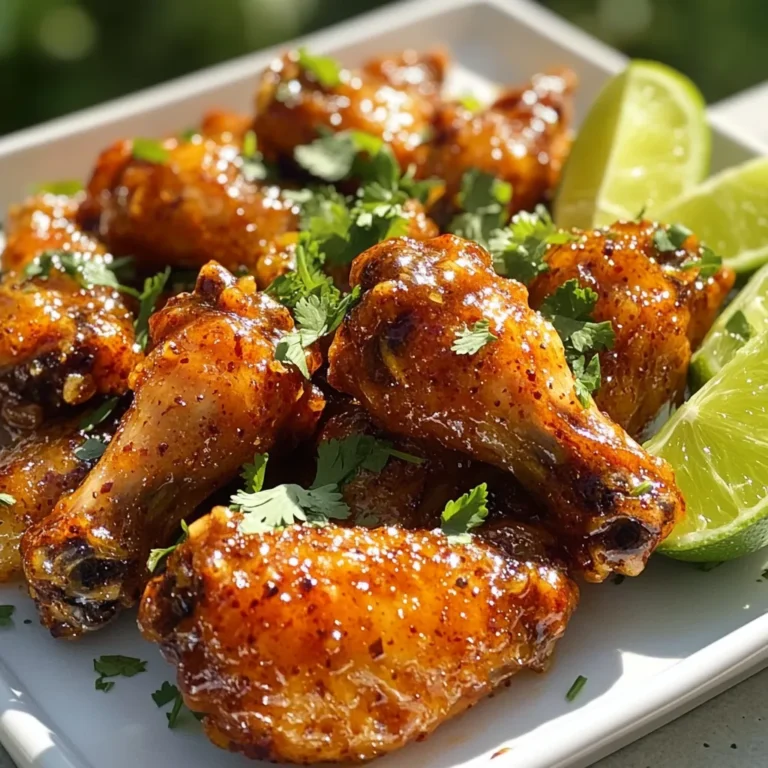
Chili Garlic Butter Chicken Wings Savory Crispy Treat
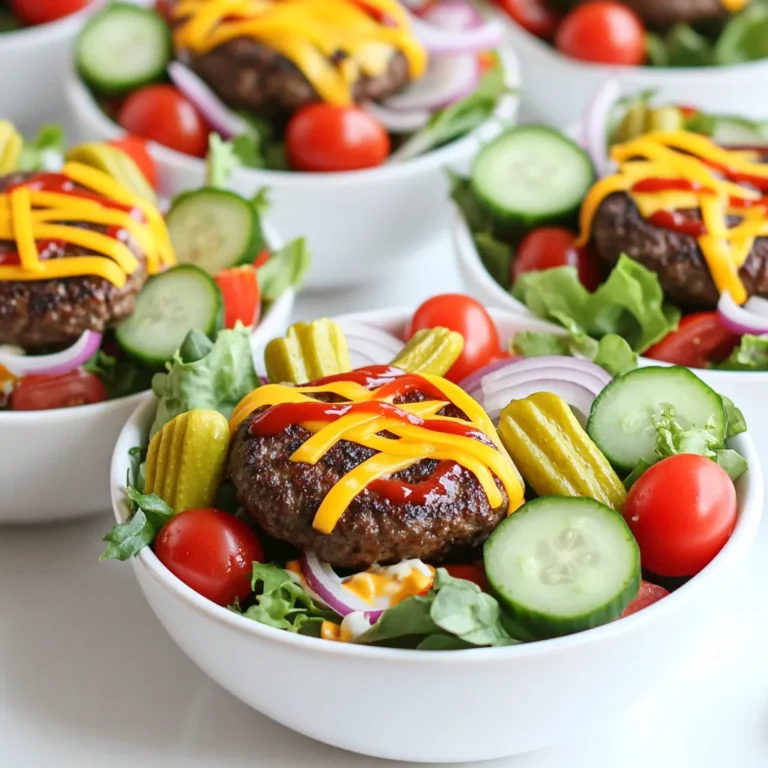
Burger Bowls Packed with Flavorful Ingredients
PREV
1
…
4
5
6
…
86
NEXT