FREE DINNER EBOOK!
Get your copy!
Cookie Policy
GDPR Policy
Disclaimer
Terms Of Use
Visit my other site:
Fun Cookie Recipes
Home
Dinner
Desserts
Drinks
Appetizers
Contact
About
Privacy Policy
Home
Dinner
Desserts
Drinks
Appetizers
Contact
About
Privacy Policy
Cookie Policy
GDPR Policy
Disclaimer
Terms Of Use
Visit my other site:
Fun Cookie Recipes
HOME / CATEGORIES /
Latest
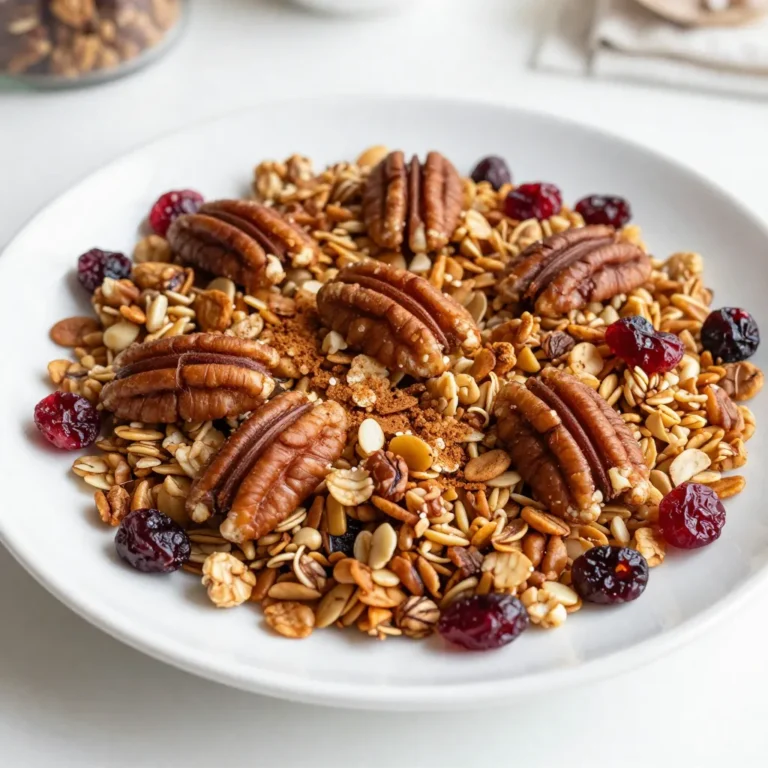
Maple Pecan Granola Tasty and Healthy Snack Idea
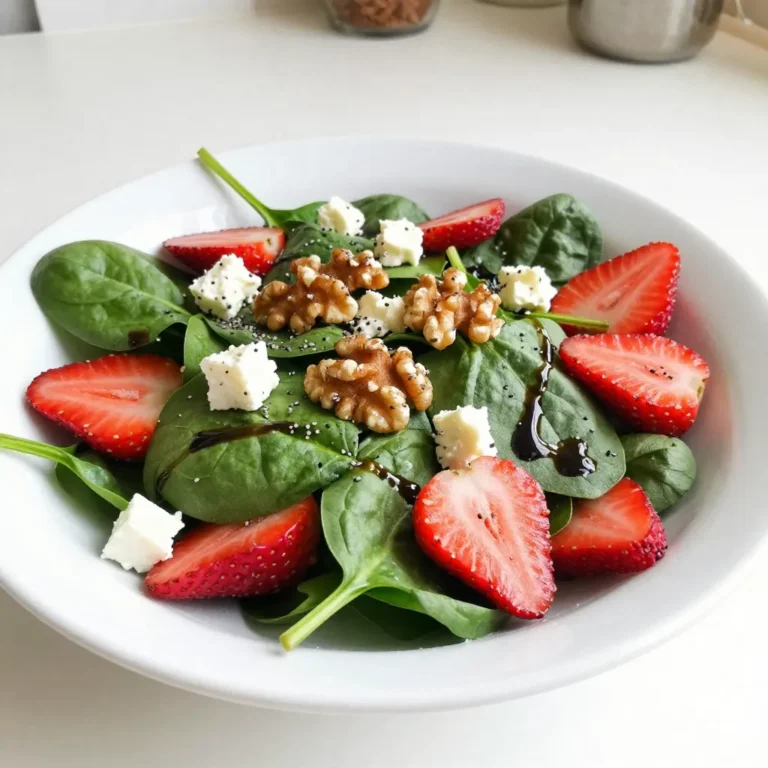
Strawberry Spinach Poppy Salad Refreshing Spring Dish
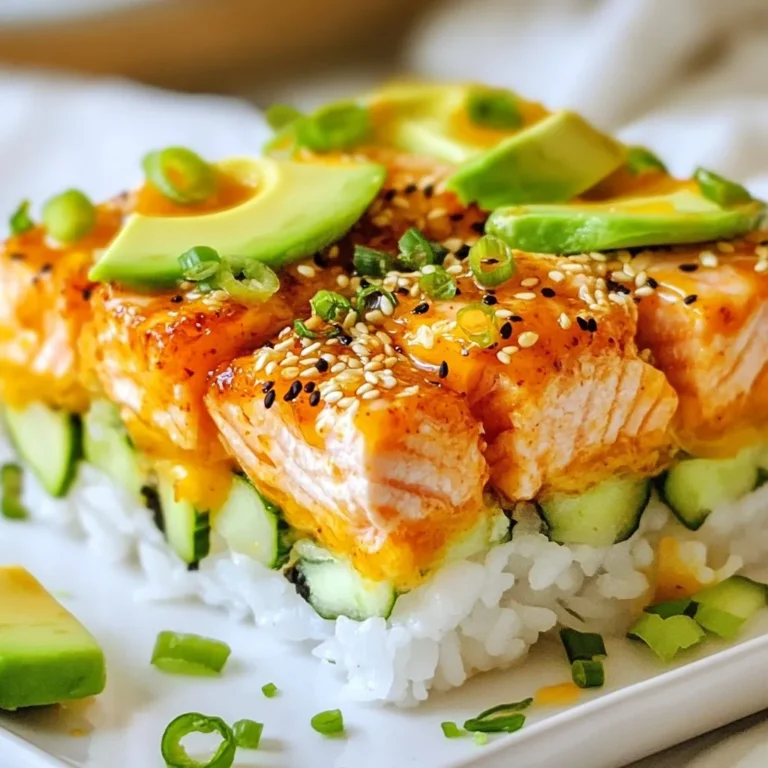
Spicy Salmon Sushi Bake Savory and Easy Delight
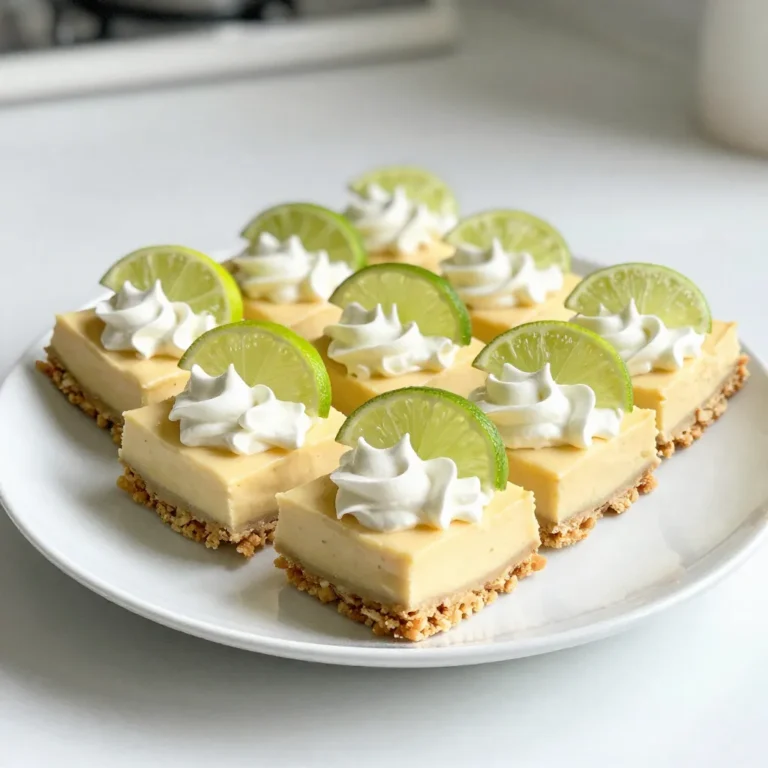
Key Lime Pie Bars Delightfully Tangy Dessert Treat
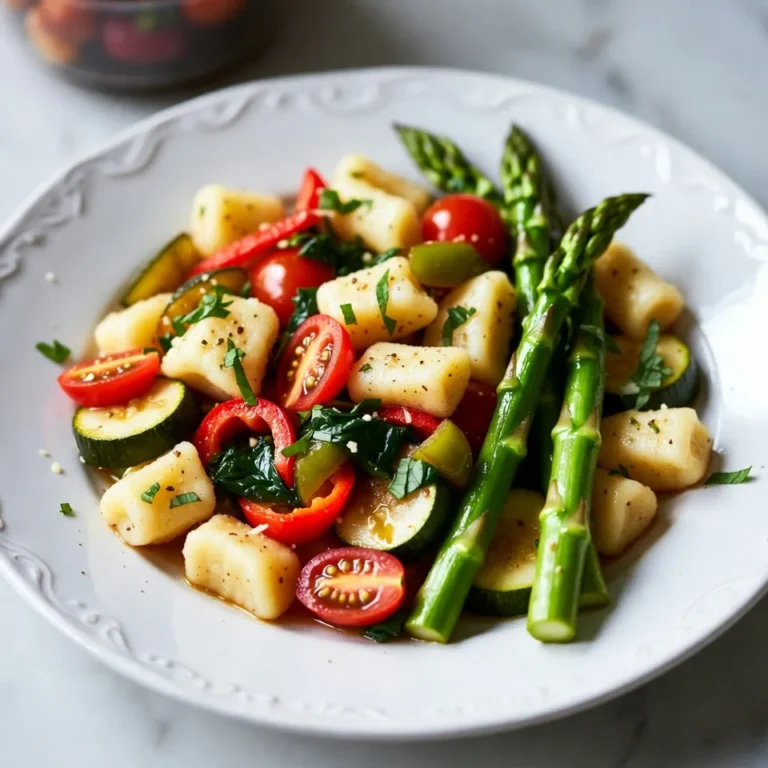
One-Pan Gnocchi Primavera Easy and Flavorful Meal
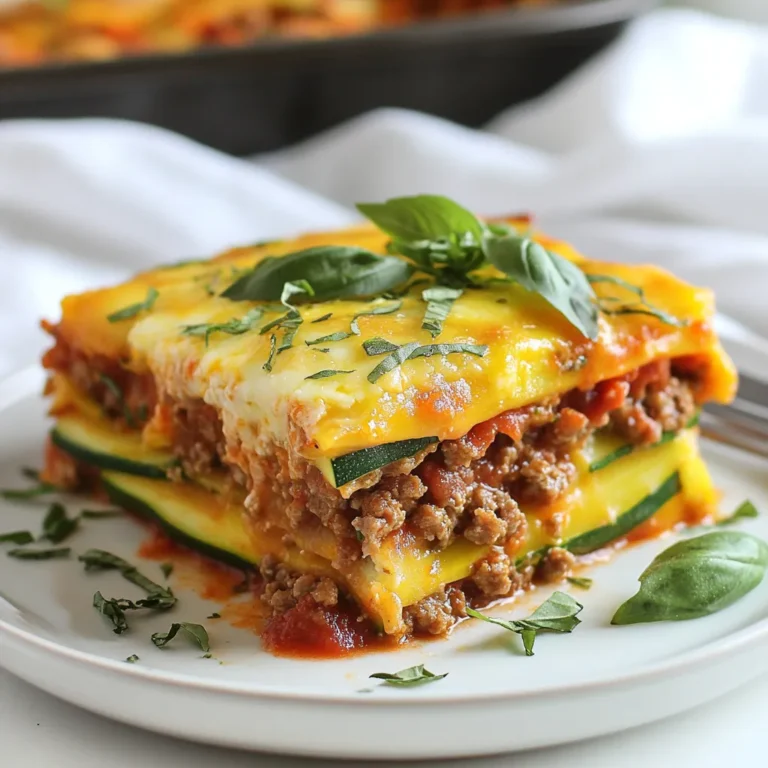
Keto Lasagna Casserole Flavorful and Satisfying Meal
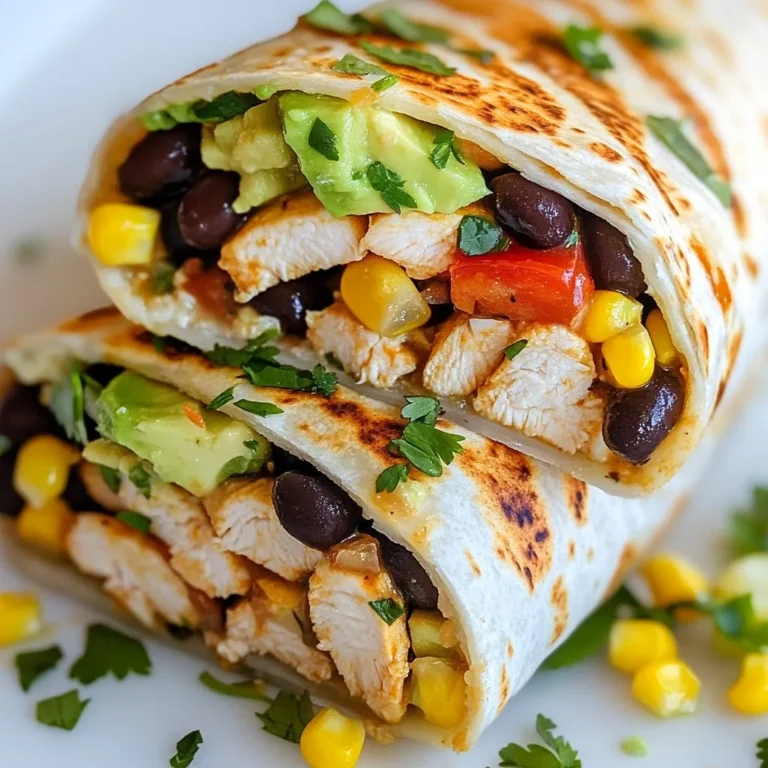
Chipotle Ranch Chicken Burrito Tasty and Simple Recipe
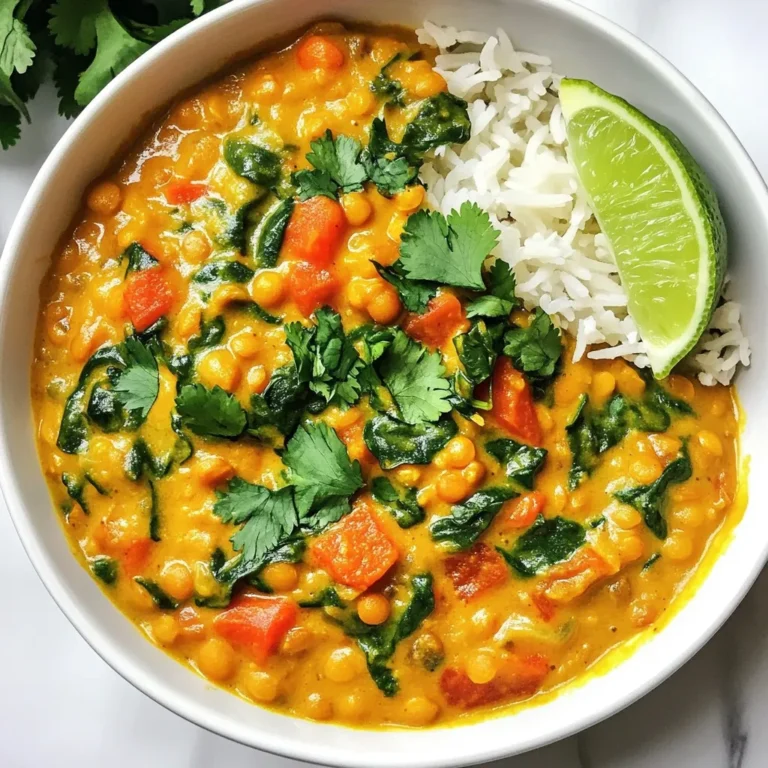
Vegan Coconut Lentil Curry Hearty and Flavorful Dish
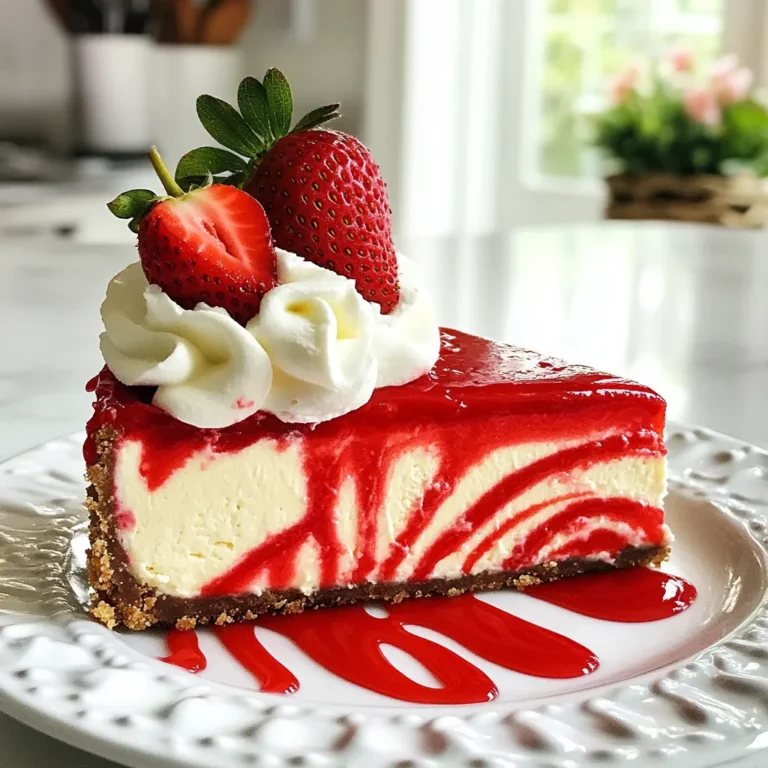
Red Velvet Strawberry Cheesecake Delightful Treat
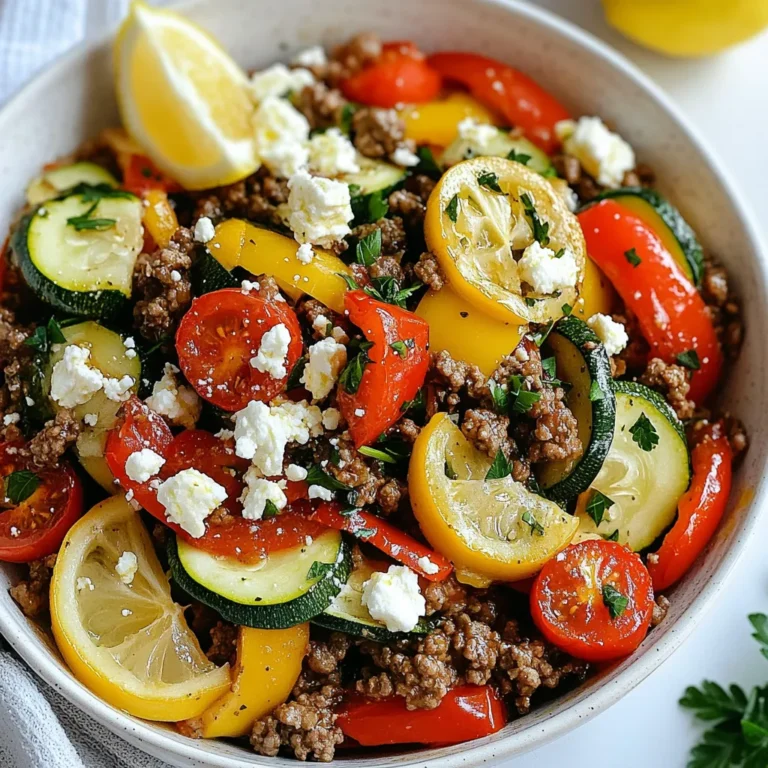
Mediterranean Ground Beef Stir Fry Flavorful and Easy
PREV
1
…
3
4
5
…
86
NEXT