FREE DINNER EBOOK!
Get your copy!
Cookie Policy
GDPR Policy
Disclaimer
Terms Of Use
Visit my other site:
Fun Cookie Recipes
Home
Dinner
Desserts
Drinks
Appetizers
Contact
About
Privacy Policy
Home
Dinner
Desserts
Drinks
Appetizers
Contact
About
Privacy Policy
Cookie Policy
GDPR Policy
Disclaimer
Terms Of Use
Visit my other site:
Fun Cookie Recipes
HOME / CATEGORIES /
Latest
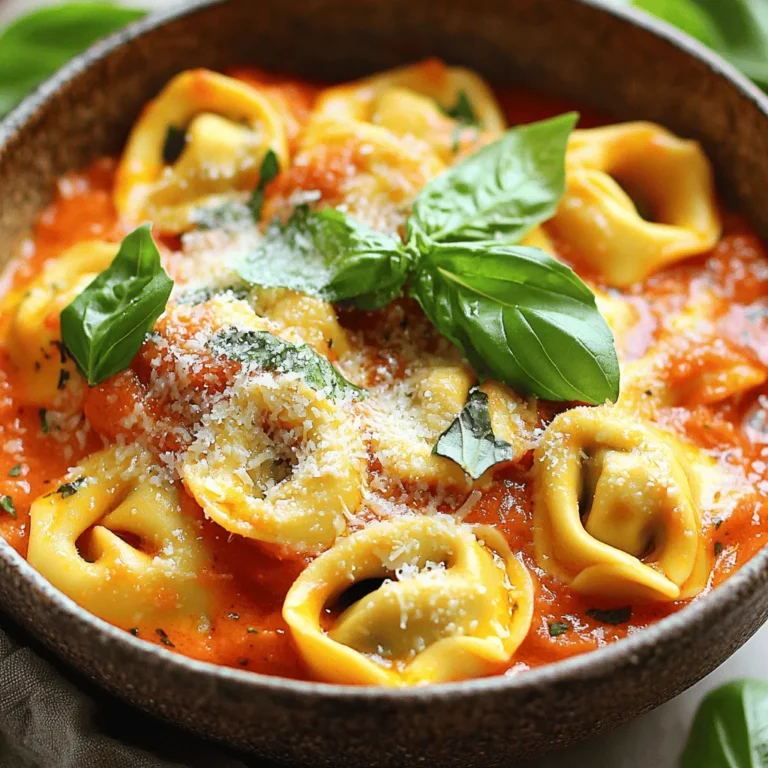
Creamy Tomato Basil Tortellini Simple and Savory Meal
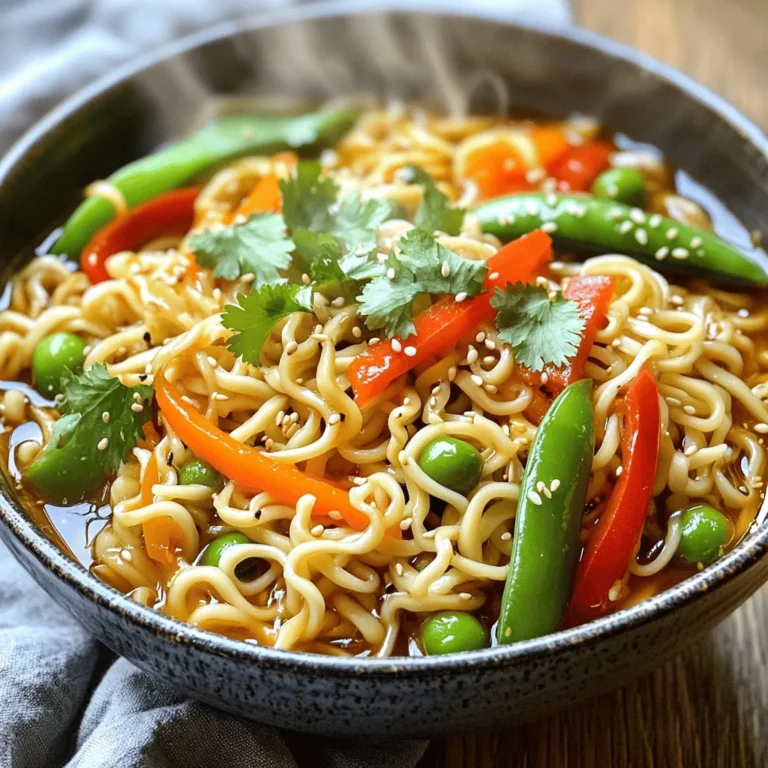
Spicy Szechuan Noodles Fiery and Flavorful Recipe
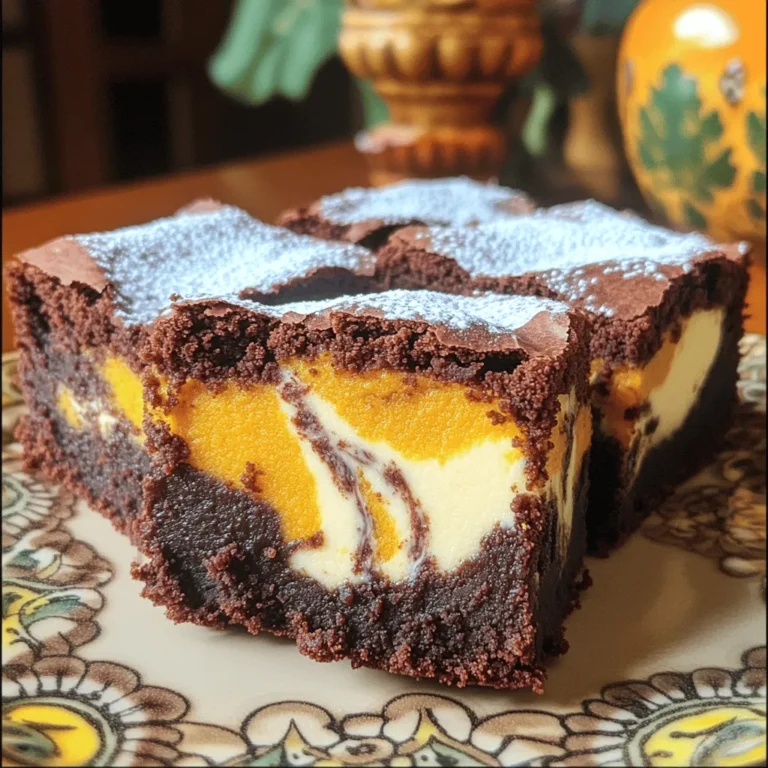
Pumpkin Cream Cheese Brownies Rich and Decadent Treat
Minute Garlic Chili Ramen Flavorful Quick Meal Option
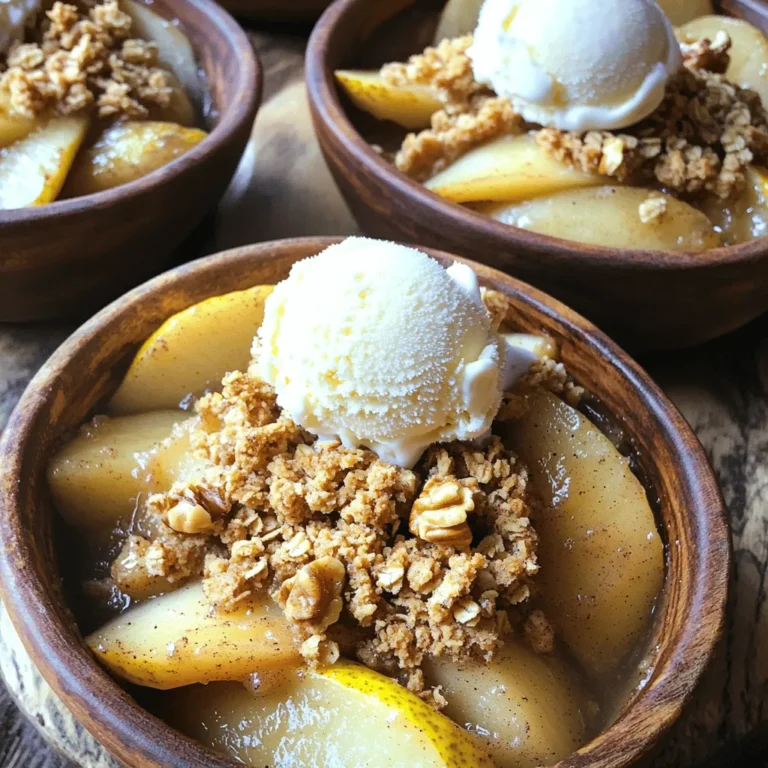
Spiced Pear Crisp with Oats Savory and Delightful Dish
Sheet Pan Teriyaki Chicken Drumsticks Simple Feast
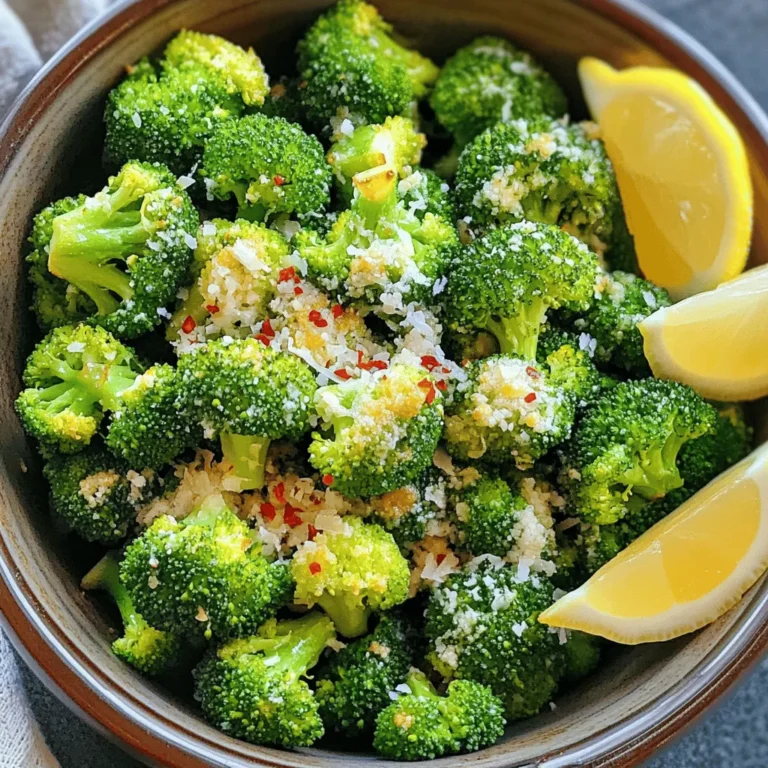
Air Fryer Garlic Parmesan Broccoli Flavorful Side Dish
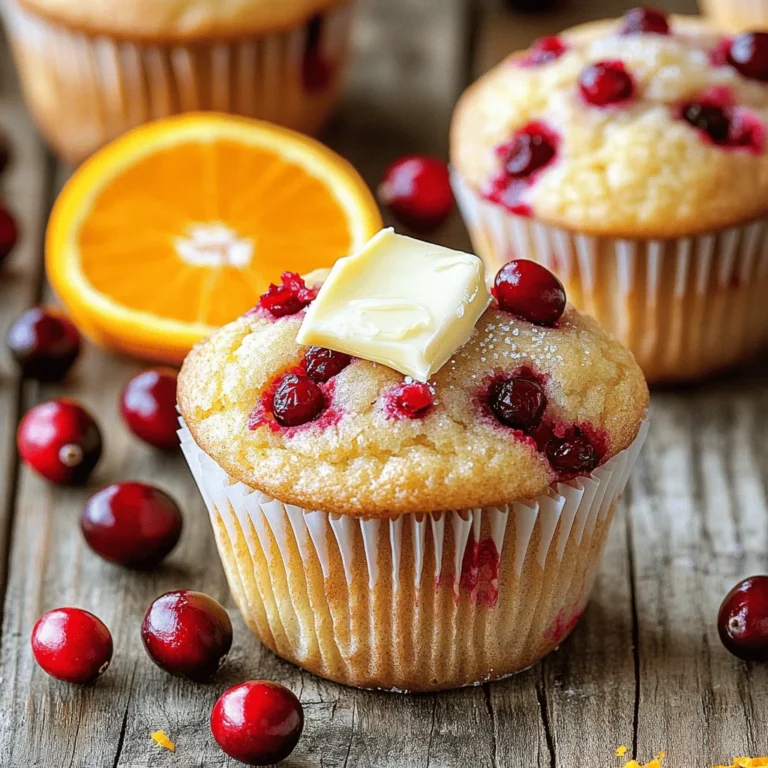
Cranberry Orange Muffins Bakery Delightful Recipe
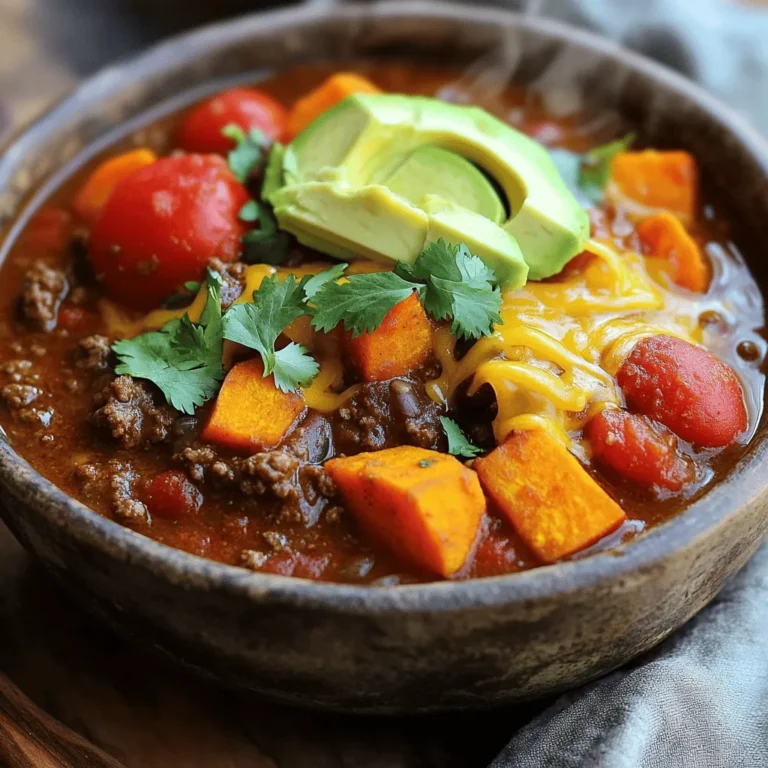
Slow Cooker Beef Sweet Potato Chili Hearty and Simple
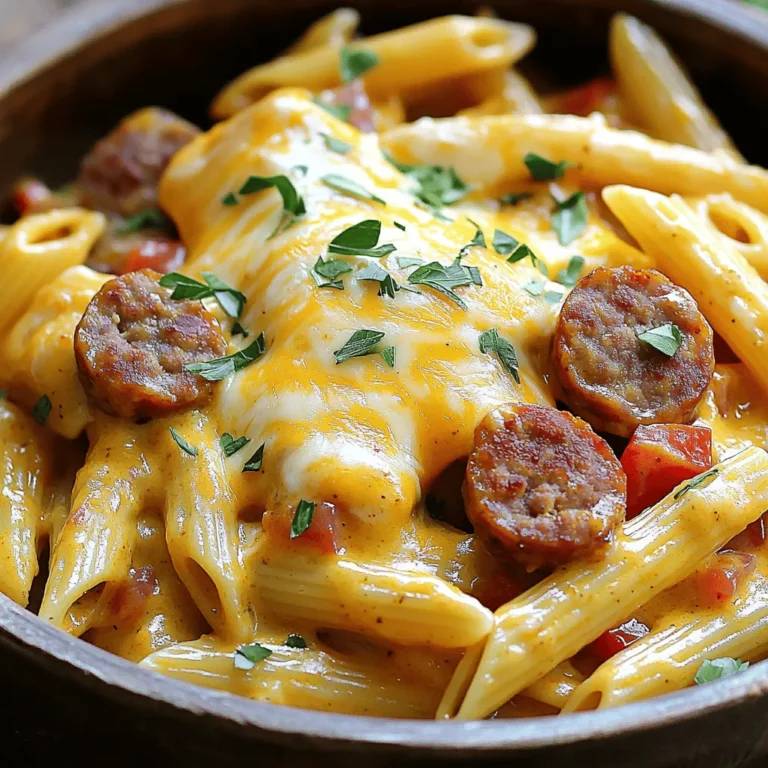
One-Pot Cajun Sausage Pasta Bold and Flavorful Meal
PREV
1
…
26
27
28
…
57
NEXT