FREE DINNER EBOOK!
Get your copy!
Cookie Policy
GDPR Policy
Disclaimer
Terms Of Use
Visit my other site:
Fun Cookie Recipes
Home
Dinner
Desserts
Drinks
Appetizers
Contact
About
Privacy Policy
Home
Dinner
Desserts
Drinks
Appetizers
Contact
About
Privacy Policy
Cookie Policy
GDPR Policy
Disclaimer
Terms Of Use
Visit my other site:
Fun Cookie Recipes
HOME / CATEGORIES /
Latest
Chocolate Chip Cookie Dough Dip Irresistible Snack
Sheet-Pan BBQ Chicken Cornbread Bake Delight
No-Bake Caramel Pecan Turtle Bars Easy and Delicious
One-Pan Sun-Dried Tomato Chicken Orzo Delight
Tender Million Dollar Meatloaf Flavorful Family Meal
Caramel Pretzel Cheesecake Cups Delectable and Easy
Pumpkin Spice Hot Chocolate Irresistible Cozy Drink
Chocolate Banana Mug Cake Delightful and Easy Recipe
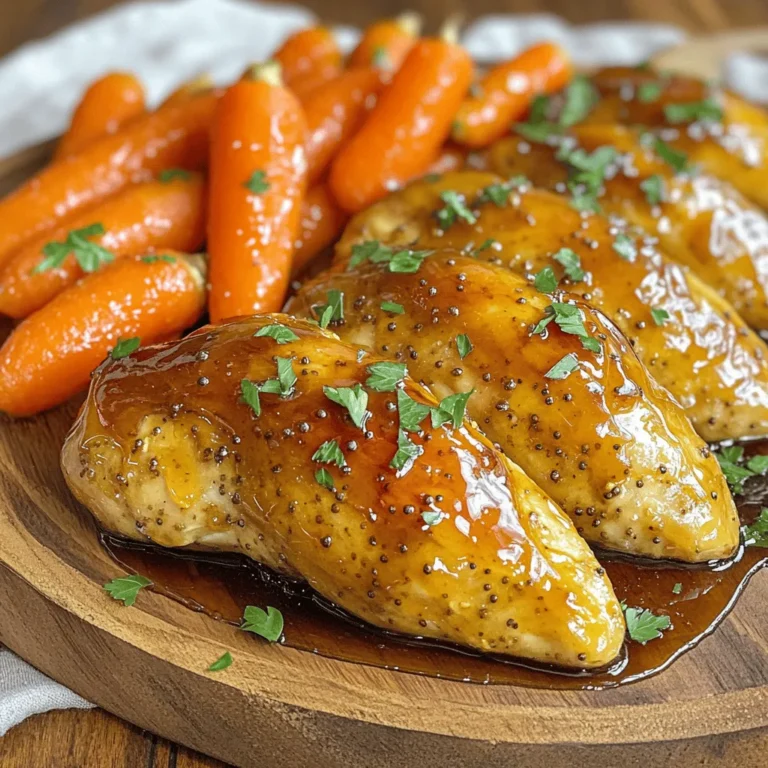
Maple Dijon Chicken with Carrots Flavorful Delight
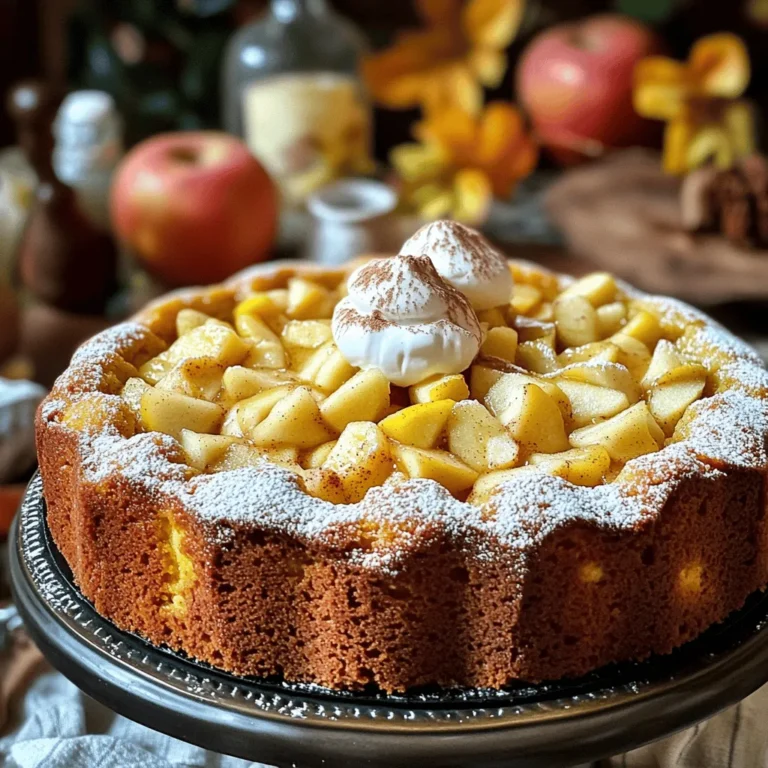
Apple Cider Pound Cake Delightful and Easy Recipe
PREV
1
…
25
26
27
…
57
NEXT