FREE DINNER EBOOK!
Get your copy!
Cookie Policy
GDPR Policy
Disclaimer
Terms Of Use
Visit my other site:
Fun Cookie Recipes
Home
Dinner
Desserts
Drinks
Appetizers
Contact
About
Privacy Policy
Home
Dinner
Desserts
Drinks
Appetizers
Contact
About
Privacy Policy
Cookie Policy
GDPR Policy
Disclaimer
Terms Of Use
Visit my other site:
Fun Cookie Recipes
HOME / CATEGORIES /
Latest
Air Fryer Garlic Parmesan Brussels Sprouts Delight
Maple Glazed Pumpkin Donut Muffins Easy and Delicious
Spicy Sesame Udon Noodles Flavorful and Simple Dish
BBQ Shrimp Corn Sheet Pan Delight in Minutes
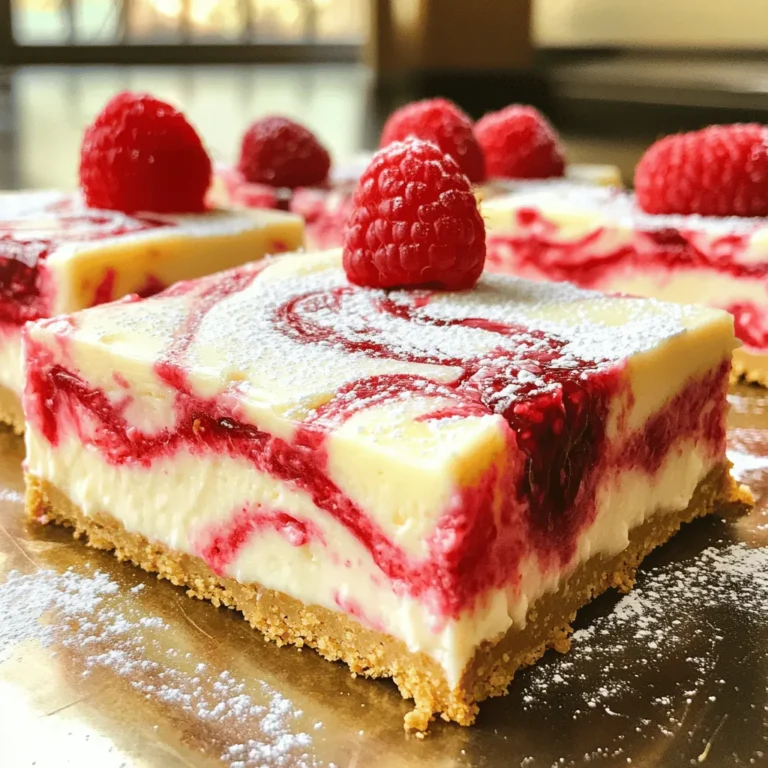
White Chocolate Raspberry Cheesecake Bars Delight
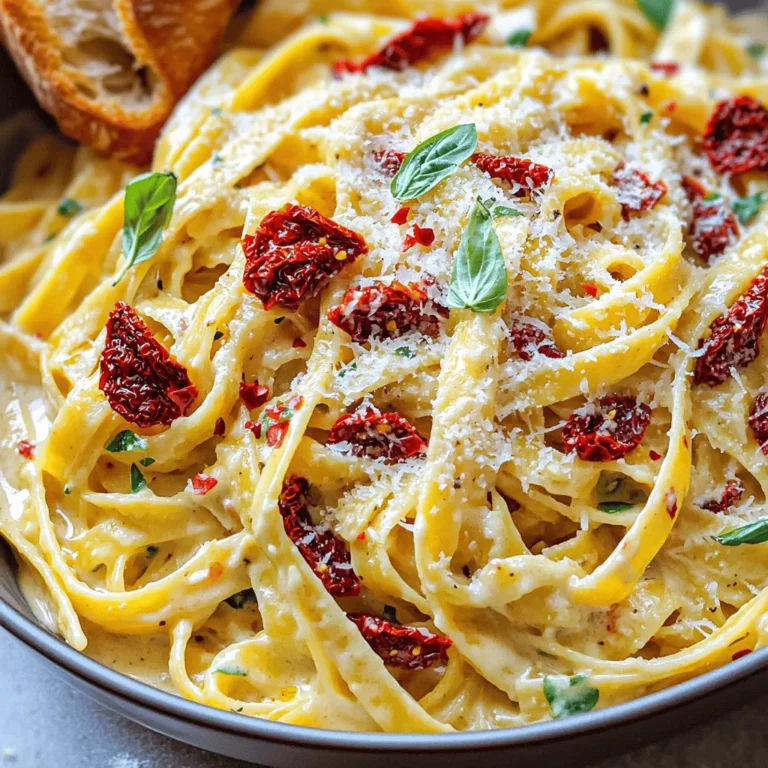
Creamy Sun-Dried Tomato Pasta Easy Weeknight Meal
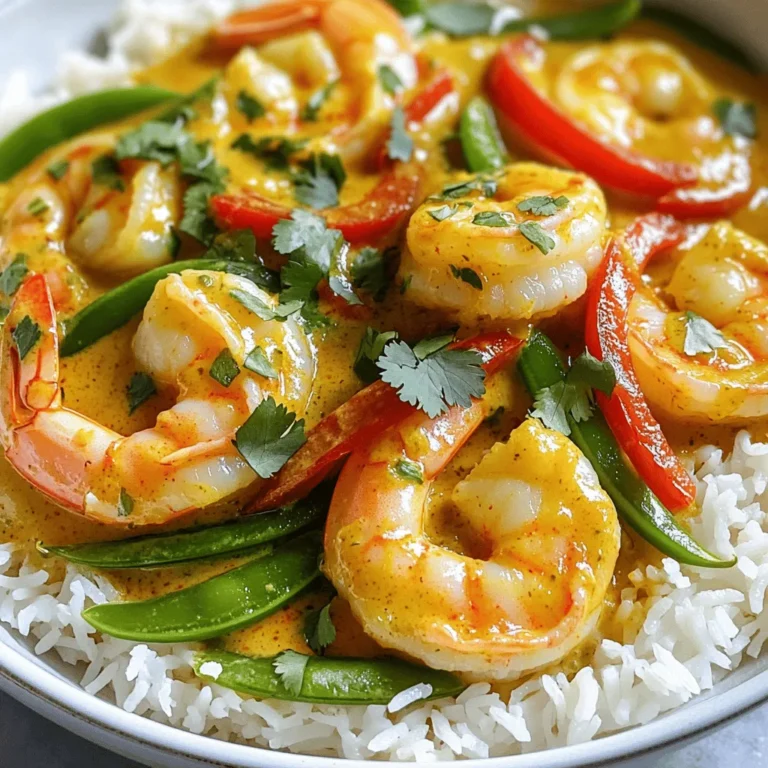
Creamy Thai Coconut Curry Shrimp Flavorful Delight
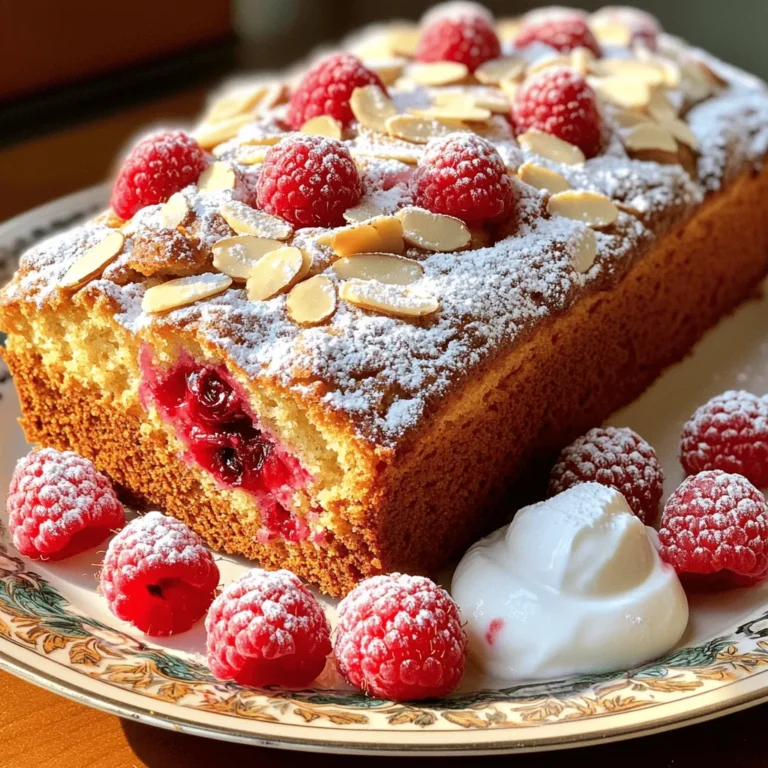
Raspberry Almond Loaf Cake Simple and Delicious Treat
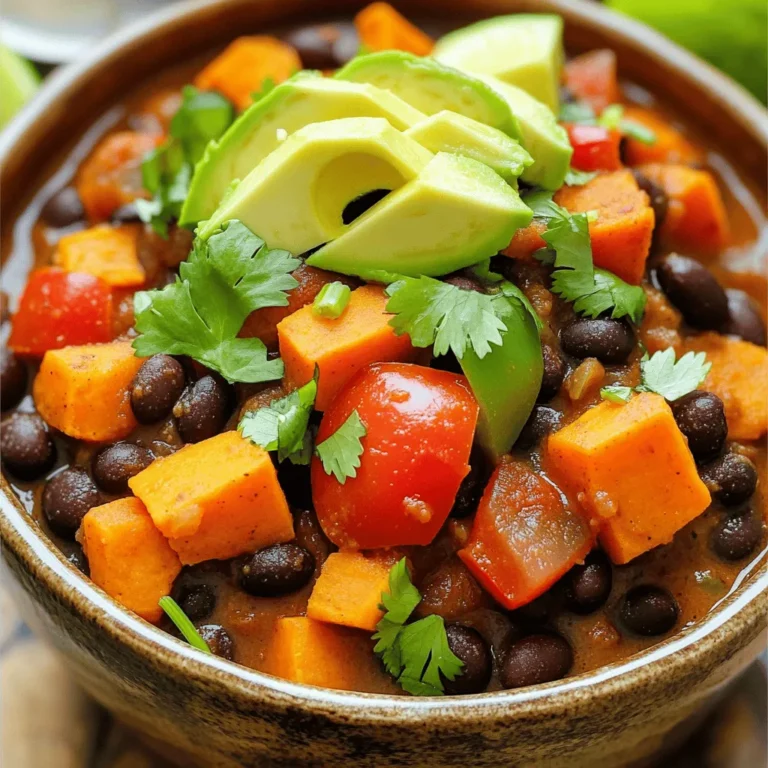
Slow Cooker Sweet Potato Black Bean Chili Delight
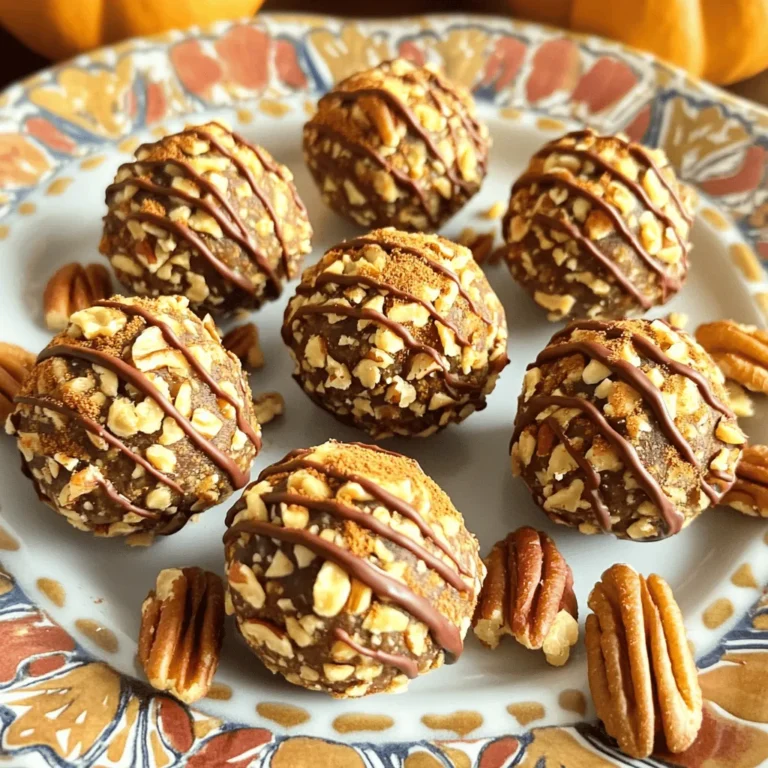
No Bake Pumpkin Spice Truffles Delightful and Easy
PREV
1
…
23
24
25
…
57
NEXT