FREE DINNER EBOOK!
Get your copy!
Cookie Policy
GDPR Policy
Disclaimer
Terms Of Use
Visit my other site:
Fun Cookie Recipes
Home
Dinner
Desserts
Drinks
Appetizers
Contact
About
Privacy Policy
Home
Dinner
Desserts
Drinks
Appetizers
Contact
About
Privacy Policy
Cookie Policy
GDPR Policy
Disclaimer
Terms Of Use
Visit my other site:
Fun Cookie Recipes
HOME / CATEGORIES /
Latest
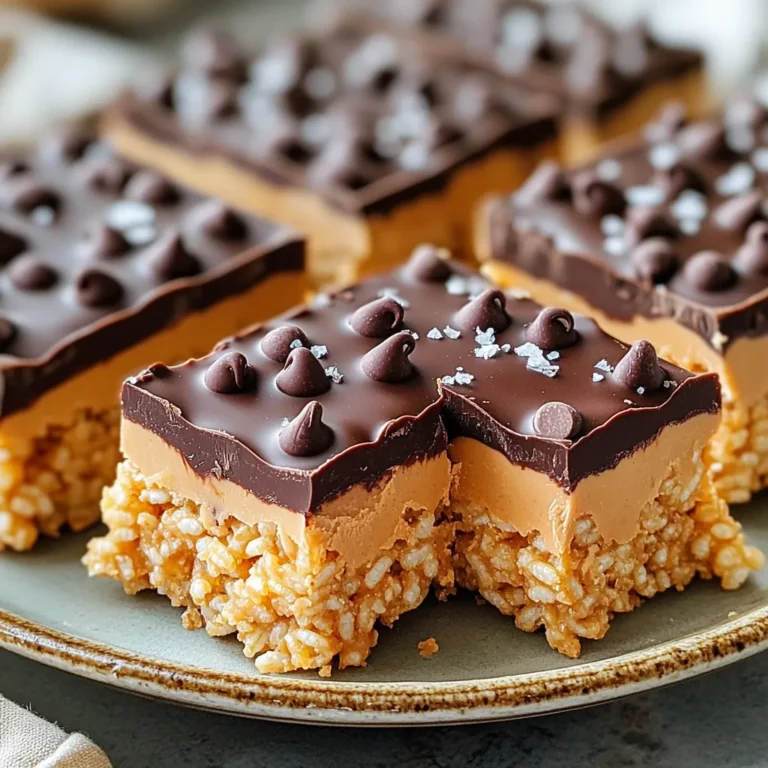
Peanut Butter Chocolate Rice Krispie Bars No Bake Treat
Mediterranean Chickpea Bowls Sheet Pan Delight
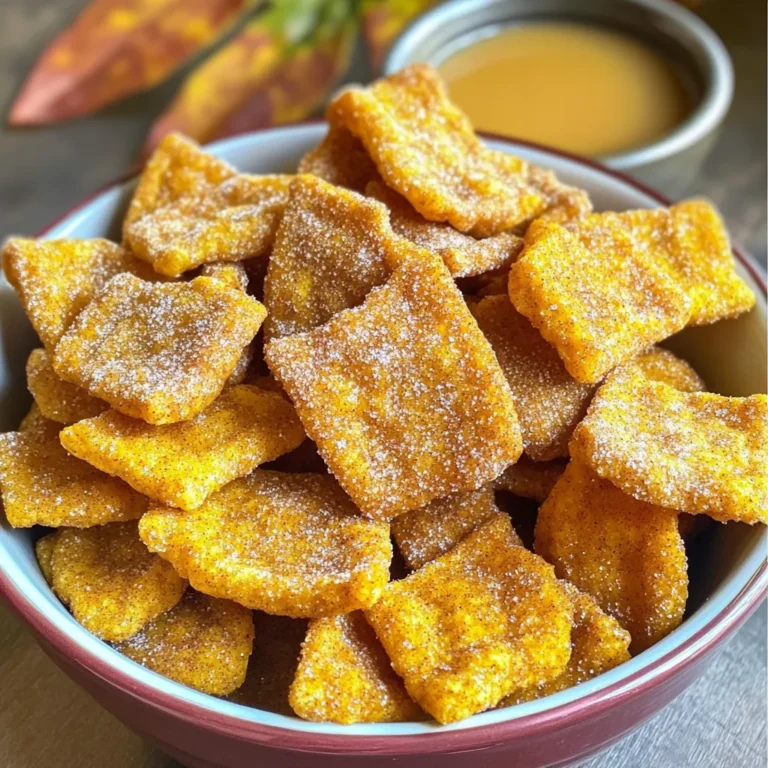
Air Fryer Pumpkin Spice Churro Chips Tasty Snack Idea
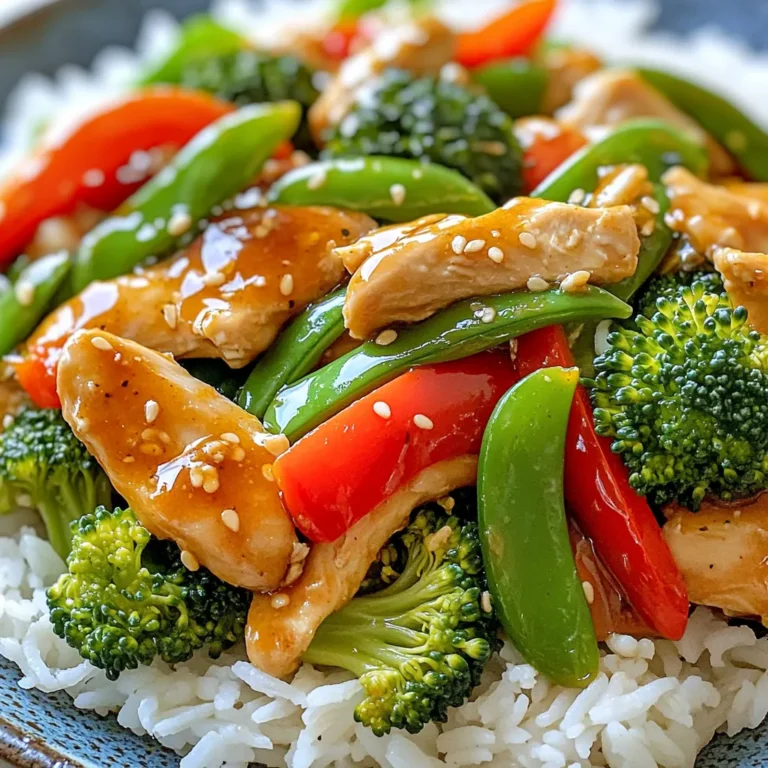
Sweet Chili Garlic Chicken Stir Fry Quick and Easy Recipe
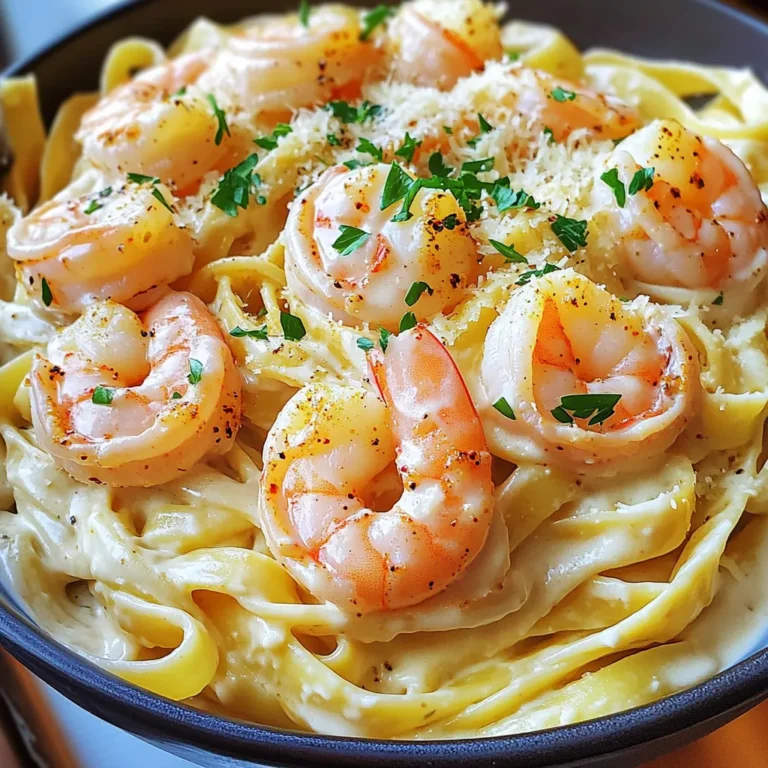
Creamy Cajun Shrimp Alfredo One Pot Delight
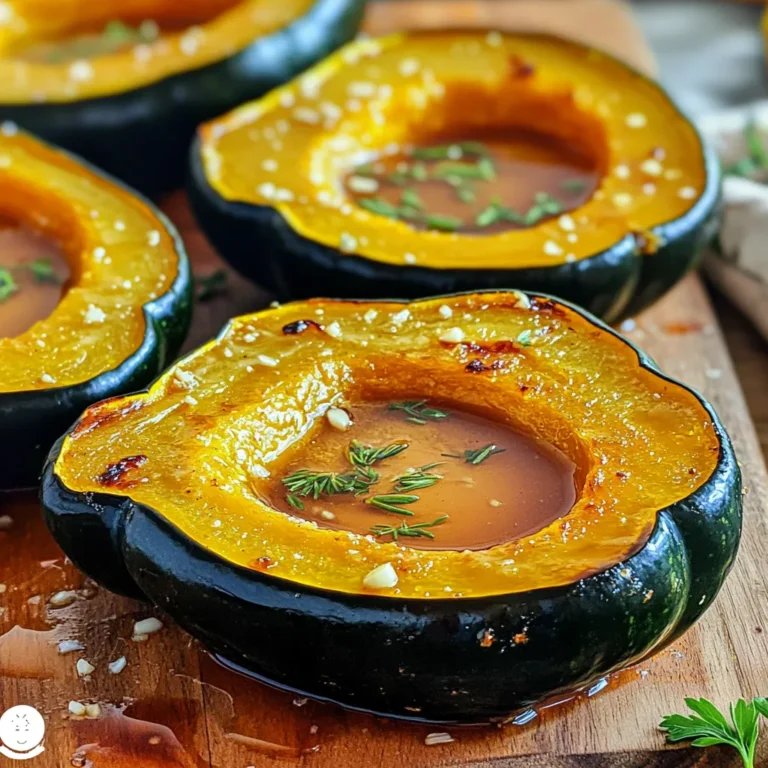
Garlic Butter Roasted Acorn Squash Simple and Tasty
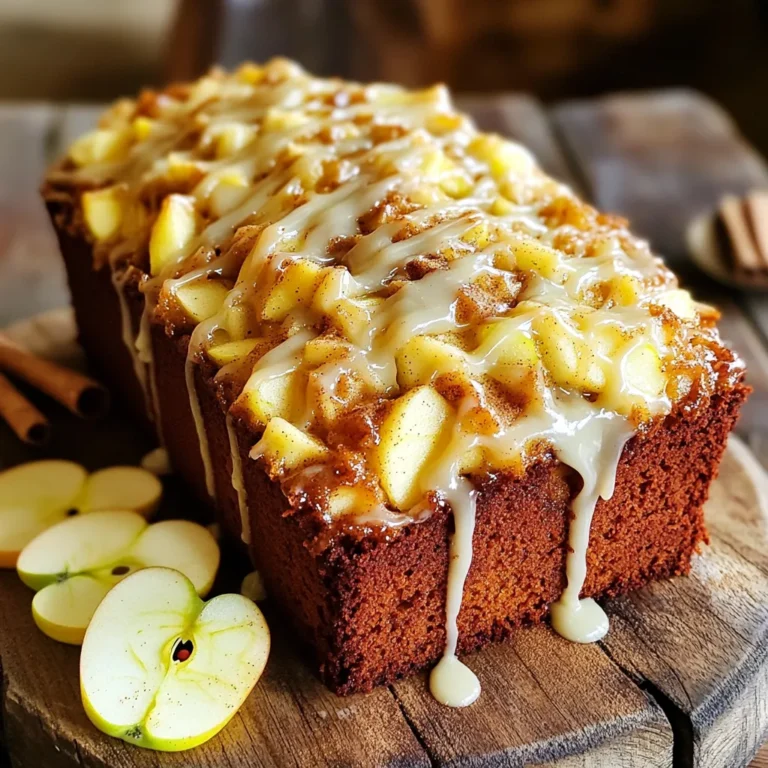
Apple Fritter Loaf Cake Bakery Style Delight Recipe
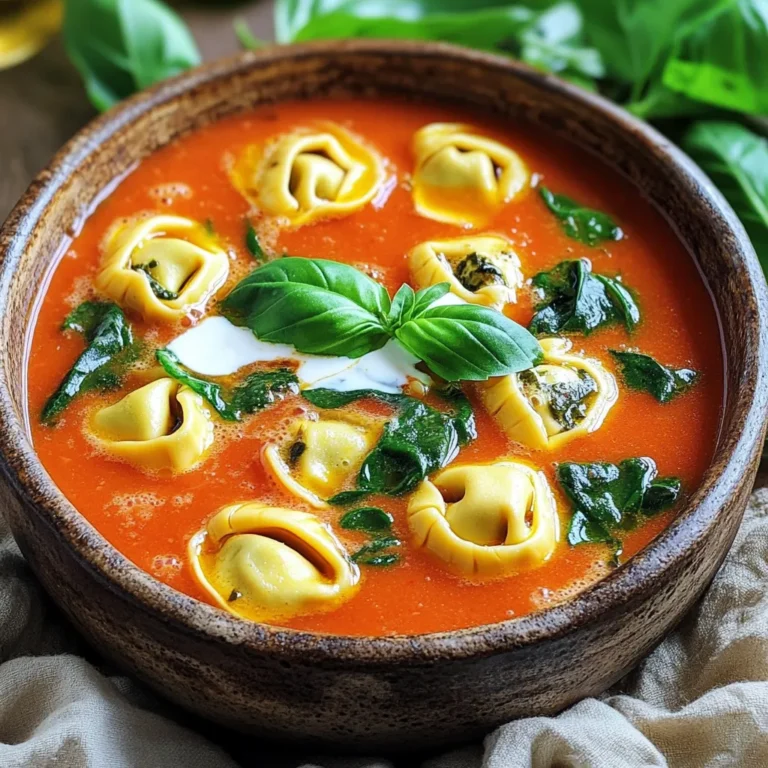
Creamy Tomato Basil Tortellini Soup Easy Slow Cooker
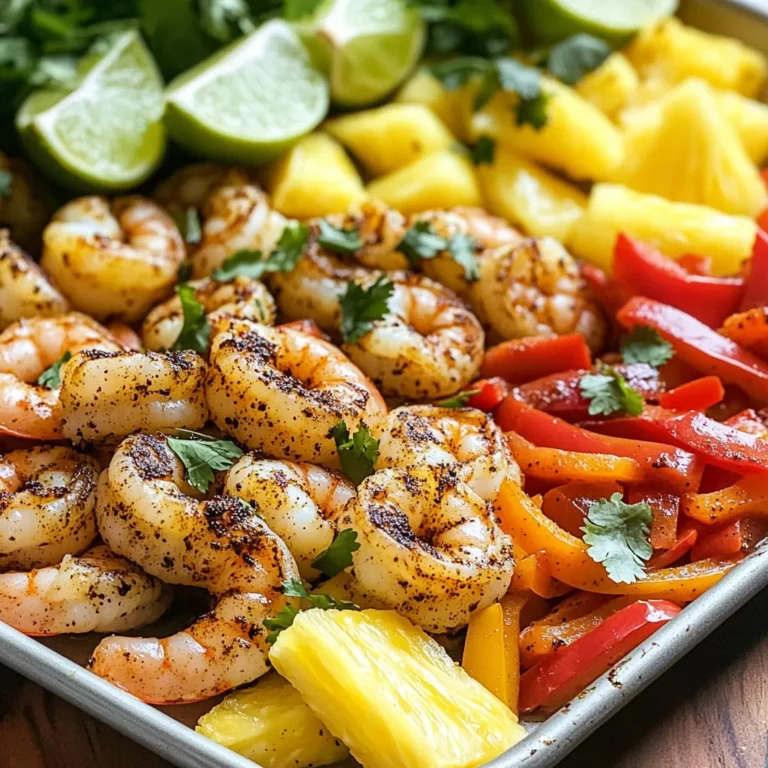
Blackened Shrimp Pineapple Sheet Pan Bowls Delight
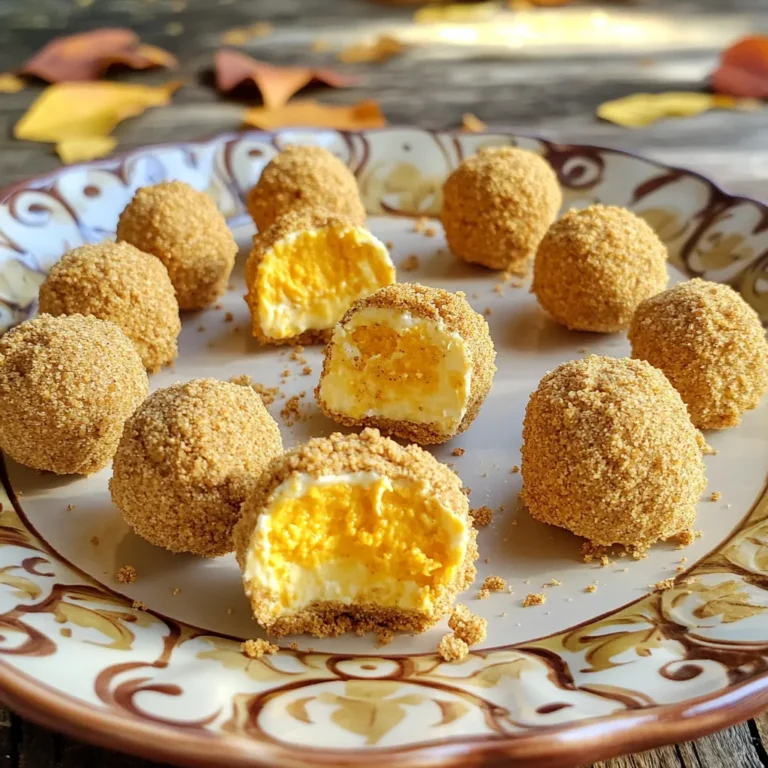
Pumpkin Cheesecake Energy Bites No-Bake Delight
PREV
1
…
14
15
16
…
57
NEXT