FREE DINNER EBOOK!
Get your copy!
Cookie Policy
GDPR Policy
Disclaimer
Terms Of Use
Visit my other site:
Fun Cookie Recipes
Home
Dinner
Desserts
Drinks
Appetizers
Contact
About
Privacy Policy
Home
Dinner
Desserts
Drinks
Appetizers
Contact
About
Privacy Policy
Cookie Policy
GDPR Policy
Disclaimer
Terms Of Use
Visit my other site:
Fun Cookie Recipes
HOME / CATEGORIES /
Latest
Air Fryer Turkey Burgers Juicy and Flavorful Delight
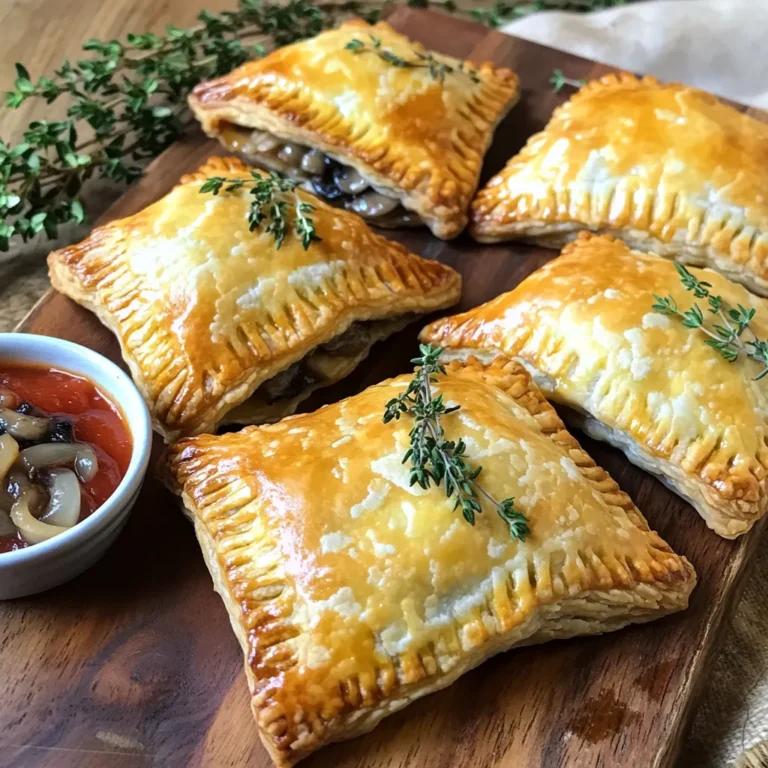
Mouthwatering Mushroom Thyme Hand Pies Recipe
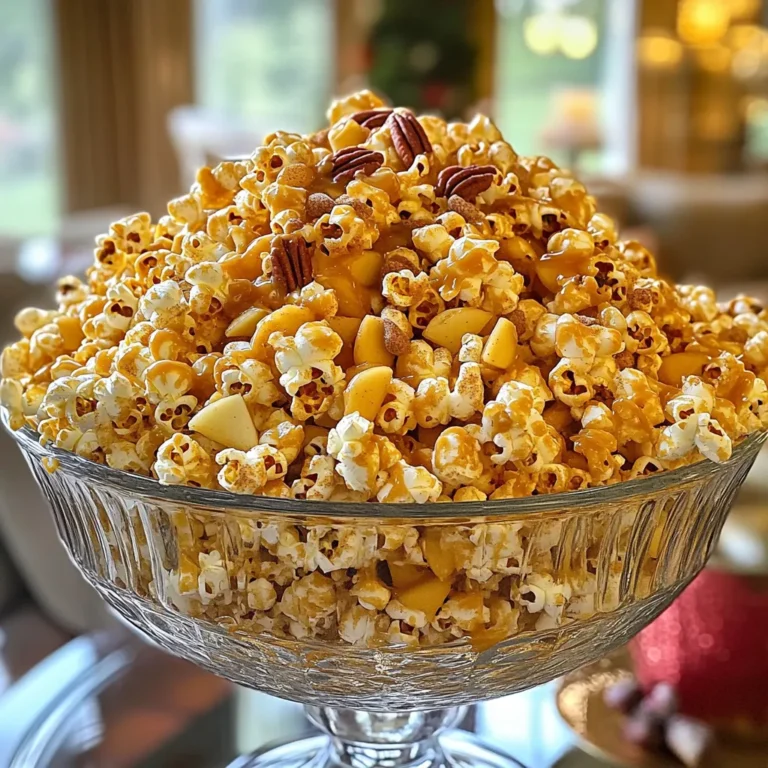
Caramel Apple Popcorn Mix Delightful Fall Snack
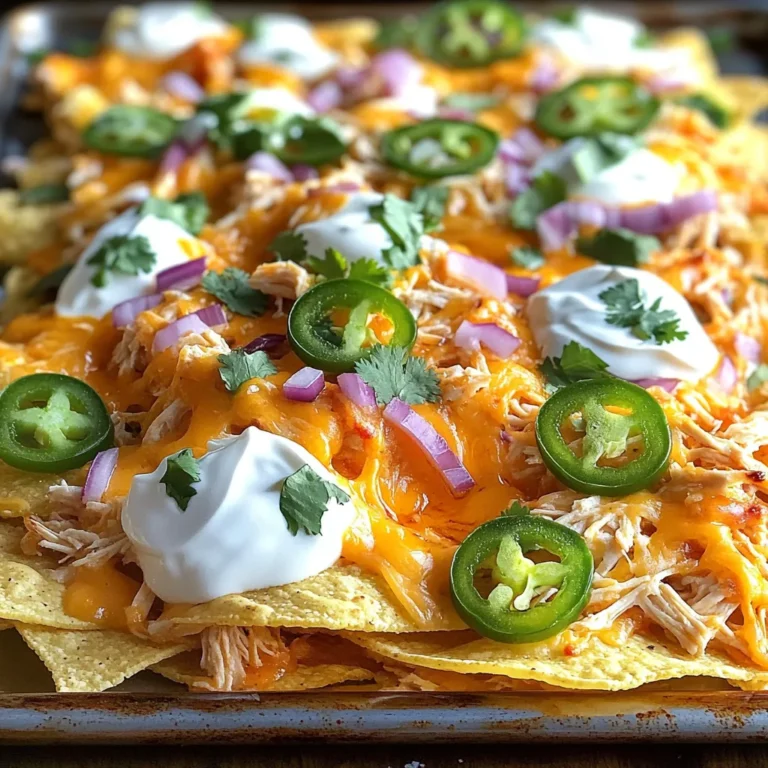
Sheet Pan Buffalo Chicken Nachos Tasty and Easy Meal
Slow Cooker Beef Sweet Potato Stew Comfort Food Delight
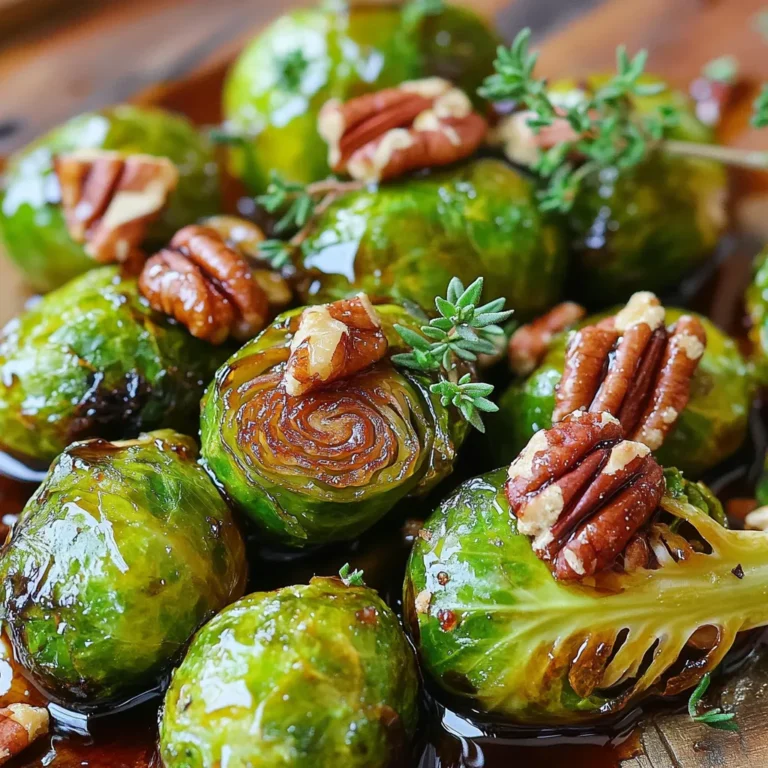
Balsamic Brussels Sprouts with Pecans Delightful Dish
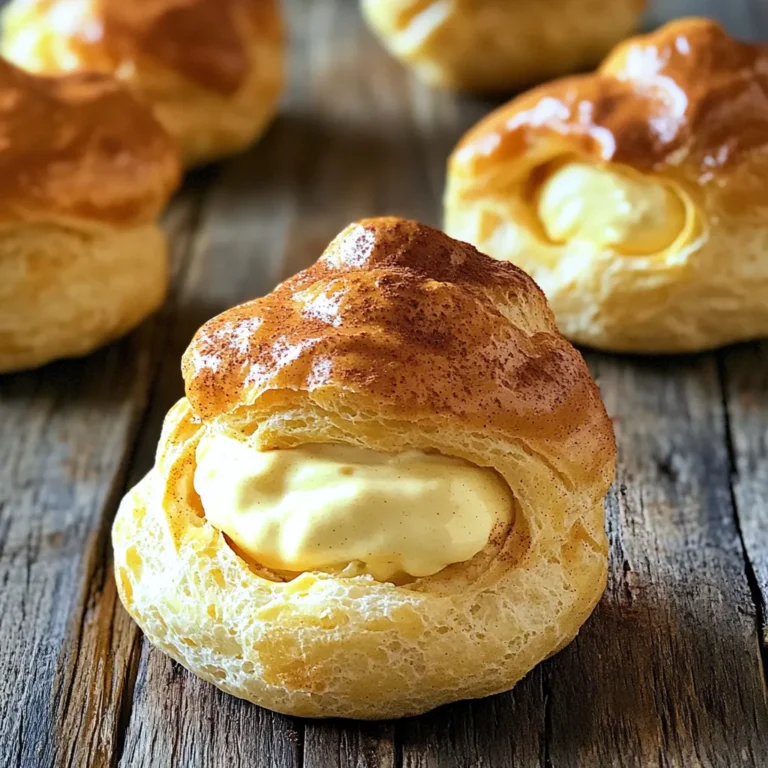
Pumpkin Cream Puffs Delightful Fall Dessert Recipe
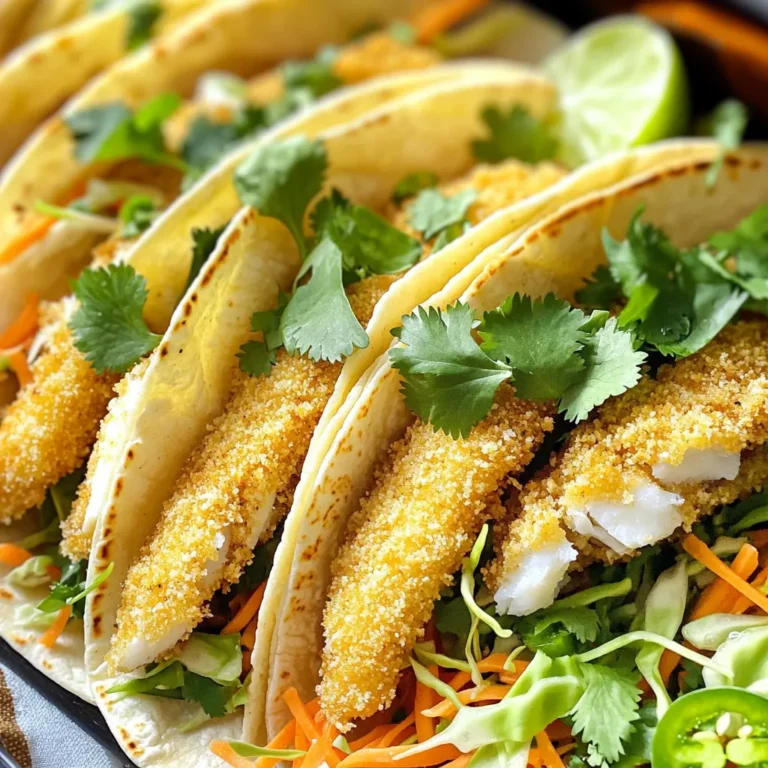
Air Fryer Fish Tacos with Slaw Easy and Tasty Meal
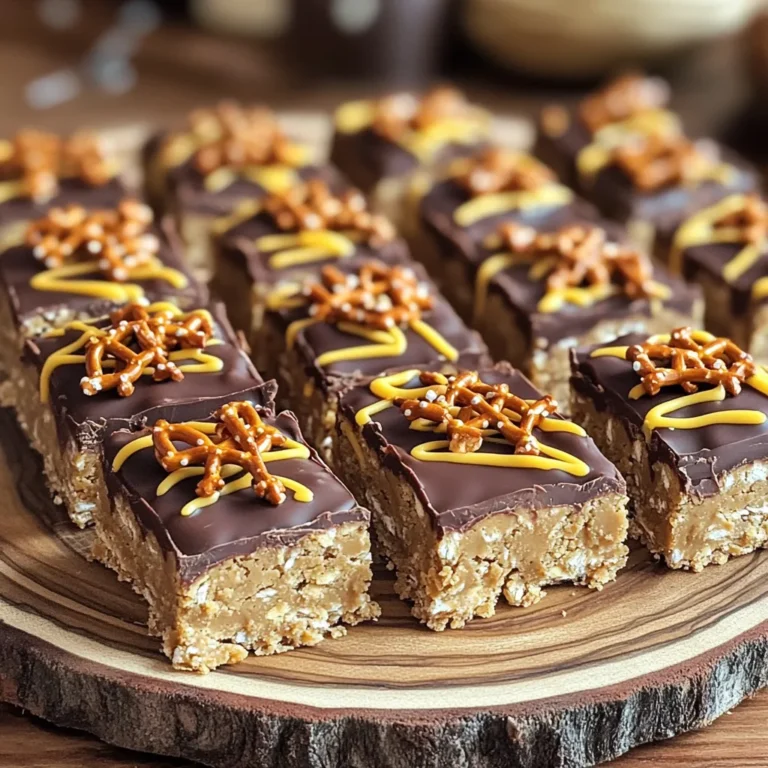
No Bake Peanut Butter Pretzel Bars Crunchy Delight
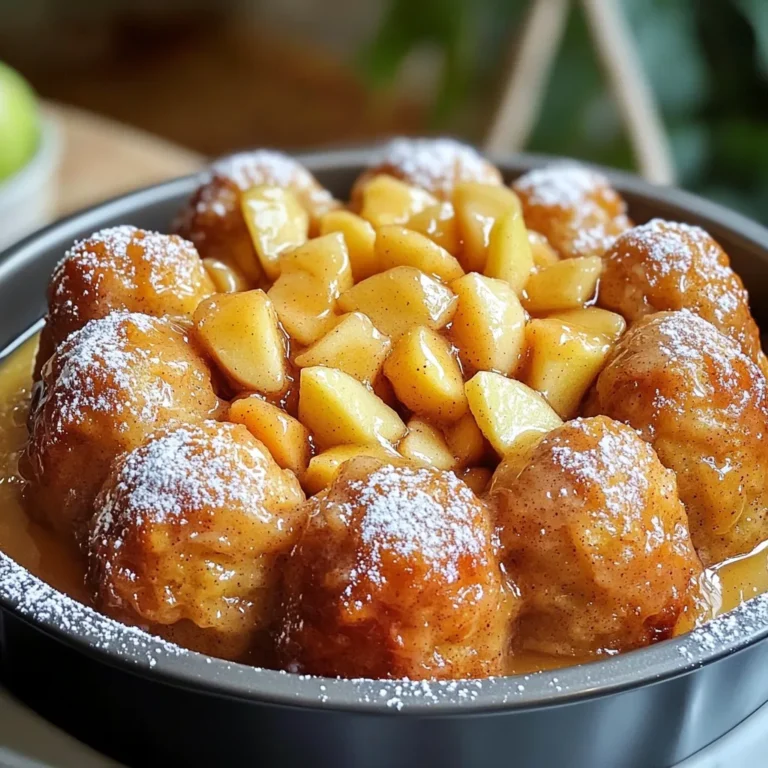
Delicious Apple Cinnamon Monkey Bread Easy Recipe
PREV
1
…
11
12
13
…
57
NEXT