FREE DINNER EBOOK!
Get your copy!
Cookie Policy
GDPR Policy
Disclaimer
Terms Of Use
Visit my other site:
Fun Cookie Recipes
Home
Dinner
Desserts
Drinks
Appetizers
Contact
About
Privacy Policy
Home
Dinner
Desserts
Drinks
Appetizers
Contact
About
Privacy Policy
Cookie Policy
GDPR Policy
Disclaimer
Terms Of Use
Visit my other site:
Fun Cookie Recipes
HOME / CATEGORIES /
Latest
Teriyaki Beef Bowls Flavorful and Easy Weeknight Meal
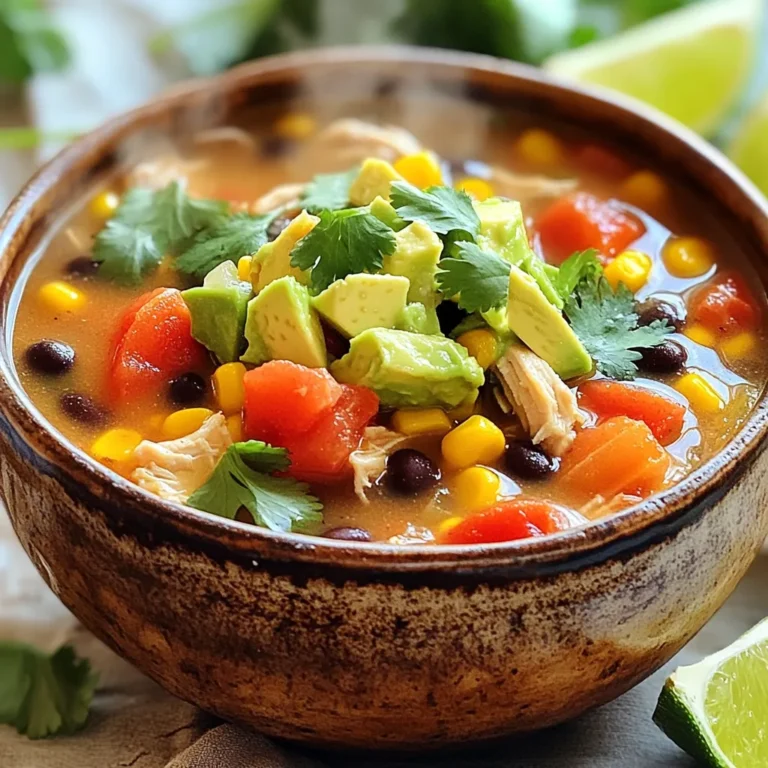
Slow Cooker Chicken Fajita Soup Tasty and Filling Meal
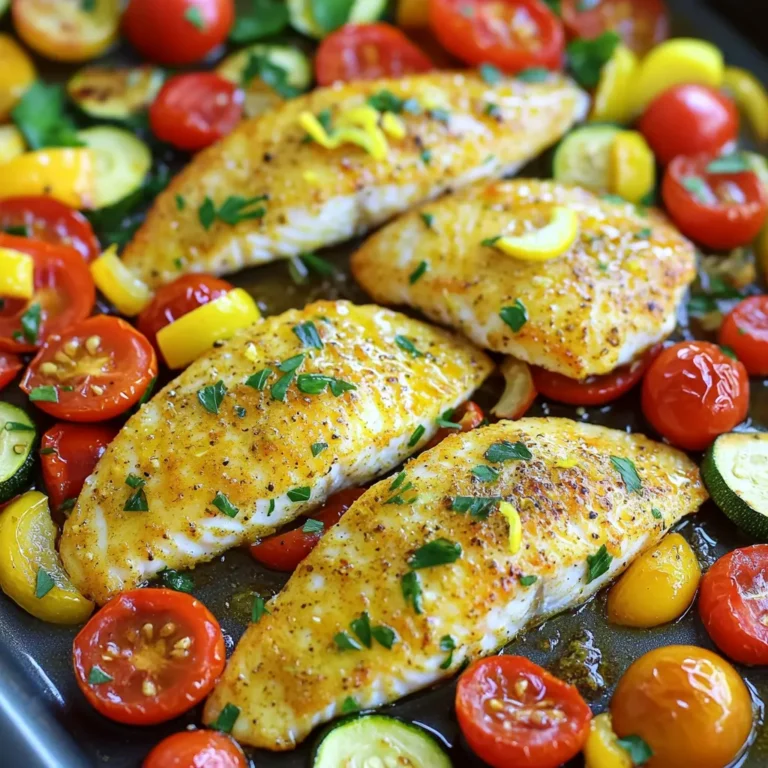
Sheet-Pan Lemon Garlic Tilapia Simple Dinner Delight
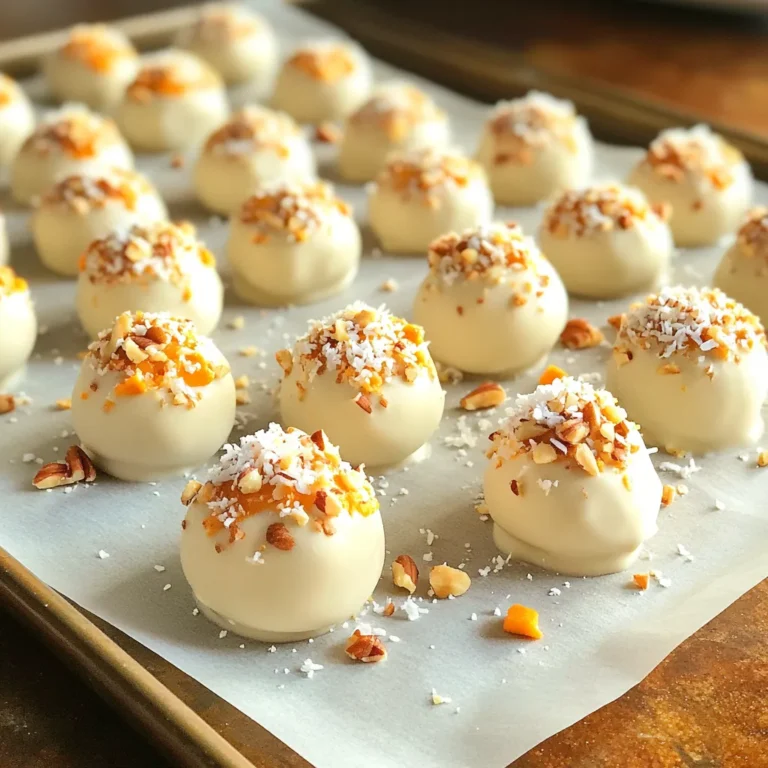
Pumpkin Spice Cream Cheese Truffles Decadent Treat
Savory Slow Cooker Salisbury Steak Meatballs Recipe
Savory Italian Meatball Soup Quick and Easy Recipe
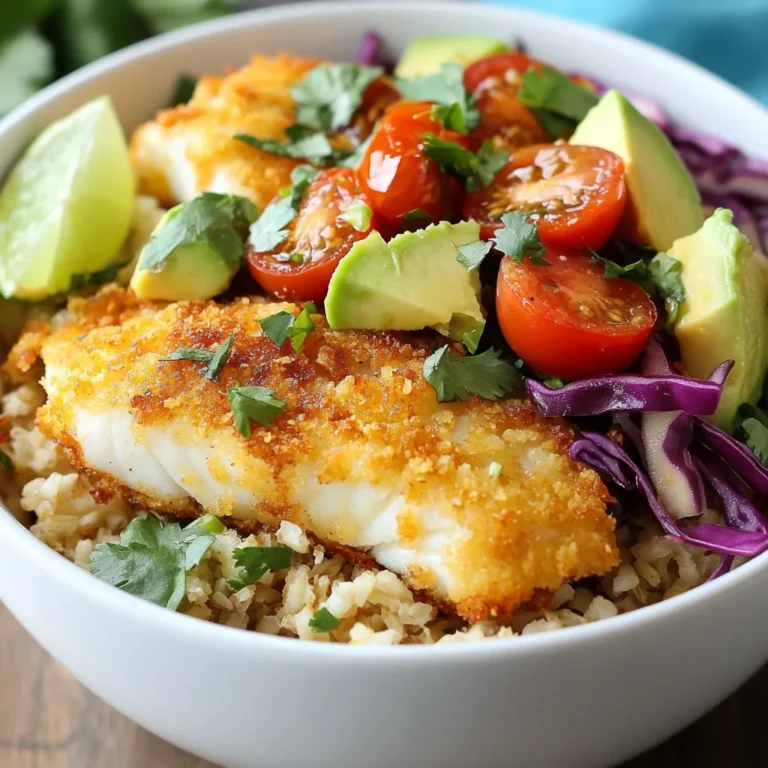
Crispy Fish Taco Bowls Flavorful and Fun Meal Idea
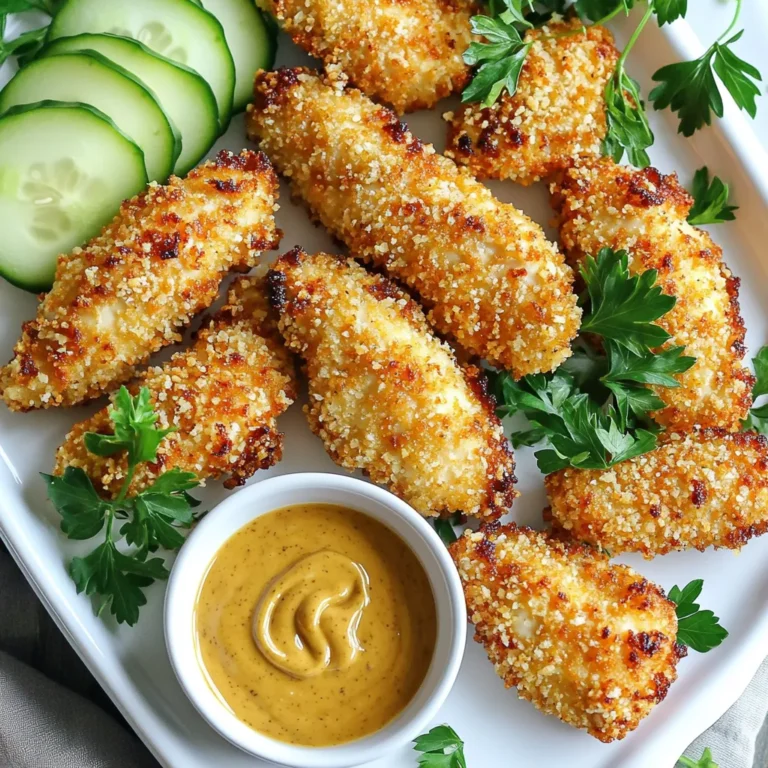
Air Fryer Chicken Tenders Crispy and Flavorful Treat
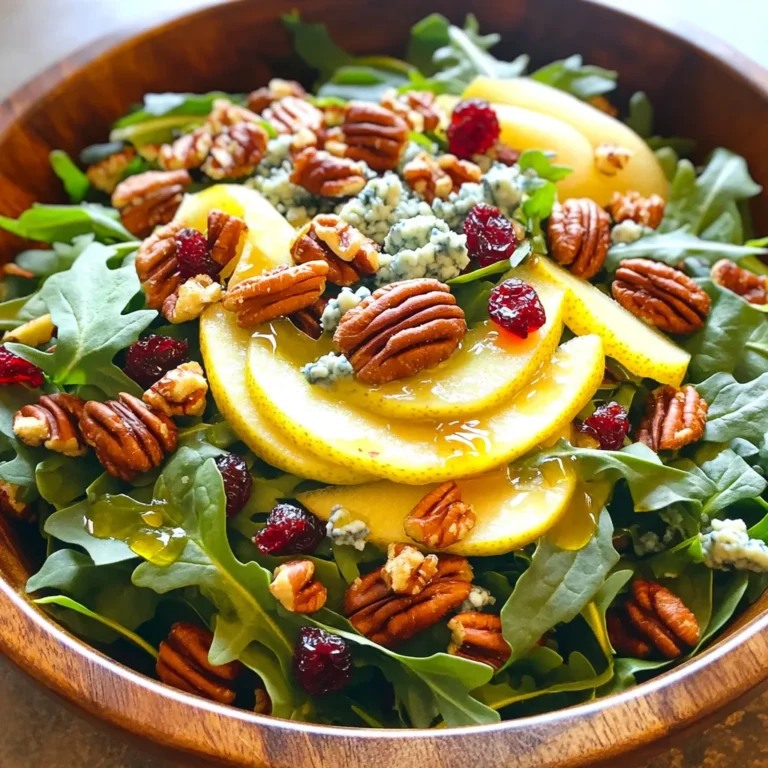
Pear & Pecan Harvest Salad Fresh and Flavorful Delight
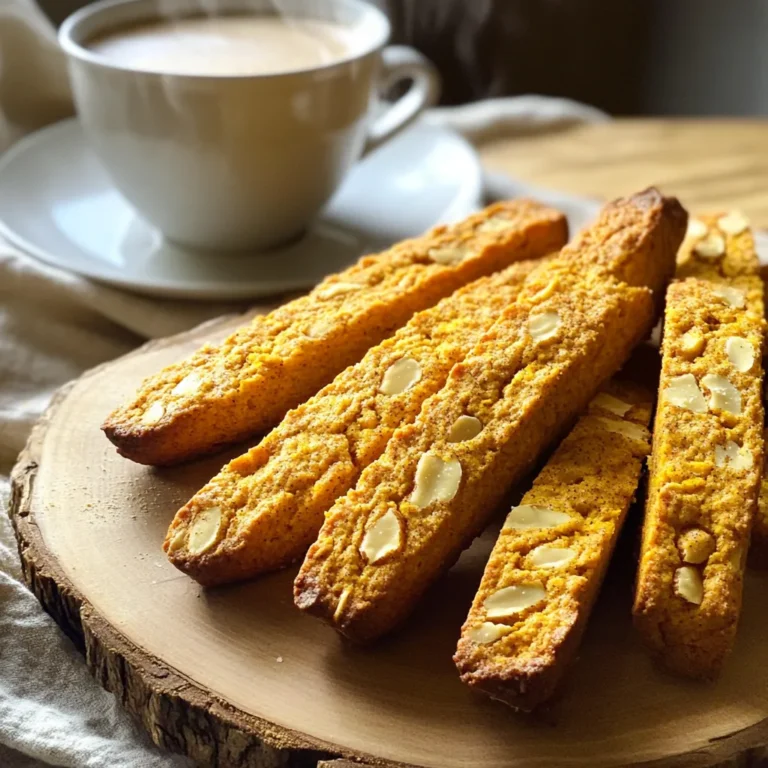
Pumpkin Spice Biscotti Flavorful and Easy Recipe
PREV
1
…
9
10
11
…
57
NEXT