
Craving a sweet treat that’s both easy and delicious? You’re in the right place! These No-Bake Chocolate Chip Cookie Dough Bars offer rich flavor and a soft texture, all without using an oven. Whether you’re a beginner or a seasoned baker, this recipe has simple steps and tips that’ll ensure success. Ready to whip up some chocolatey goodness? Let’s dive in and get started!
Ingredients
Main Ingredients
To make these no-bake chocolate chip cookie dough bars, you need:
– 1 cup almond flour
– 1 cup rolled oats
– 1/2 cup maple syrup
– 1/4 cup coconut oil, melted
– 1/2 teaspoon vanilla extract
– 1/2 teaspoon salt
– 1/2 cup dark chocolate chips
These main ingredients create a rich and tasty base. Almond flour gives a nice texture, while rolled oats add heartiness. Maple syrup acts as a sweetener and binds the dough.
Optional Add-ins
You can also include:
– 1/4 cup chopped walnuts (optional)
Adding walnuts gives a crunchy twist. If you like more texture, sprinkle in some nuts. You could also try different chocolate types, like milk chocolate or white chocolate.
Nutritional Information
Each bar has about:
– Calories: 150
– Fat: 8g
– Carbohydrates: 18g
– Protein: 3g
These bars are a balanced snack. They offer good fats and some protein. The oats add fiber, making them filling. Enjoying a couple of these treats can satisfy your sweet tooth without guilt!
Step-by-Step Instructions
Mixing Dry Ingredients
Start by taking a large mixing bowl. Add 1 cup of almond flour and 1 cup of rolled oats. Mix them well with a spoon. This helps to blend them evenly. You want a smooth base for your bars.
Combining Wet Ingredients
Next, grab a separate bowl. Whisk together 1/2 cup of maple syrup, 1/4 cup of melted coconut oil, 1/2 teaspoon of vanilla extract, and 1/2 teaspoon of salt. Keep whisking until the mix looks smooth. This is where the sweet flavor comes from!
Forming and Setting the Bars
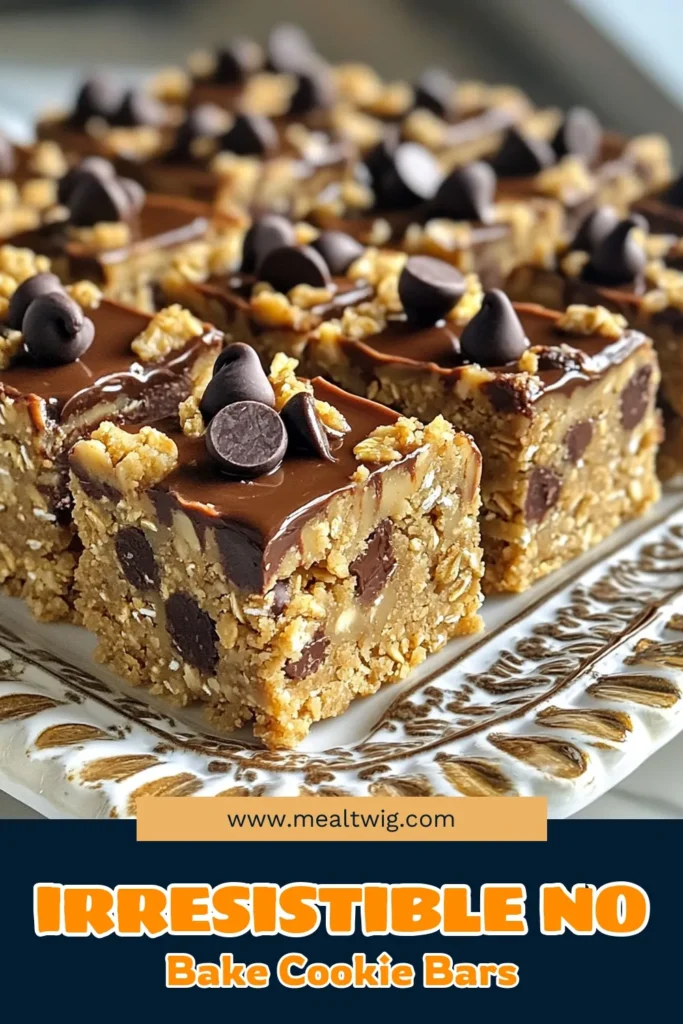
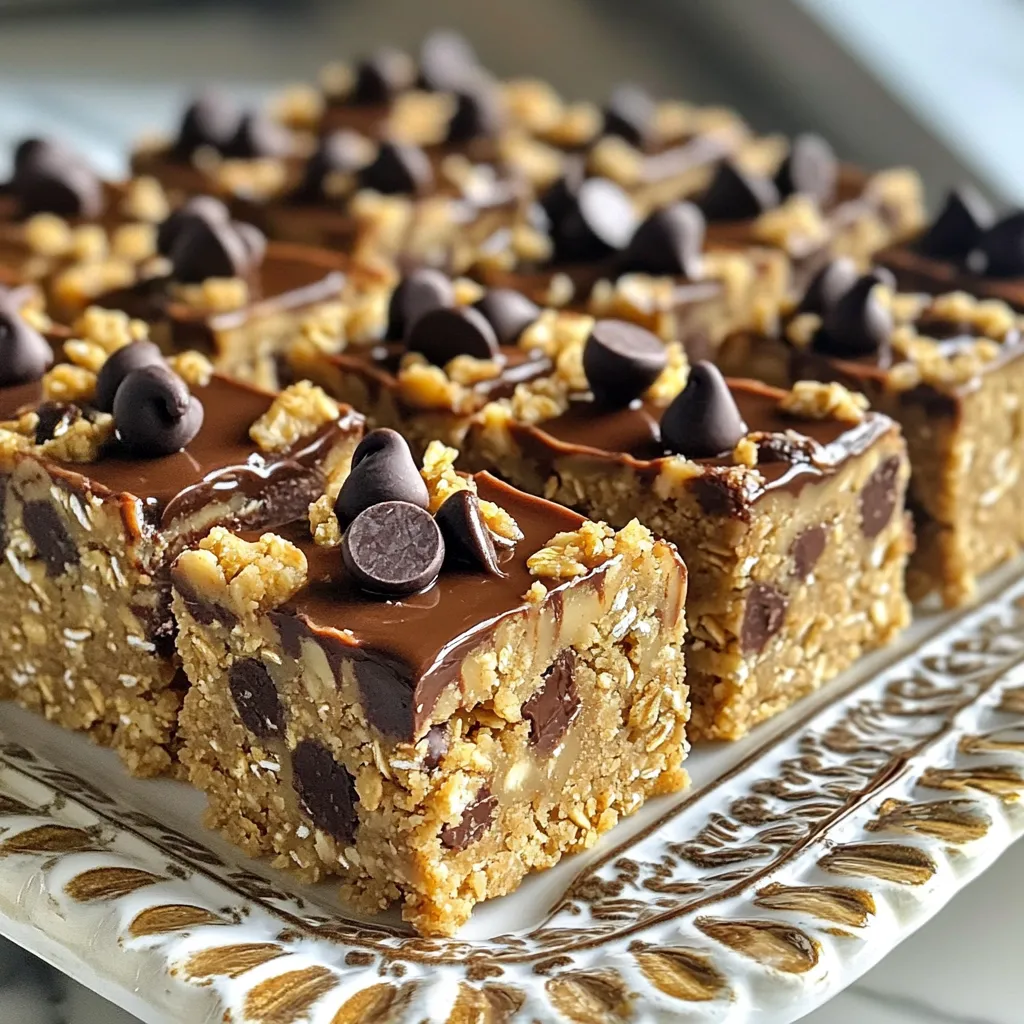
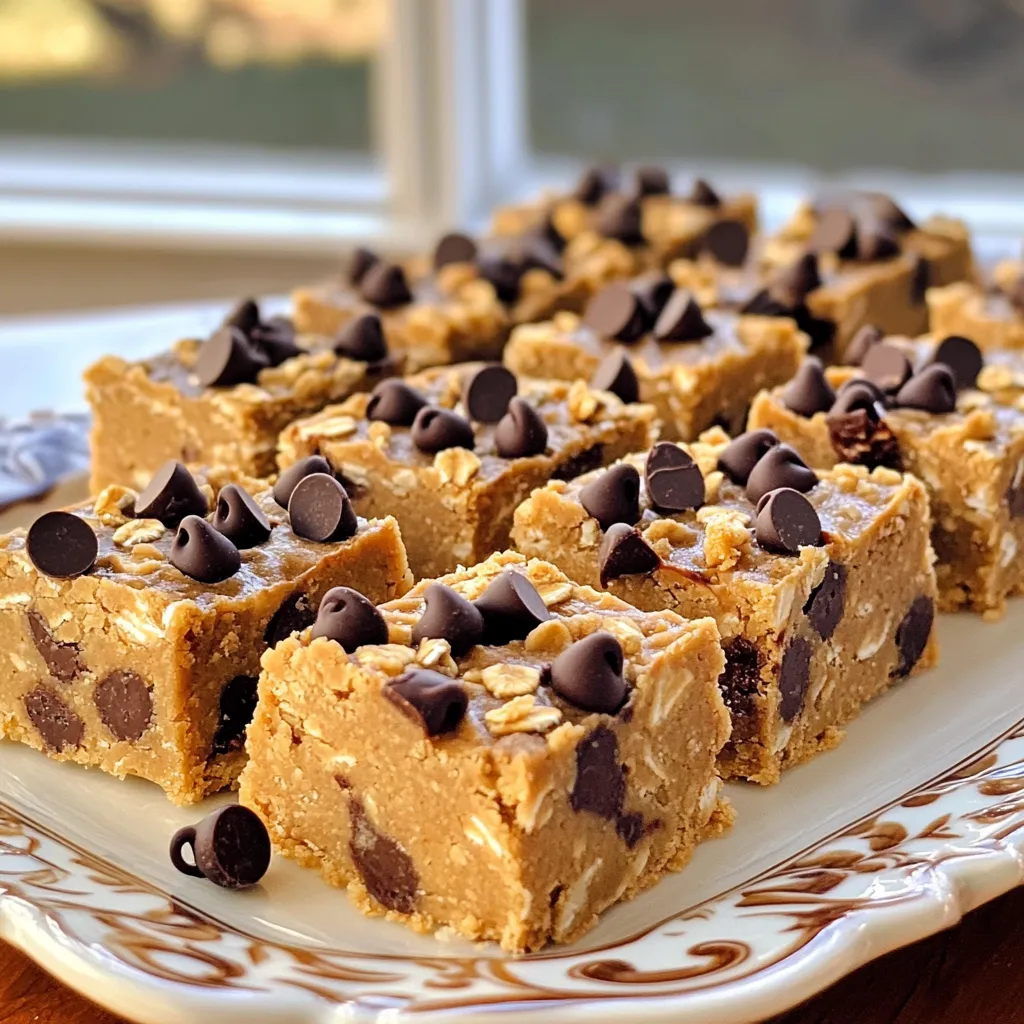
Now, pour the wet mix into the dry ingredients. Stir until everything is fully combined. The dough will feel thick. Fold in 1/2 cup of dark chocolate chips and 1/4 cup of chopped walnuts if you want extra crunch. Line an 8×8-inch baking dish with parchment paper. This makes it easy to lift the bars out later. Spread the dough in the pan, pressing it down firmly. Chill in the fridge for at least 1 hour. When set, lift the bars out using the parchment paper. Cut them into squares or bars. Enjoy your tasty treat!
Tips & Tricks
Achieving the Perfect Texture
To get the right texture, use fine almond flour. This helps the bars stay soft. Mix the dry and wet ingredients well. It should feel thick and sticky. If the dough is too dry, add a bit more maple syrup. If it’s too wet, add a touch more almond flour.
Storing & Handling the Dough
Store your cookie dough bars in the fridge. Use an airtight container to keep them fresh. They last up to a week. If you want to keep them longer, freeze them. Just wrap each bar in plastic wrap before freezing. You can grab one whenever you want a treat.
Presentation Ideas
Make your bars look great! Place them on a nice plate. Add a few chocolate chips on top for flair. You can also sprinkle some chopped walnuts for texture. Pair them with a glass of cold almond milk. This makes a perfect dessert for any gathering.
Variations
Flavor Variations
You can change the flavor of these no-bake chocolate chip cookie dough bars easily. Try swapping the dark chocolate chips for white chocolate or peanut butter chips. Use flavored extracts like almond or hazelnut for a twist. You can even mix in cocoa powder to make the dough richer. Each choice adds a fun flavor to your bars.
Dietary Substitutes
If you want to make these bars gluten-free, use certified gluten-free oats. For a sugar-free version, replace maple syrup with a sugar substitute like monk fruit syrup. If you’re allergic to nuts, try using sunflower seed flour instead of almond flour. These swaps keep the bars tasty while meeting different dietary needs.
Seasonal Add-ins
Seasonal add-ins can make your bars special. In fall, add pumpkin spice and dried cranberries for a festive taste. In summer, mix in fresh berries or coconut flakes. You could even sprinkle in crushed candy canes for a minty treat during winter. These seasonal touches keep your bars exciting all year round.
Storage Info
Short-term Storage
You can store these bars in the fridge. Place them in an airtight container. They will stay fresh for about one week. Keeping them cool helps maintain their soft texture.
Freezing Options
If you want to keep them longer, freezing is a great choice. Cut the bars into squares first. Wrap each piece in plastic wrap. Then, put them in a freezer bag. They will last for up to three months in the freezer. When you’re ready to enjoy, let them thaw in the fridge overnight.
Shelf Life
These cookie dough bars have a good shelf life. If kept in the fridge, they can last up to a week. In the freezer, they can last three months. Just remember, the longer they sit, the less fresh they may taste. Enjoy them soon for the best flavor!
FAQs
Can I use different types of nut flour?
Yes, you can use other nut flours. Almond flour works great, but you can try cashew or hazelnut flour. Each type adds a unique flavor and texture. Just make sure to keep the same amount as almond flour for best results. This way, your bars will still hold together well.
How do I adjust the sweetness?
To adjust the sweetness, you can add more or less maple syrup. If you prefer less sweet bars, cut the syrup by a tablespoon. You can also add a pinch of stevia or monk fruit for extra sweetness without extra sugar. Just remember to taste as you go, so you get it just right.
What can I substitute for coconut oil?
If you want to replace coconut oil, you can use unsalted butter or another oil. Avocado oil and olive oil both work well. Just melt them like you would with coconut oil. Each substitute will change the flavor slightly, so pick one that fits your taste.
In this post, I covered key ingredients, step-by-step instructions, and helpful tips for making delicious bars. I shared fun variations to customize your recipe and provided storage options to keep them fresh. Remember, your choices in flavors and ingredients can make each batch unique. Stick to the steps, and you’ll enjoy tasty bars every time. Keep experimenting and have fun in the kitchen!
