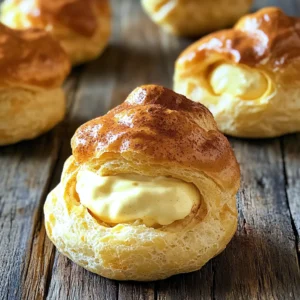
Autumn is here, and that means it’s time to dive into cozy flavors! If you love pumpkin treats, you’re going to adore these Pumpkin Cream Puffs. They’re light, airy, and filled with a rich pumpkin spice cream that screams fall. I’ll guide you through every step to create this delightful dessert, perfect for gatherings and chilly evenings. Ready to impress your friends and family? Let’s get started!

Ingredients
Essential Ingredients for Pumpkin Cream Puffs
– 1 cup all-purpose flour
– 1/2 cup unsalted butter
– 1/2 cup water
– 1/4 teaspoon salt
– 4 large eggs
To make pumpkin cream puffs, you need a few key ingredients. First, all-purpose flour creates the base for the dough. Then, unsalted butter adds richness and flavor. You also need water to help form the dough. Salt enhances the taste, while eggs provide structure and help the puffs rise beautifully.
Filling Ingredients
– 1 cup pumpkin puree
– 1/2 cup cream cheese, softened
– 1 cup heavy cream
– 1/2 cup powdered sugar
– 1 teaspoon vanilla extract
– 1 teaspoon pumpkin pie spice
– Fresh cinnamon for dusting
For the filling, pumpkin puree gives a warm flavor. Cream cheese adds a creamy texture, while heavy cream makes it light. Powdered sugar sweetens the mix. Vanilla extract brings a nice aroma, and pumpkin pie spice adds that cozy fall taste. Finally, a sprinkle of fresh cinnamon on top makes these treats even more special.
Step-by-Step Instructions
Preparing the Choux Pastry
1. Preheating the oven: Start by preheating your oven to 400°F (200°C). This helps the puffs rise well.
2. Melting the butter in the saucepan: In a medium saucepan, mix 1/2 cup of unsalted butter, 1/2 cup of water, and 1/4 teaspoon of salt. Heat this over medium heat until the butter melts and the mixture starts to boil.
3. Incorporating the flour: Next, add 1 cup of all-purpose flour all at once. Stir it quickly and firmly. Keep stirring until the dough forms a ball that pulls away from the pan’s sides. This usually takes about 2-3 minutes.
Baking the Cream Puffs
1. Cooling the dough: After mixing, remove the pan from heat. Let the dough cool for about 5 minutes. This cooling helps when adding the eggs.
2. Piping the dough onto the baking sheet: One by one, add 4 large eggs to the dough. Mix well after each egg. The dough should look smooth and glossy. Use a piping bag or a plastic bag with a cut corner to pipe the dough. Make small mounds about 2 inches apart on a lined baking sheet.
3. Baking times and tips: Bake the puffs for 20-25 minutes. They should turn golden brown and puff up nicely. Avoid opening the oven door during the first 15 minutes to keep them from collapsing.
Making the Pumpkin Spice Filling
1. Mixing the filling ingredients: While the puffs bake, prepare the filling. In a bowl, mix 1 cup of pumpkin puree, 1/2 cup of softened cream cheese, 1 cup of heavy cream, 1/2 cup of powdered sugar, 1 teaspoon of vanilla extract, and 1 teaspoon of pumpkin pie spice. Beat these together until smooth and fluffy.
2. Tips for achieving smooth texture: To get a creamy filling, make sure your cream cheese is very soft. This helps mix it well with the other ingredients.
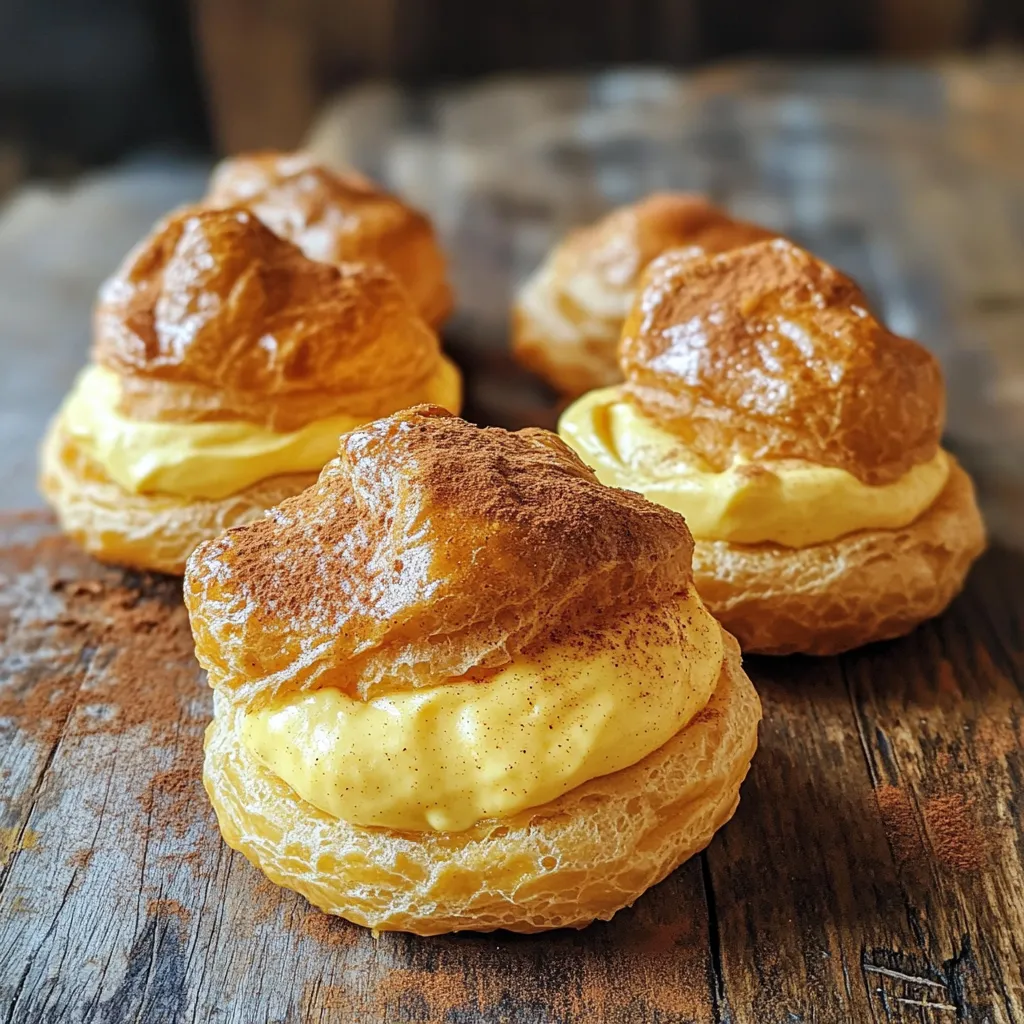
3. Filling the cream puffs: Once the puffs cool, cut a small slit in each side. Use a piping bag or a spoon to fill them with the pumpkin spice mixture. Dust the tops with fresh cinnamon for a lovely finish.
Tips & Tricks
Perfecting Your Cream Puffs
To make great cream puffs, focus on puff rise and texture. Start by preheating your oven to 400°F (200°C). This heat helps the puffs rise well. Use fresh ingredients for the best results. When mixing the dough, stir until it forms a ball. This step is key for a good puff.
To prevent collapse during baking, don’t open the oven door for the first 15 minutes. This keeps the heat steady. If you peek too soon, your puffs might fall flat. Bake until golden brown, about 20-25 minutes.
Storage and Shelf Life
To store leftover cream puffs, place them in an airtight container. They can last for 1-2 days in the fridge. If you want to keep them longer, freezing is a great option. Just wrap each puff in plastic wrap. Then, place them in a freezer bag. They can stay fresh for about a month this way.
Serving Suggestions
For presentation ideas, dust the tops with fresh cinnamon. This adds beauty and flavor. You can also arrange the cream puffs on a nice platter. Serve with a side of whipped cream or caramel sauce for dipping.
Pair these treats with warm apple cider or spiced coffee. These drinks bring out the pumpkin spice flavors. Enjoy your lovely fall dessert!
Variations
Flavor Variations
You can change the flavor of your pumpkin cream puffs. Adding chocolate or caramel can make them richer. Just drizzle melted chocolate or caramel over the tops. It adds a sweet touch that many love.
You can also play with spices. Try adding cinnamon or nutmeg for a warm flavor boost. A little ginger can give your puffs a nice kick too. Experiment and find what you like best.
Dietary Adaptations
If you need gluten-free options, use gluten-free flour. It works well in the dough. Just make sure to follow the same steps as with regular flour.
For vegan alternatives, swap out the eggs with flax eggs or applesauce. You can use coconut cream instead of heavy cream. This keeps your puffs fluffy and delicious without dairy.
Seasonal Twists
You can feature other fall flavors too. Consider using apple or pecan in your filling. This gives a fresh twist to your classic pumpkin cream puffs.
Holiday-themed adaptations are fun as well. You can make mini puffs and add peppermint for a festive touch. Decorate them with colorful sprinkles or edible glitter to celebrate the season!
FAQs
How do I prevent my cream puffs from collapsing?
To keep your cream puffs from collapsing, follow these tips:
– Do not open the oven door for the first 15 minutes. This helps them rise.
– Make sure your dough is smooth and glossy before baking. Proper mixing is key.
– Bake at the right temperature. Use 400°F (200°C) as stated. It ensures they puff well.
– Use a proper piping technique. Pipe mounds evenly spaced on the baking sheet. This helps them hold shape.
Can I make pumpkin cream puffs ahead of time?
Yes, you can prepare pumpkin cream puffs in advance. Here are the best practices:
– Make the choux pastry and bake the puffs a day ahead.
– Store cooled puffs in an airtight container at room temperature. They stay fresh longer.
– Prepare the filling ahead of time and keep it chilled in the fridge.
– Fill the puffs just before serving. This keeps them crisp and fresh.
What is the best way to reheat leftover cream puffs?
To reheat leftover cream puffs and keep them tasty:
– Preheat your oven to 350°F (175°C).
– Place the puffs on a baking sheet and warm them for about 5-10 minutes.
– Avoid using the microwave. It can make them soggy.
– Let them cool slightly before serving. This helps maintain their texture.
User Testimonials
Reader Reviews and Experiences
Many readers love making pumpkin cream puffs. One user said, “These are the best fall treat!” Another shared, “They disappeared at my party!” Many enjoy the easy steps. They suggest using a stand mixer for mixing the filling. This method saves time and makes it fluffy.
Common Challenges Faced
Some bakers had issues with the puffs collapsing. This often happens if the oven door opens too soon. A good tip is to wait at least 15 minutes before checking. Others found the dough too thick. Adding a splash of water can help.
Success Stories
Many share their success with these cream puffs. One user added chocolate chips to the filling. They loved the sweet twist! Another made a gluten-free version using almond flour. They enjoyed the unique flavor. These stories inspire everyone to try new things.
You now have the tools to create delicious pumpkin cream puffs. We covered essential ingredients, from all-purpose flour to pumpkin spice filling. The step-by-step instructions guide you through making perfect choux pastry and baking these treats. I also shared tips for storing and serving, plus variations to excite your taste buds.
Enjoy making these creamy delights! Your kitchen is now ready for a fall treat that everyone will love. Happy baking!